Preview this look on your face in seconds with our AI hair designer app.


Face shapes: Oval • Heart • Diamond

Hair length: Medium • Long • Extra Long

Hair texture: Straight • Wavy • Curly • Thick

Difficulty: Advanced

Time to style: 45-60 minutes

Works with: Cathedral veil • Chapel veil • Fresh florals • Pearl accessories • Ribbon details
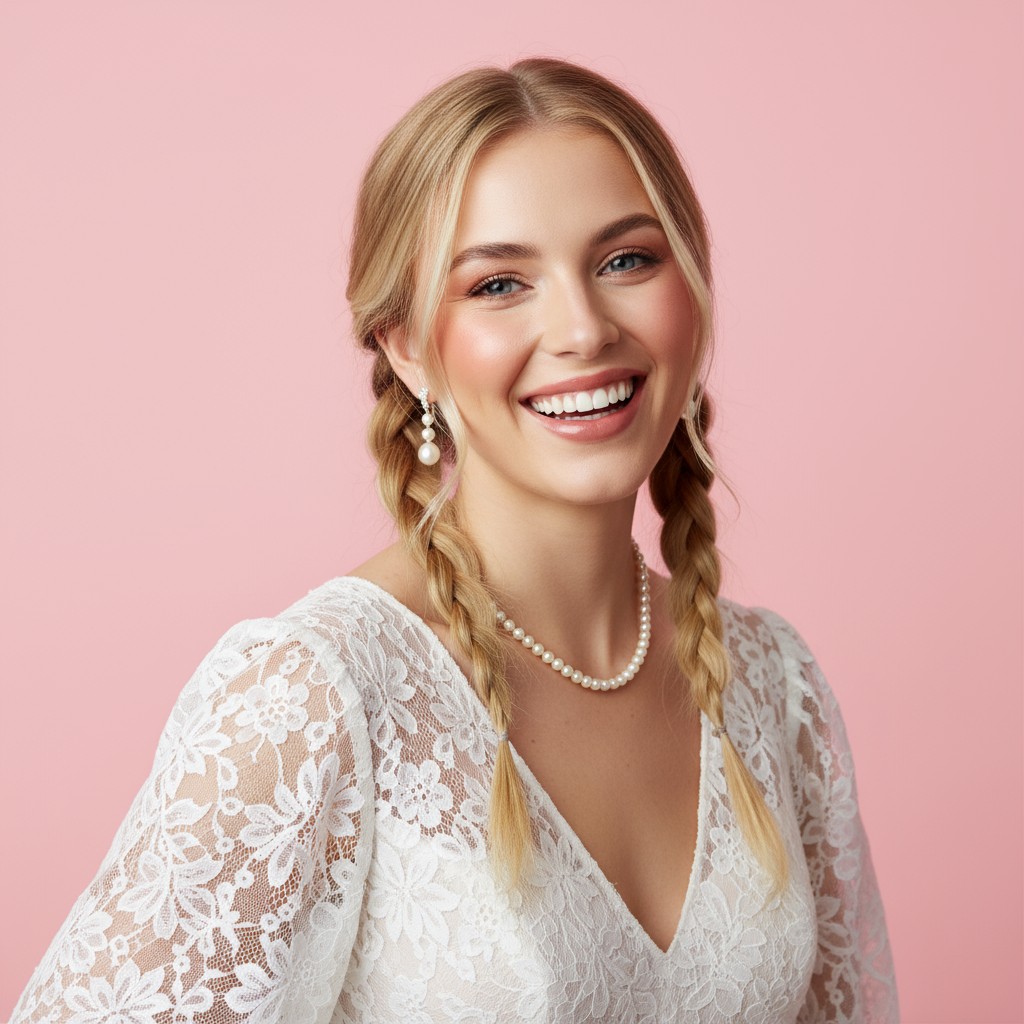
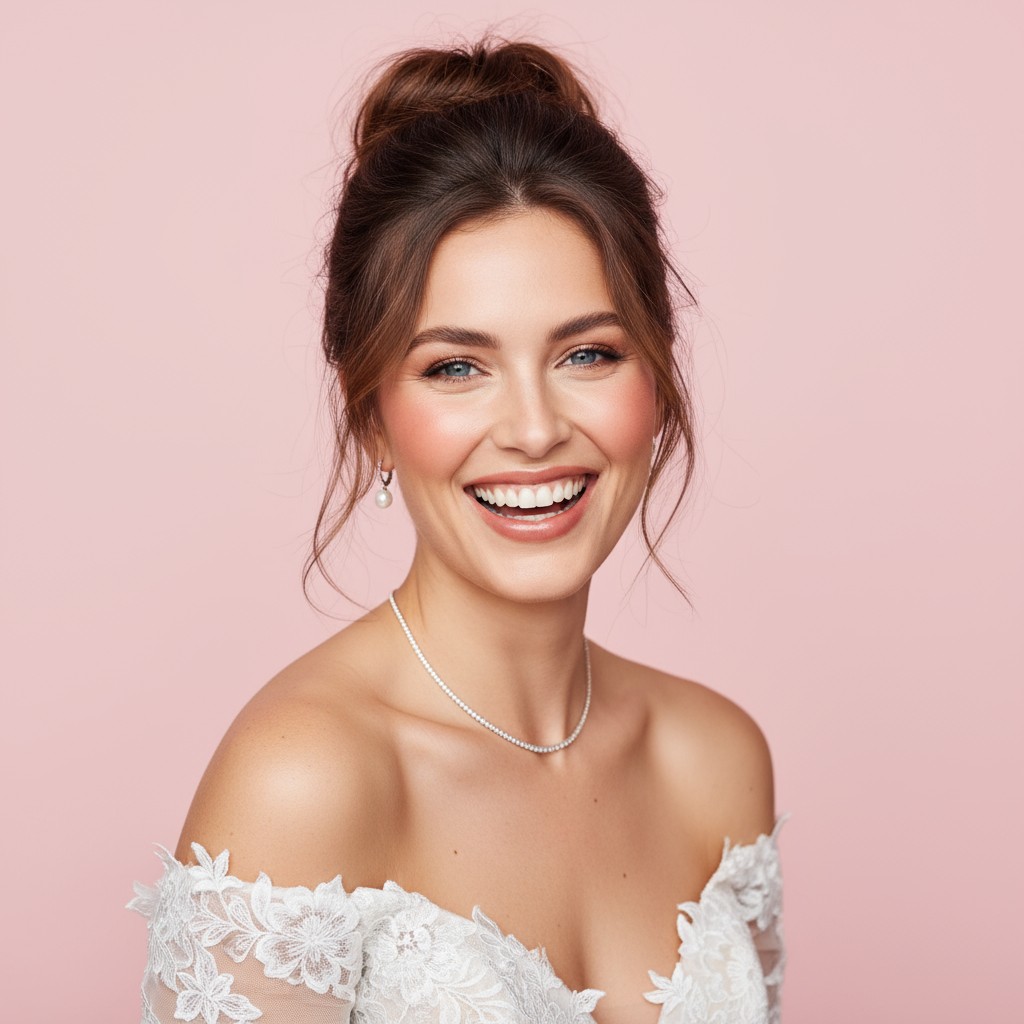
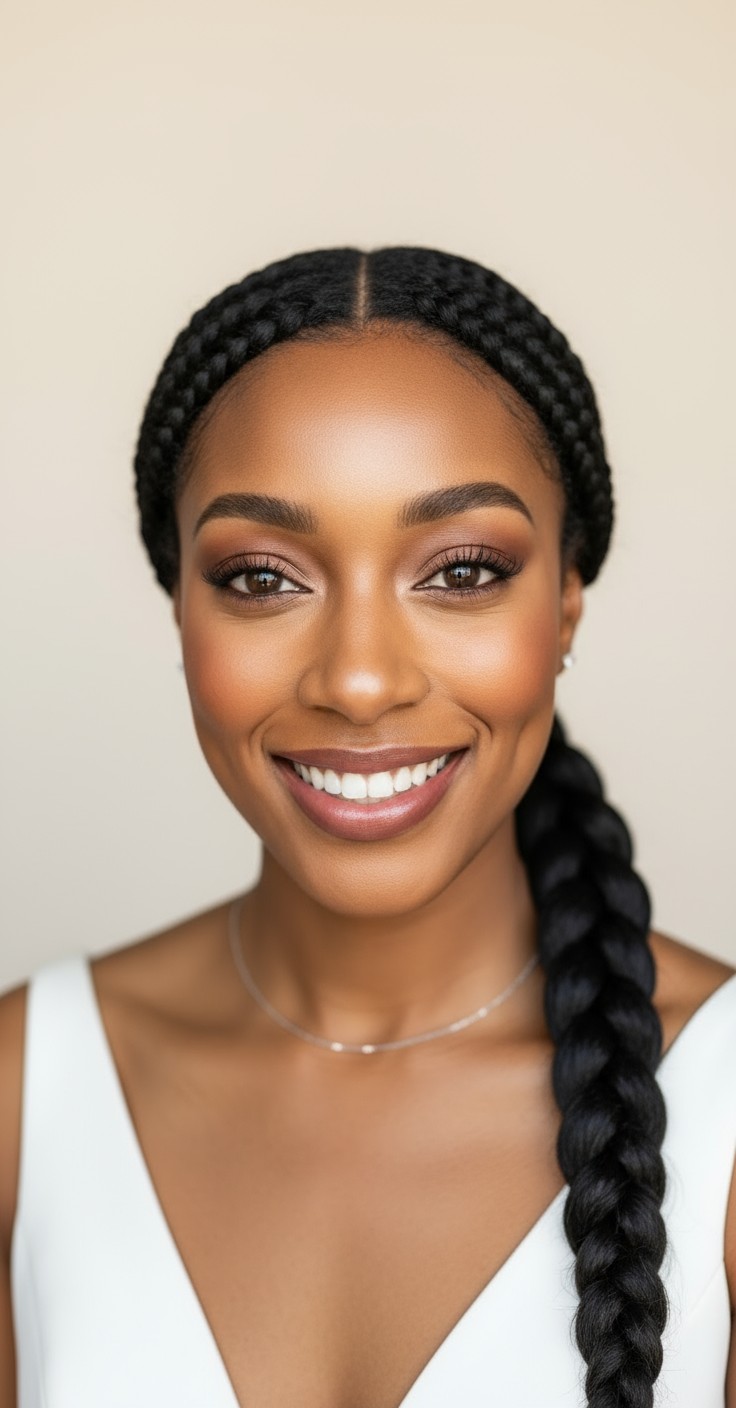
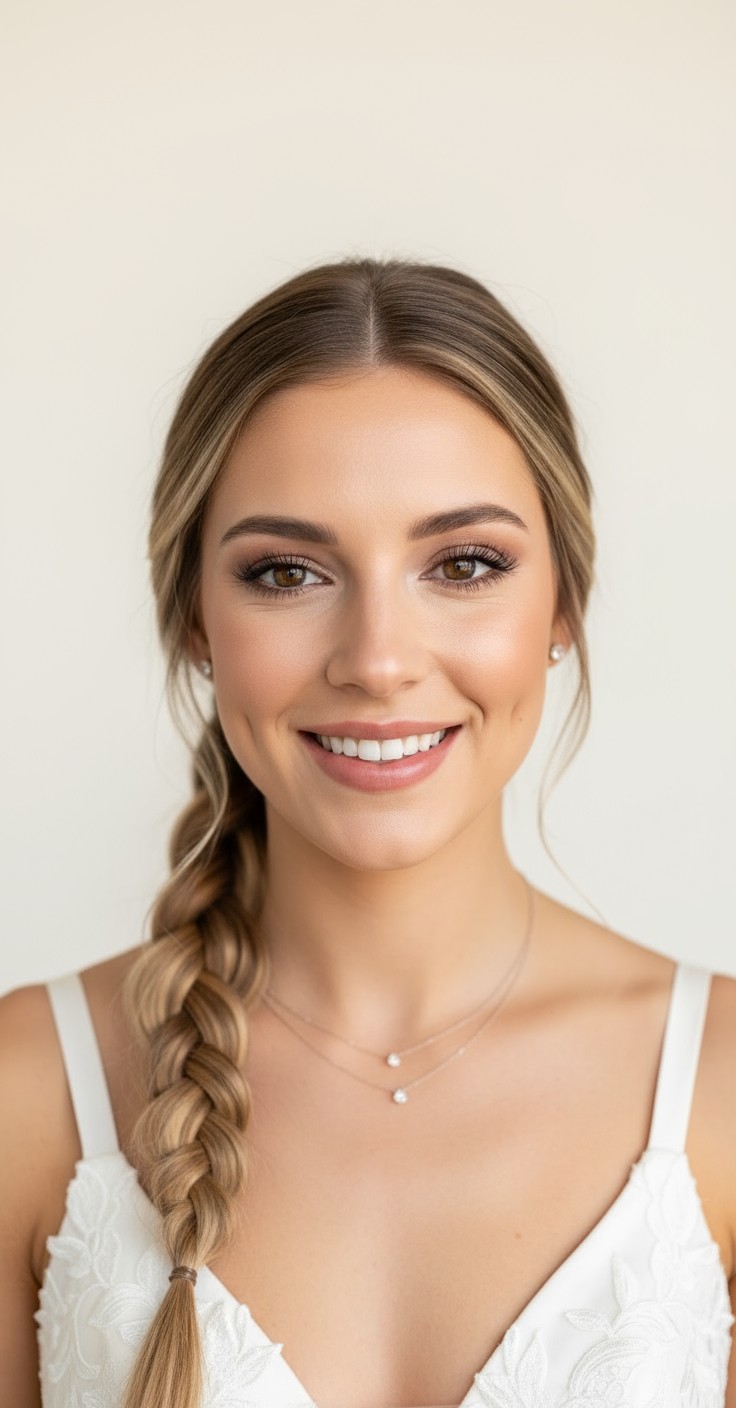
The 5 strand braid gives brides an intricate, regal look that photographs beautifully from every angle. It's the kind of hairstyle that makes you feel like royalty walking down the aisle—elegant, detailed, and completely unforgettable. Brides love how it strikes the perfect balance between romantic softness and structured sophistication.
Beyond its stunning appearance, this braid holds up incredibly well through long wedding days. The five-strand weaving technique creates natural stability that won't budge during emotional hugs, windy outdoor ceremonies, or hours on the dance floor. It works seamlessly with veils and stays comfortable from the first look through the last dance.


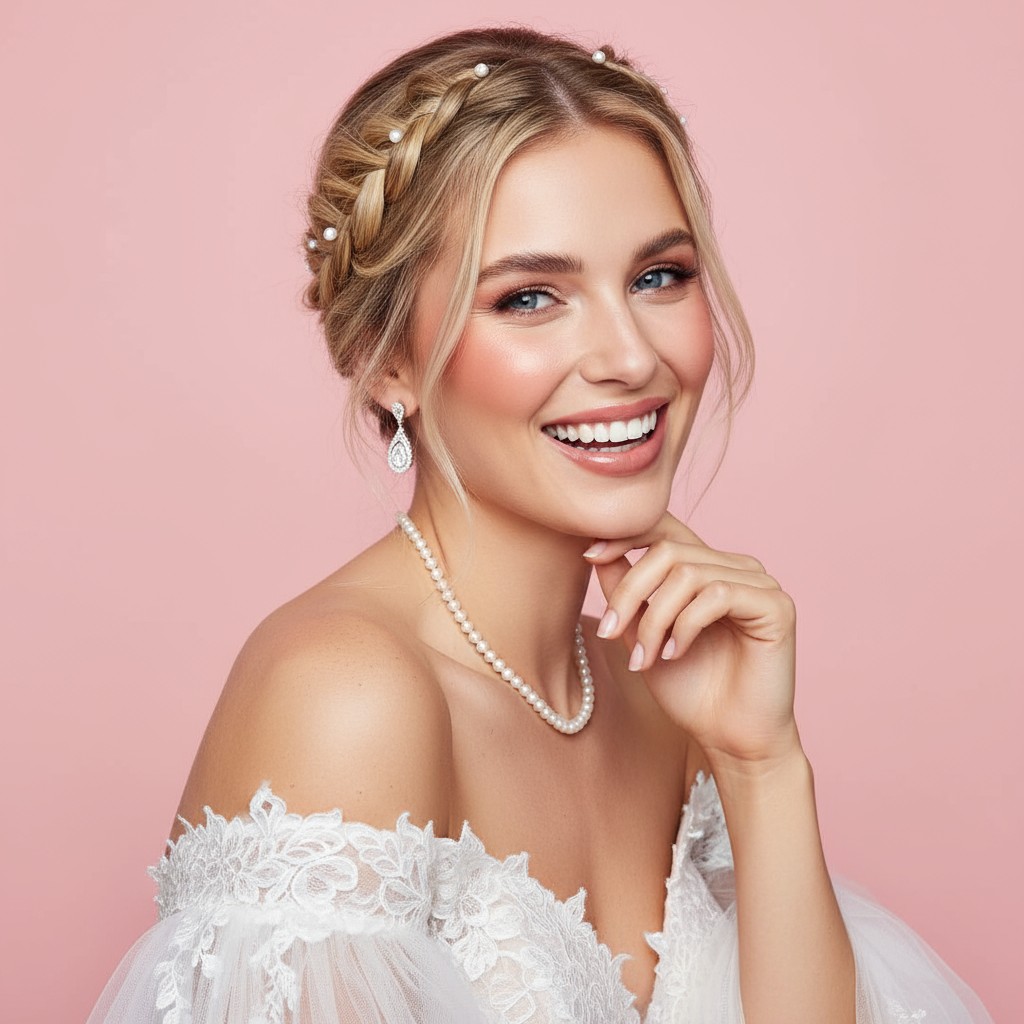
Delicate pearl pins scattered throughout the braid
Vintage gold hair combs at the crown
Crystal-studded bridal comb tucked at the base
Thin ribbon woven between strands
Art deco inspired hairpins along the braid
Baby's breath tucked into the weave for whimsical texture
White ranunculus or garden roses at the nape
Cathedral veil positioned above the braid for dramatic effect
Chapel-length veil secured at the crown or mid-braid
Start with second-day hair or add dry shampoo for grip and texture.
Use strong-hold hairspray between each braiding section as you build it.
Secure the base with multiple bobby pins crossed in an X pattern.
Finish with flexible-hold spray to maintain movement without frizz all day.
Prep hair with texturizing spray and blow-dry smooth, then brush into a low ponytail at the nape.
Divide the ponytail into five equal sections and label them mentally 1 through 5 from left to right.
Cross strand 5 over 4, under 3, then over 2, working the outer strand toward the center.
Repeat with strand 1 (now on the left), weaving it over-under-over toward the opposite side, and continue alternating.
Secure the end with a clear elastic, then gently pancake the braid and pin loose pieces for soft, romantic volume.
Prefer instant?
Try 500+ hairstyles in minutes without
leaving home. See exactly how you'll
look on your big day.
✨ Try Before You Commit
Show your stylist clear visual
references. No more guessing or
miscommunication.
📱 Perfect Communication
Skip endless salon consultations
and trials. Find your perfect style
risk-free.
💰 Save Time & Money
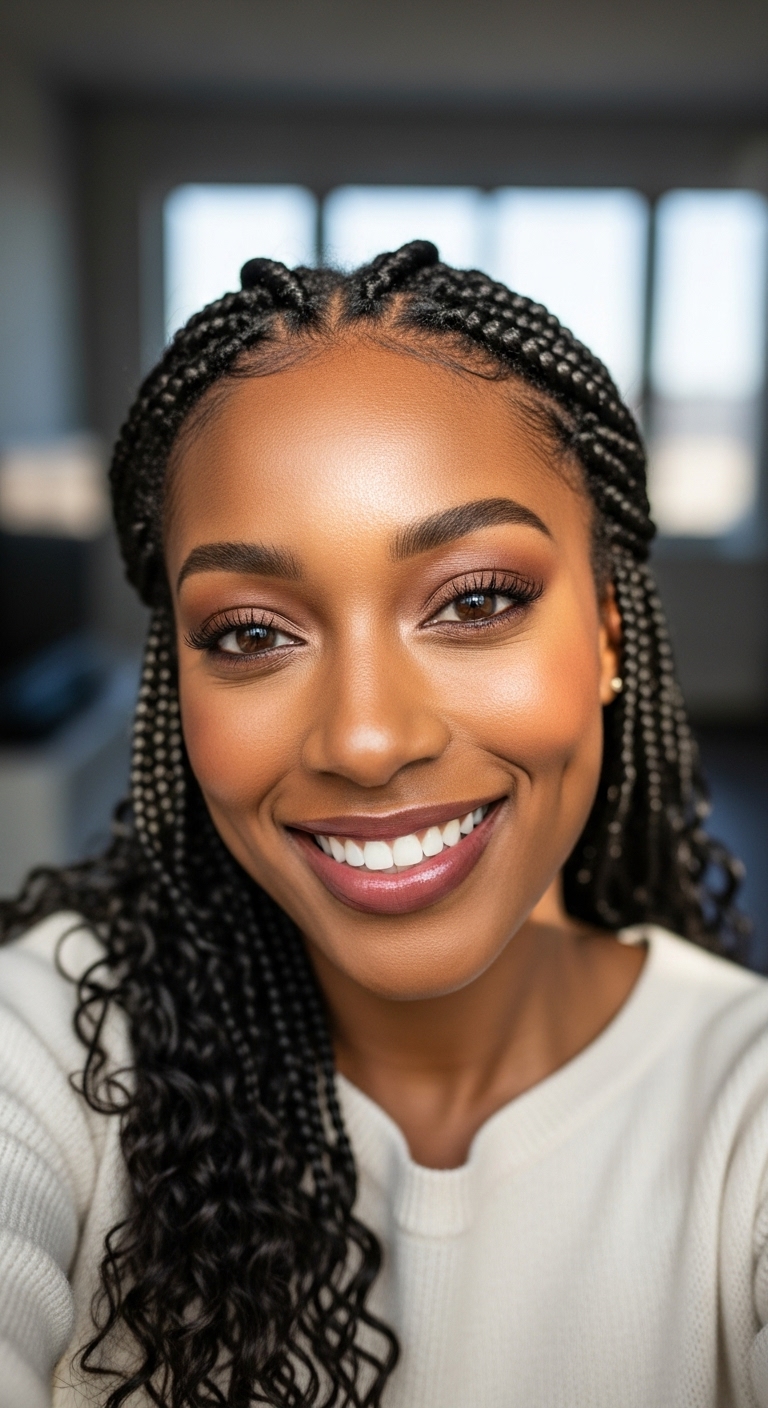
Absolutely! Use a texturizing spray before braiding and gently pull apart each section to create the illusion of fuller, thicker strands. The intricate weave naturally adds dimension.
Your hair should ideally reach past your shoulders—at least mid-back length works best. For shorter hair, extensions can be seamlessly blended in for the perfect bridal braid.
Yes! Position the veil above the braid at the crown or mid-way down for cathedral and chapel veils. The braid provides a beautiful anchor point that keeps everything secure.
It does require practice and patience, so we recommend a trial run or working with a stylist. Once you understand the over-under pattern, it becomes more manageable with each attempt.