Preview this look on your face in seconds with our AI hair designer app.


Face shapes: Oval • Heart • Square

Hair length: Medium • Long • Extra Long

Hair texture: Straight • Wavy • Curly • Fine • Thick

Difficulty: Medium to Advanced

Time to style: 45-90 minutes

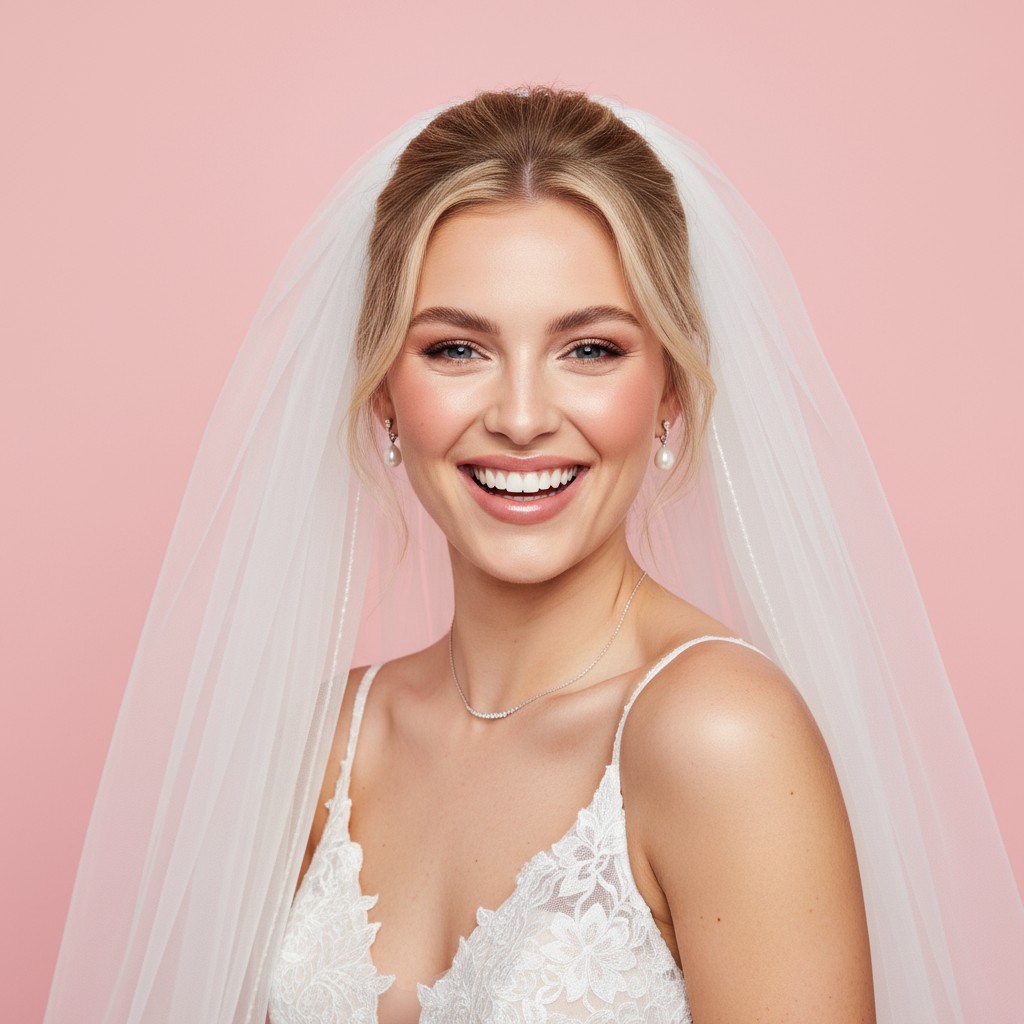
Works with: Cathedral veils • Birdcage veils • Mantilla veils • Hair combs • Fresh flowers
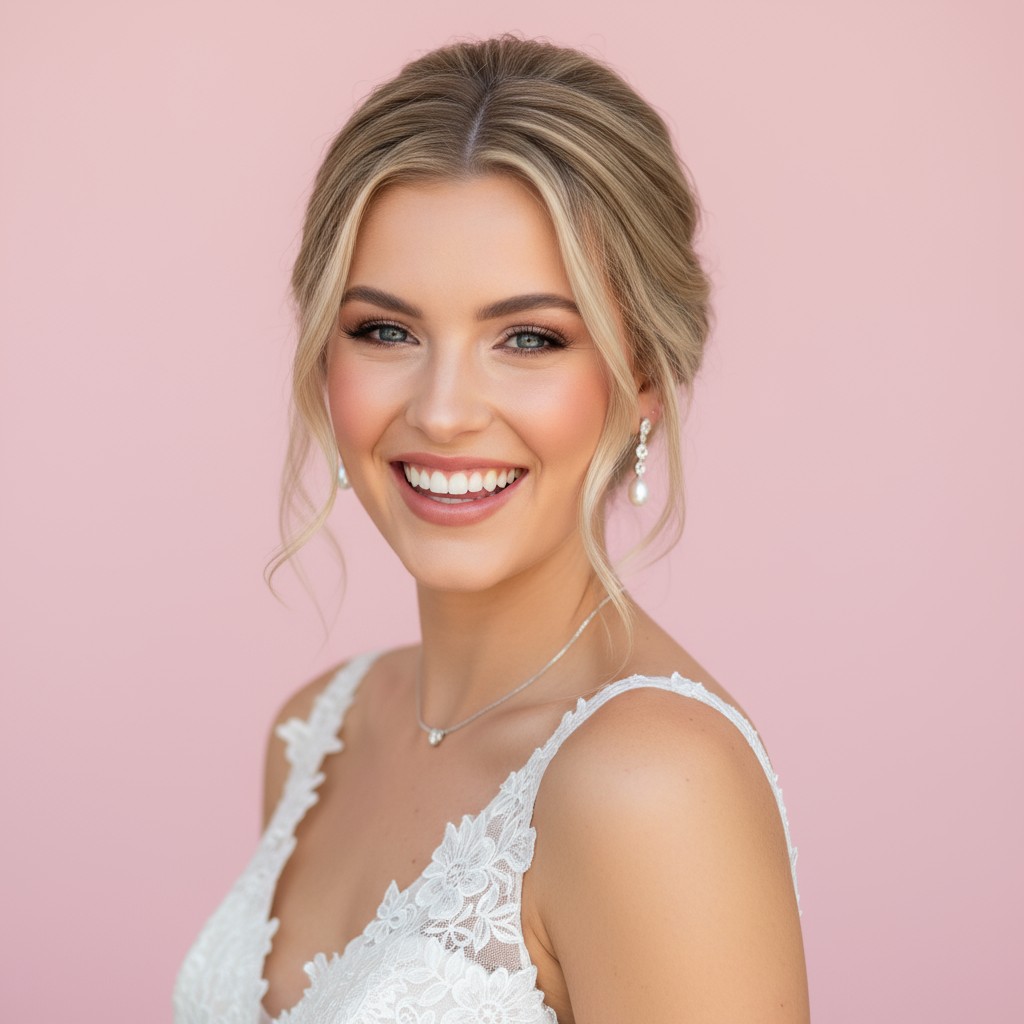
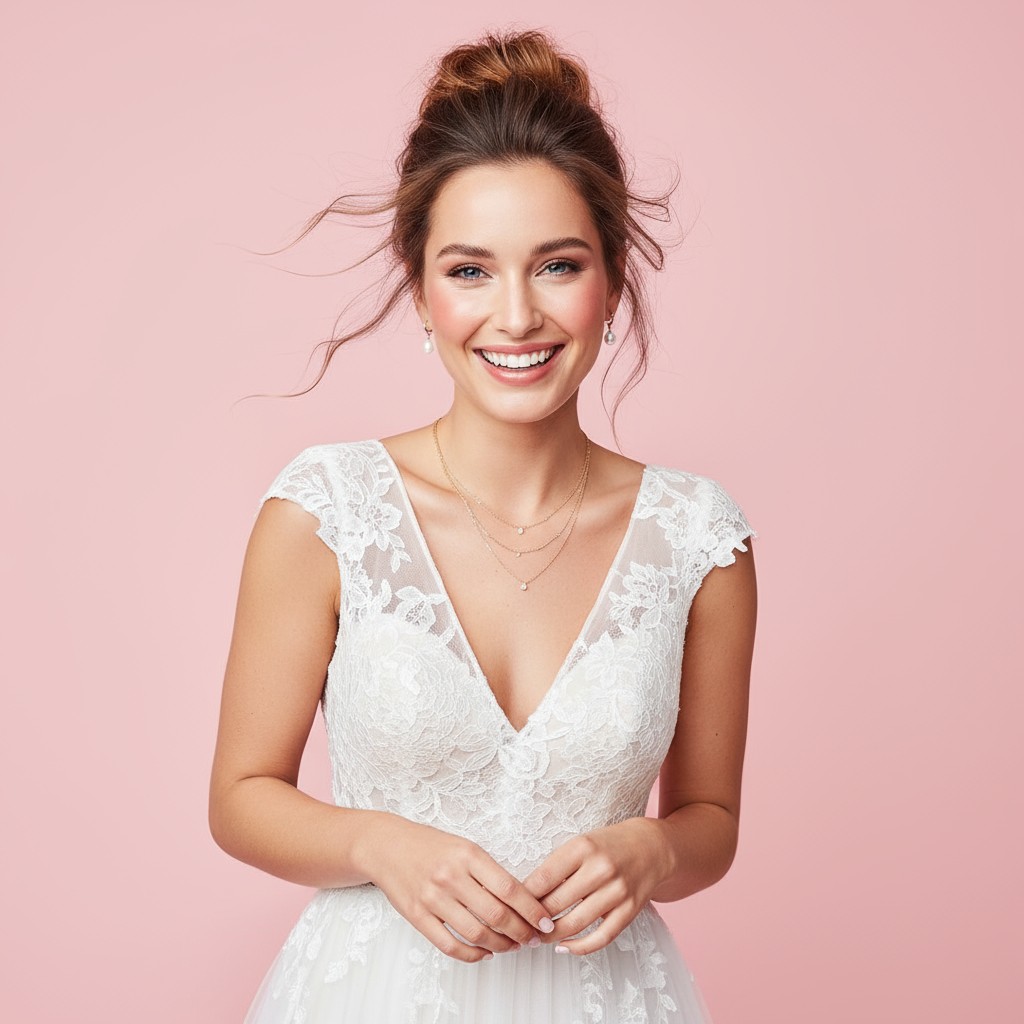
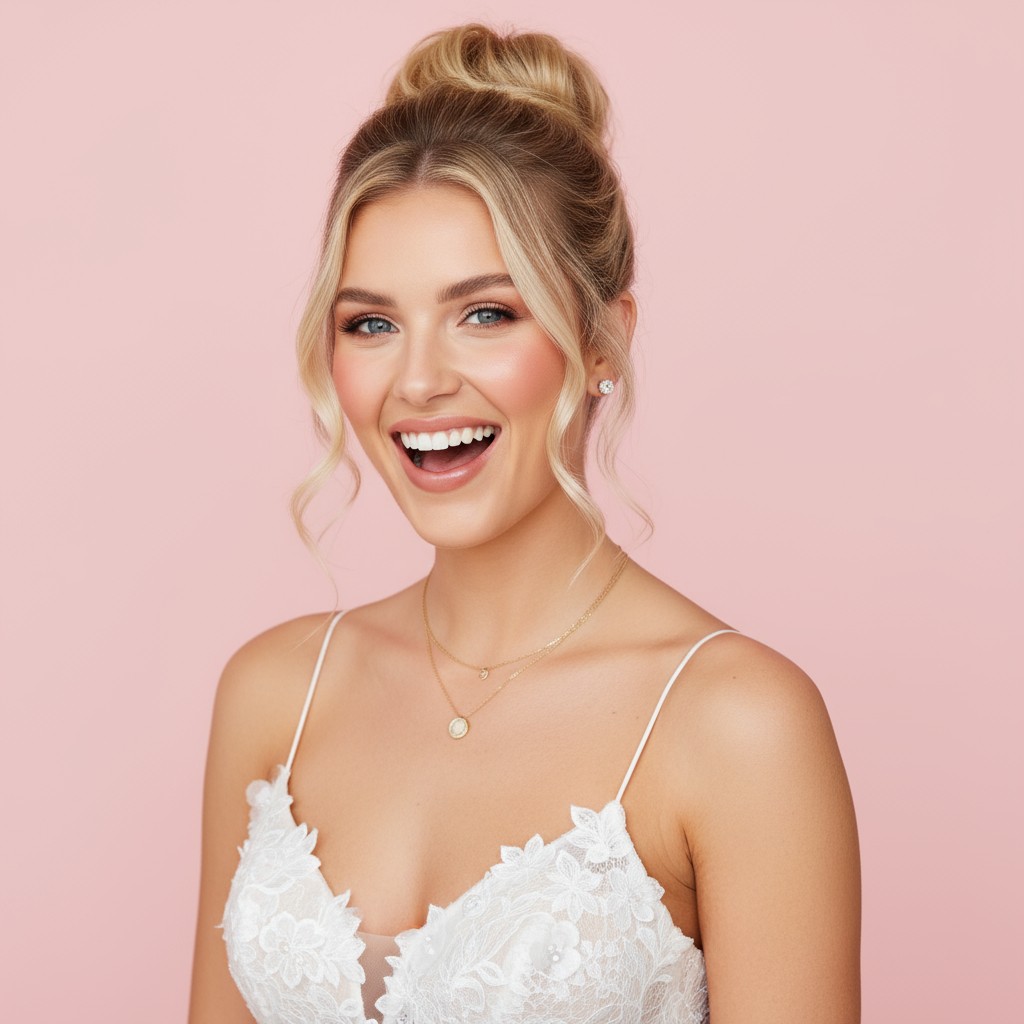
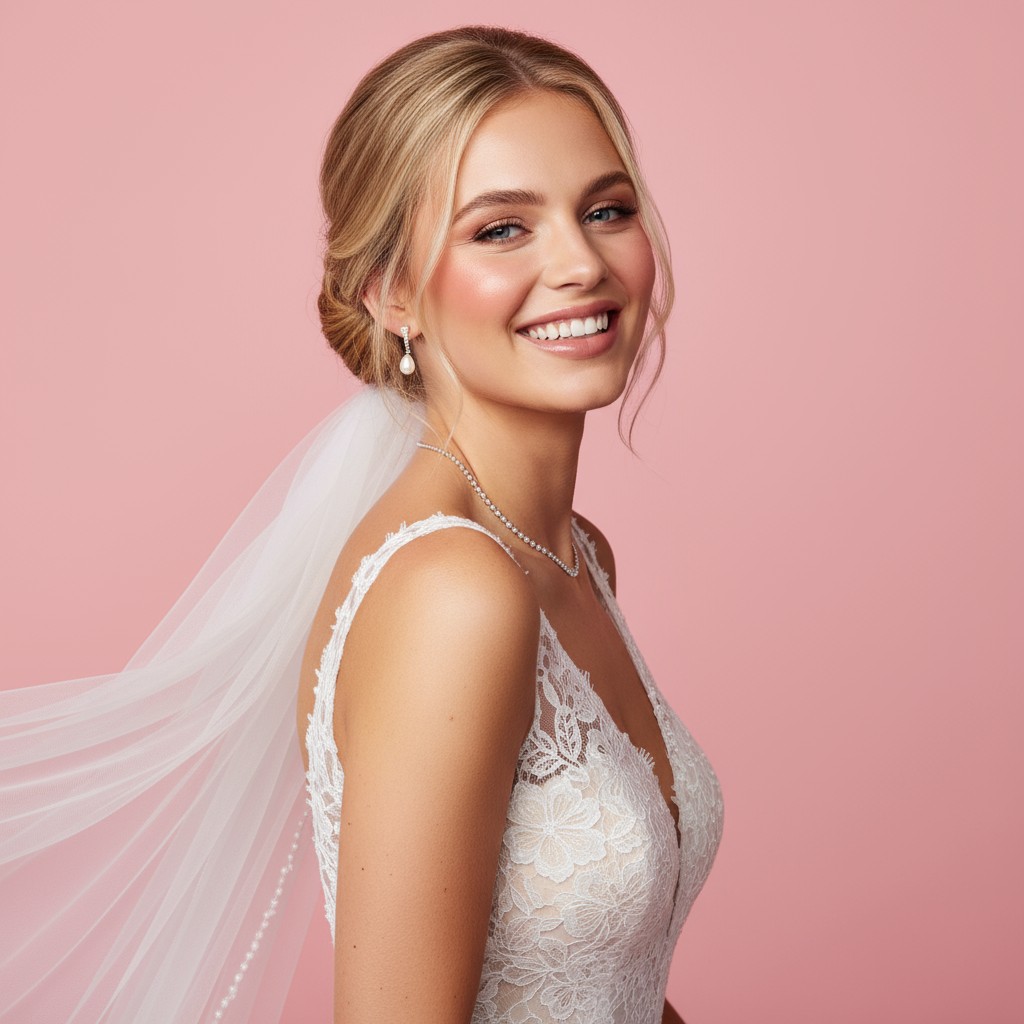
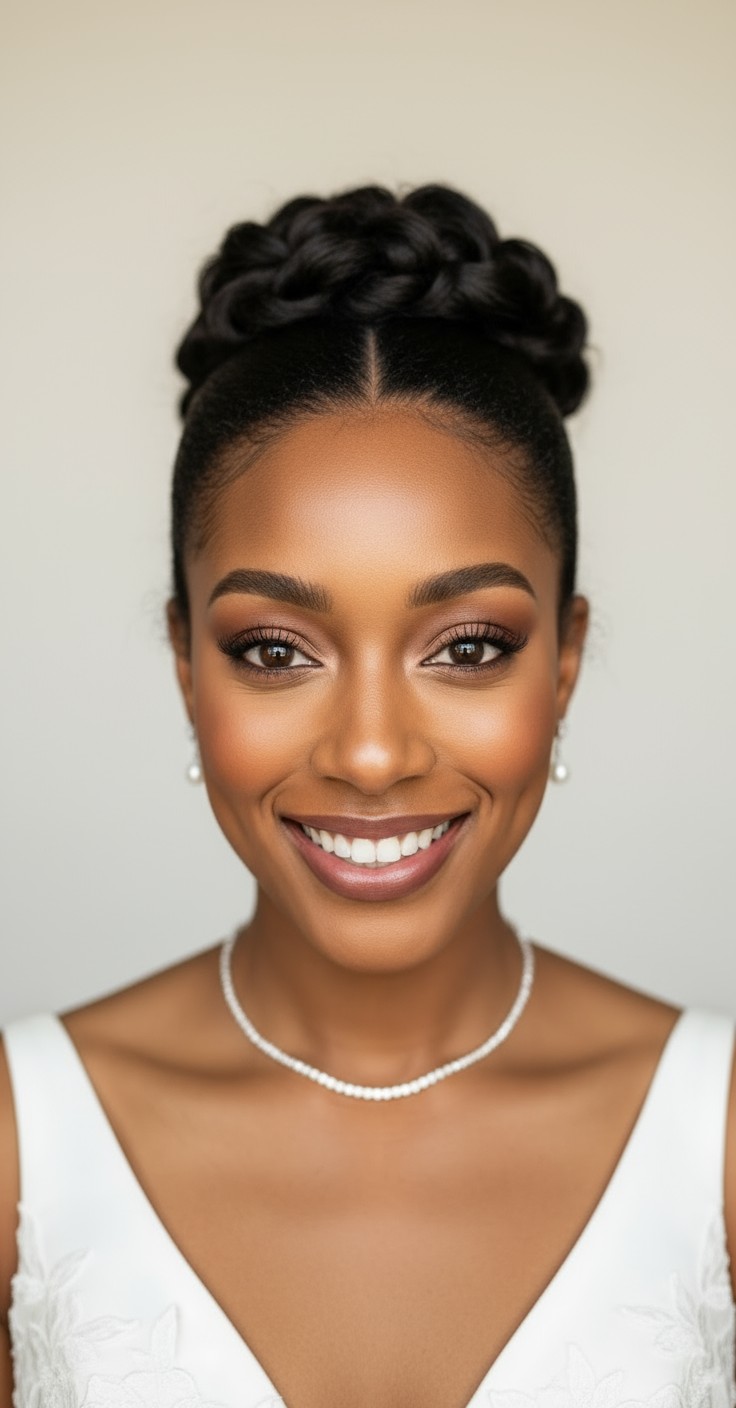
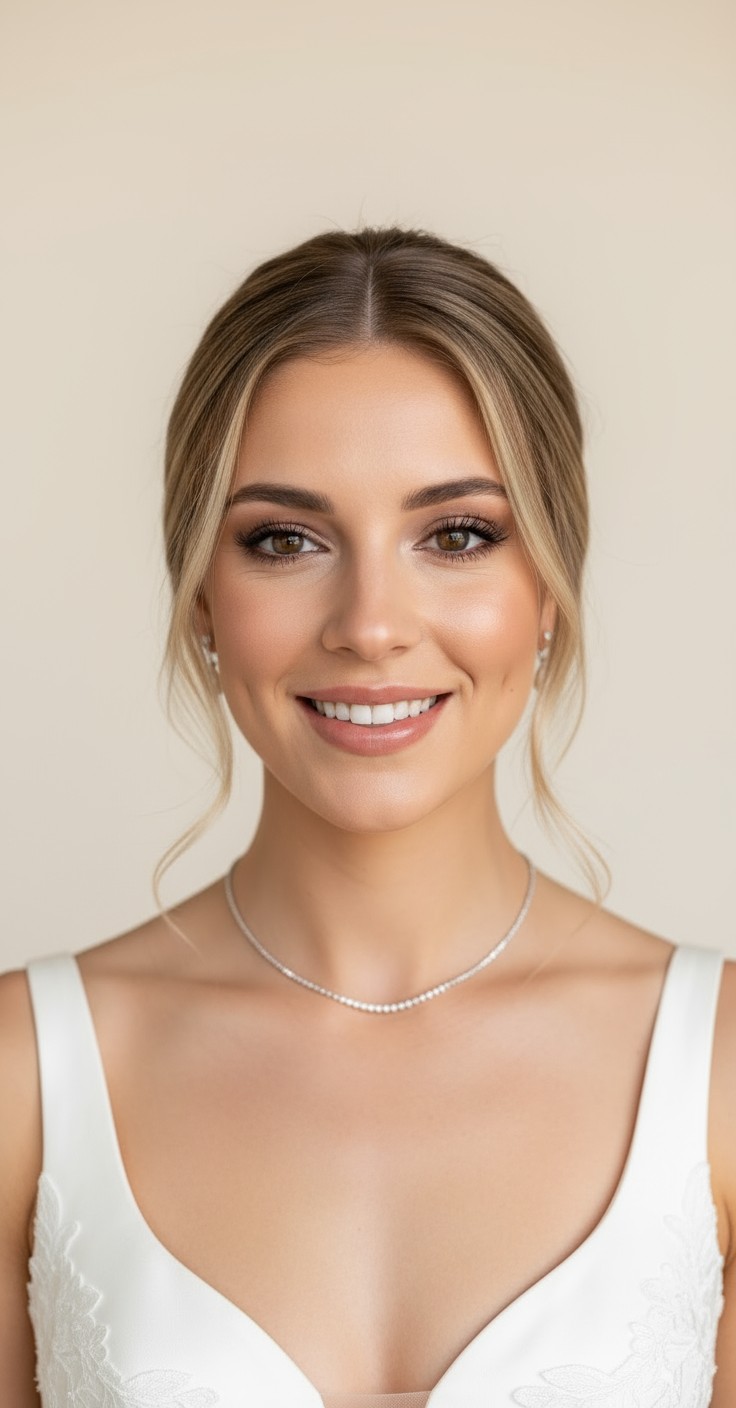
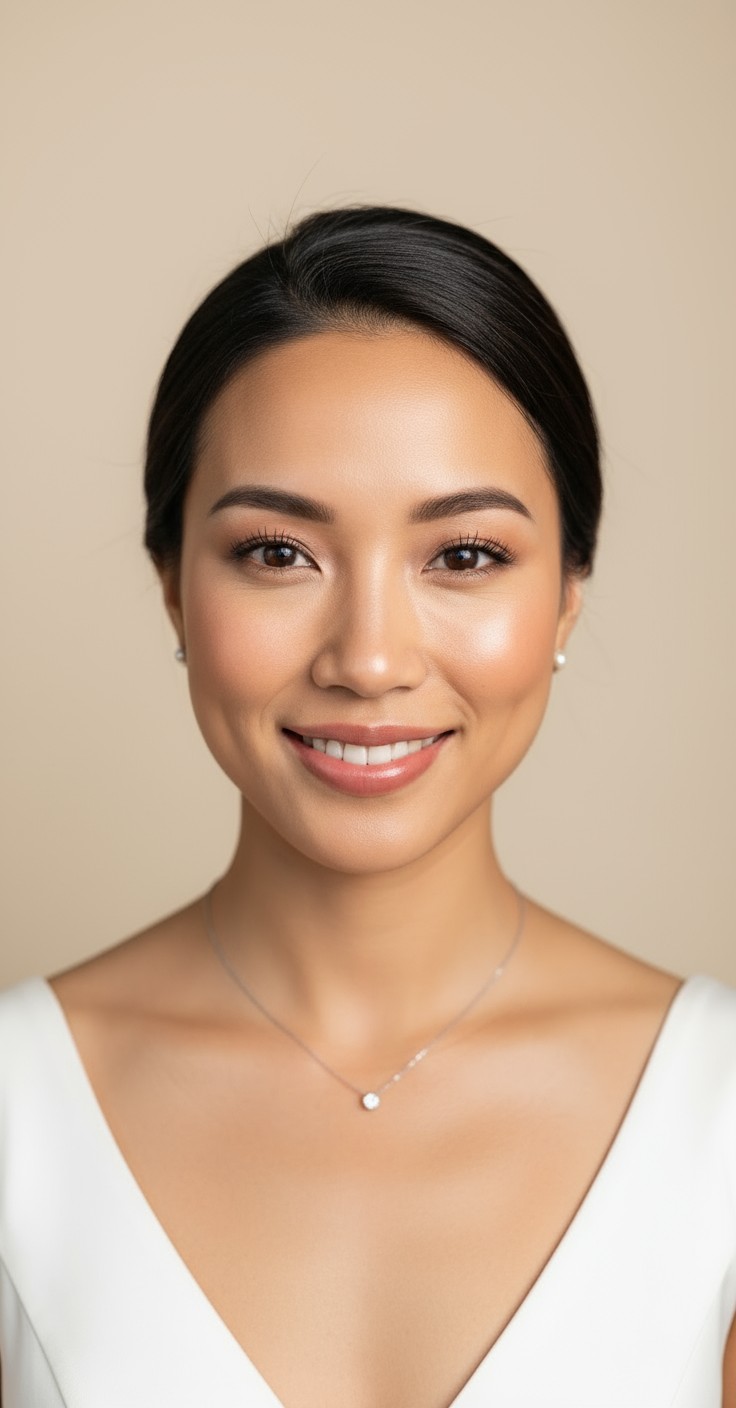
Updos give brides that effortless, polished elegance that photographs beautifully from every angle. There's something about sweeping your hair up that creates an instant transformation—you feel more graceful, more bridal, and completely ready to walk down the aisle with confidence. It's a timeless choice that lets your dress, jewelry, and natural beauty take center stage.
Beyond the romance, updos are incredibly practical for a full day of celebration. They stay secure through emotional vows, windy outdoor photos, and hours on the dance floor without constant touch-ups. Plus, they work seamlessly with any veil style and keep hair off your neck and shoulders, so you stay comfortable and cool from morning preparations through the last dance.


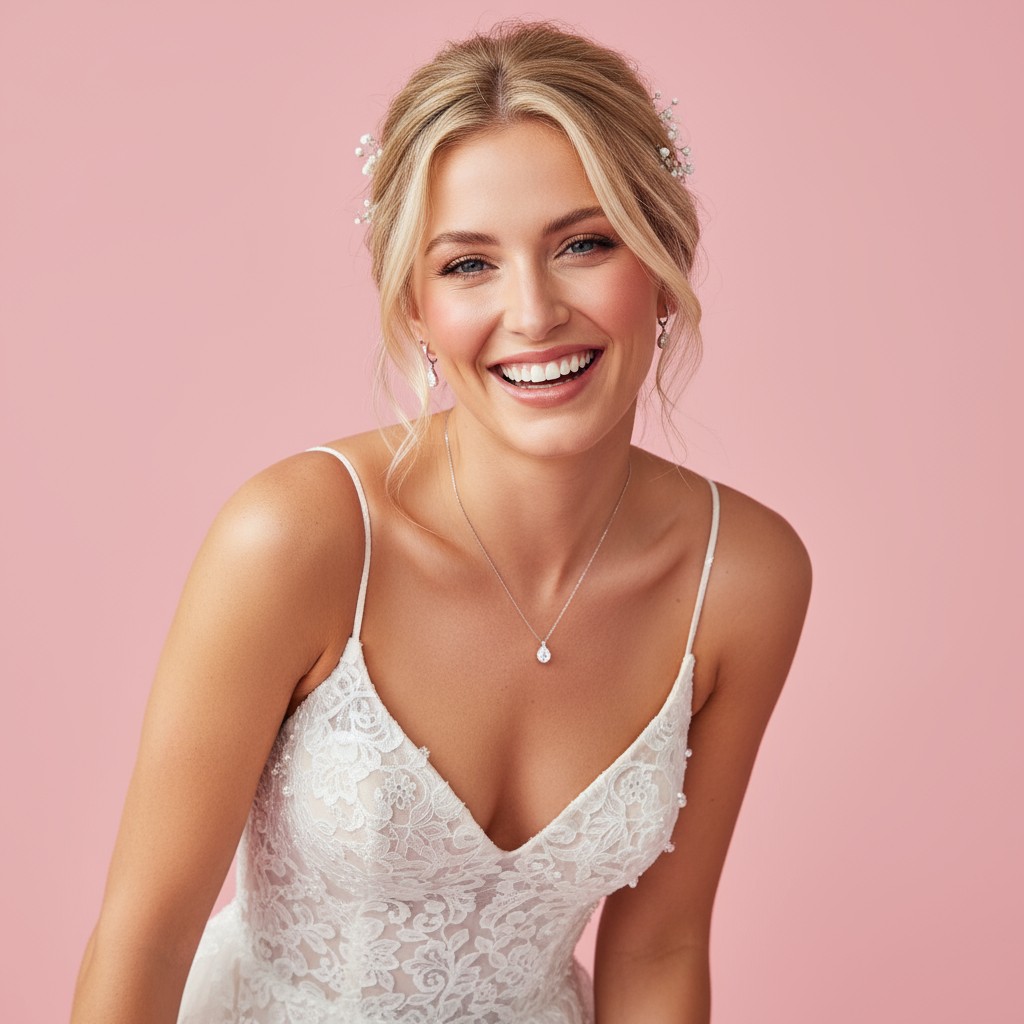
Pearl-studded hairpins scattered throughout for subtle luxury
Vintage gold or silver hair combs at the base
Crystal-embellished headbands or tiaras for drama
Delicate chain hair draping for boho elegance
Art deco hair clips for Great Gatsby vibes
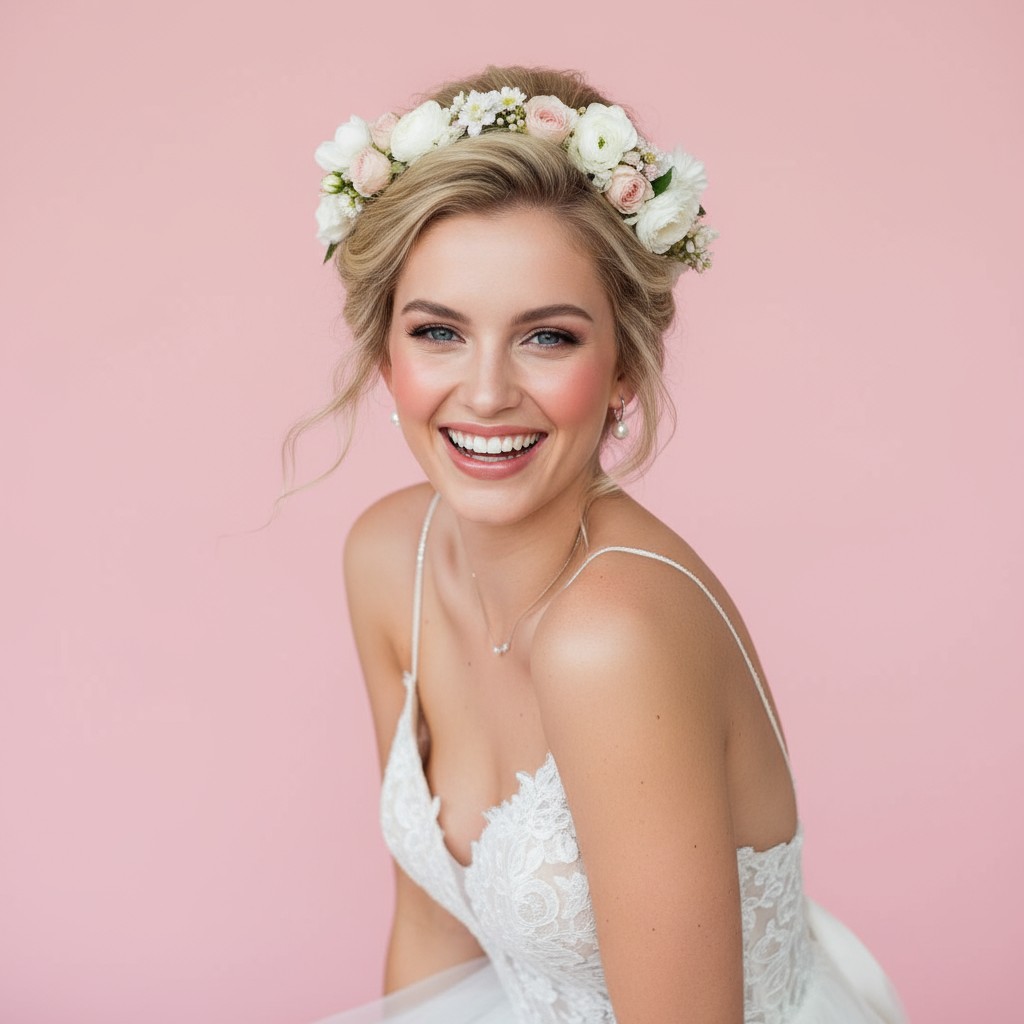
Baby's breath clusters tucked into the updo for romantic softness
Garden roses or peonies pinned at the nape for lush texture
Cathedral veils positioned just below the updo for dramatic entrance
Birdcage veils worn in front with updo showcased behind
Start with day-old hair or use dry shampoo for better grip and texture.
Apply strong-hold hairspray in layers while building the style, not just at end.
Use bobby pins in an X-pattern and anchor them against the scalp securely.
Book a trial run 2-3 months before to test longevity and make adjustments.
Prep hair with texturizing spray or mousse on damp hair, then blow-dry with a round brush for volume at the roots.
Section hair into three parts—top crown, sides, and back—and secure each with clips to keep organized while styling.
Gather the back section at your desired height, twist or roll it inward, and pin securely against the head to form the foundation.
Wrap side sections around the base, pinning as you go, then gently tease and drape the crown section over the top for fullness.
Secure all pieces with bobby pins in a crisscross pattern, mist with strong-hold hairspray, and gently pull out a few face-framing wisps for romantic softness.
Prefer instant?
Try 500+ hairstyles in minutes without
leaving home. See exactly how you'll
look on your big day.
✨ Try Before You Commit
Show your stylist clear visual
references. No more guessing or
miscommunication.
📱 Perfect Communication
Skip endless salon consultations
and trials. Find your perfect style
risk-free.
💰 Save Time & Money
Absolutely! Adding extensions for volume or teasing sections before pinning creates beautiful fullness. A skilled stylist can also use strategic placement and texturizing products to make fine hair look luxuriously thick in an updo.
Use plenty of bobby pins anchored against your scalp, layer hairspray as you build the style, and consider a trial run to test durability. Professional stylists also recommend starting with slightly textured hair for better hold throughout the day.
Yes, with some creativity! Clip-in extensions can add the length needed for a fuller updo, or you can opt for a faux updo that tucks and pins shorter hair to create the illusion of an elegant twist or chignon.
It's actually better to work with day-old hair or hair washed the night before, as it has more grip and texture. Freshly washed hair can be too slippery and soft to hold pins and structure well.