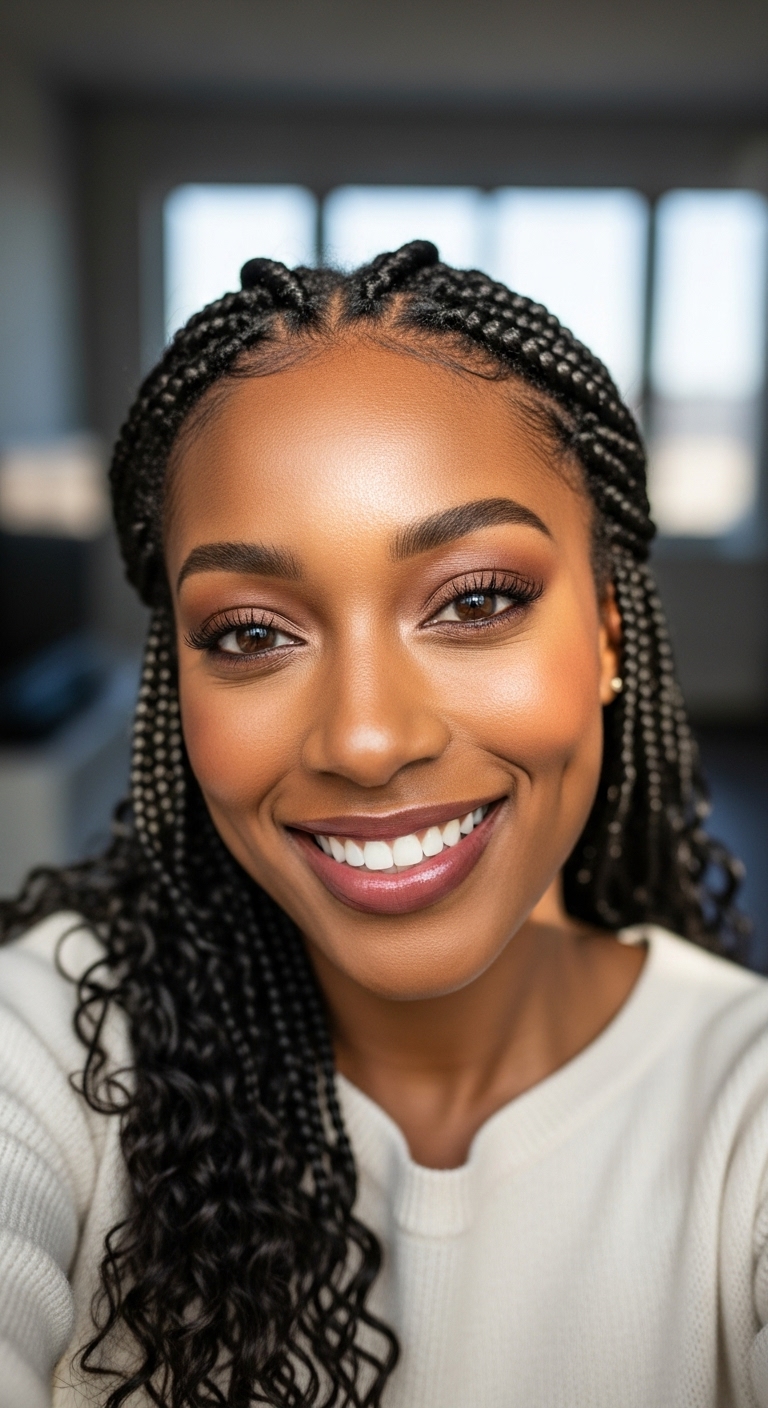
Preview this look on your face in seconds with our AI hair designer app.


Face shapes: Oval • Heart • Square

Hair length: Medium • Long • Extra Long

Hair texture: Straight • Wavy • Curly • Thick

Difficulty: Medium

Time to style: 45-60 minutes

Works with: Cathedral veil • Fingertip veil • Birdcage veil • Fresh flowers • Jeweled pins
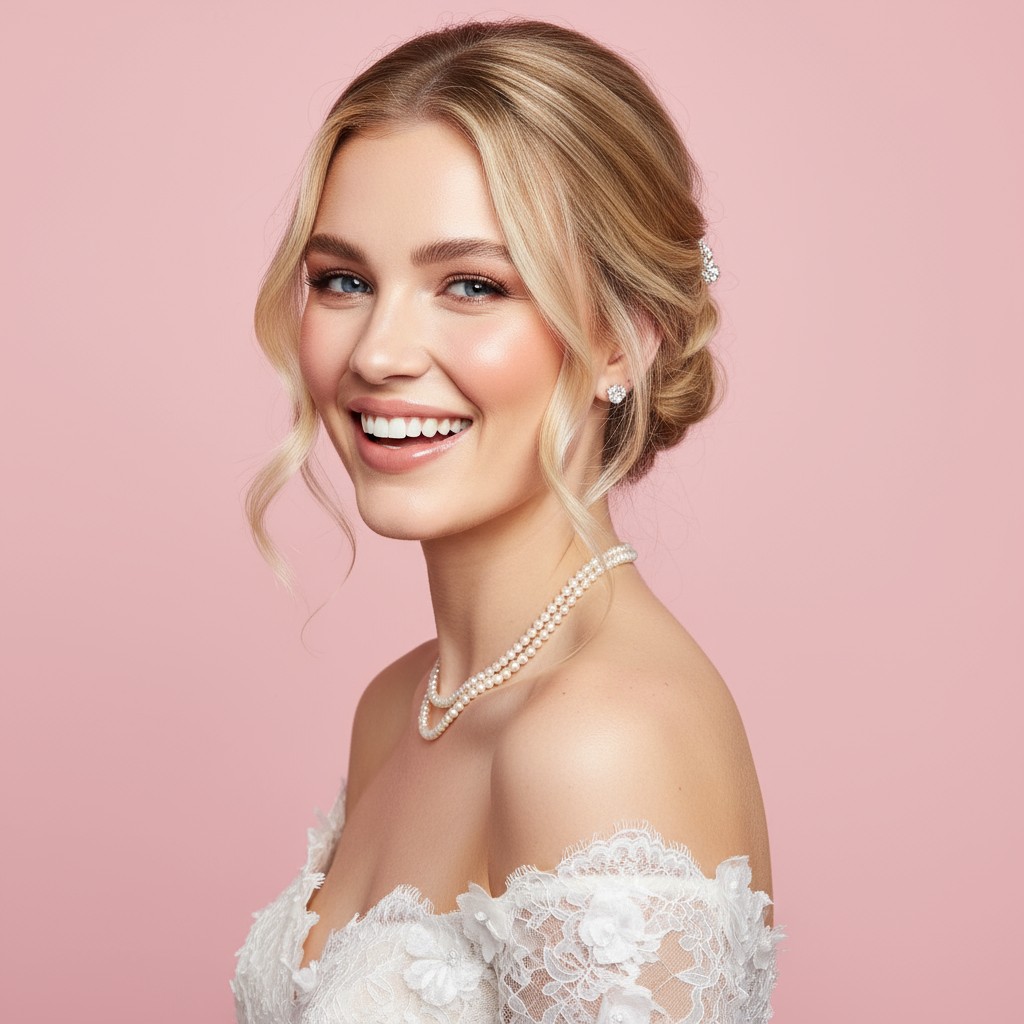
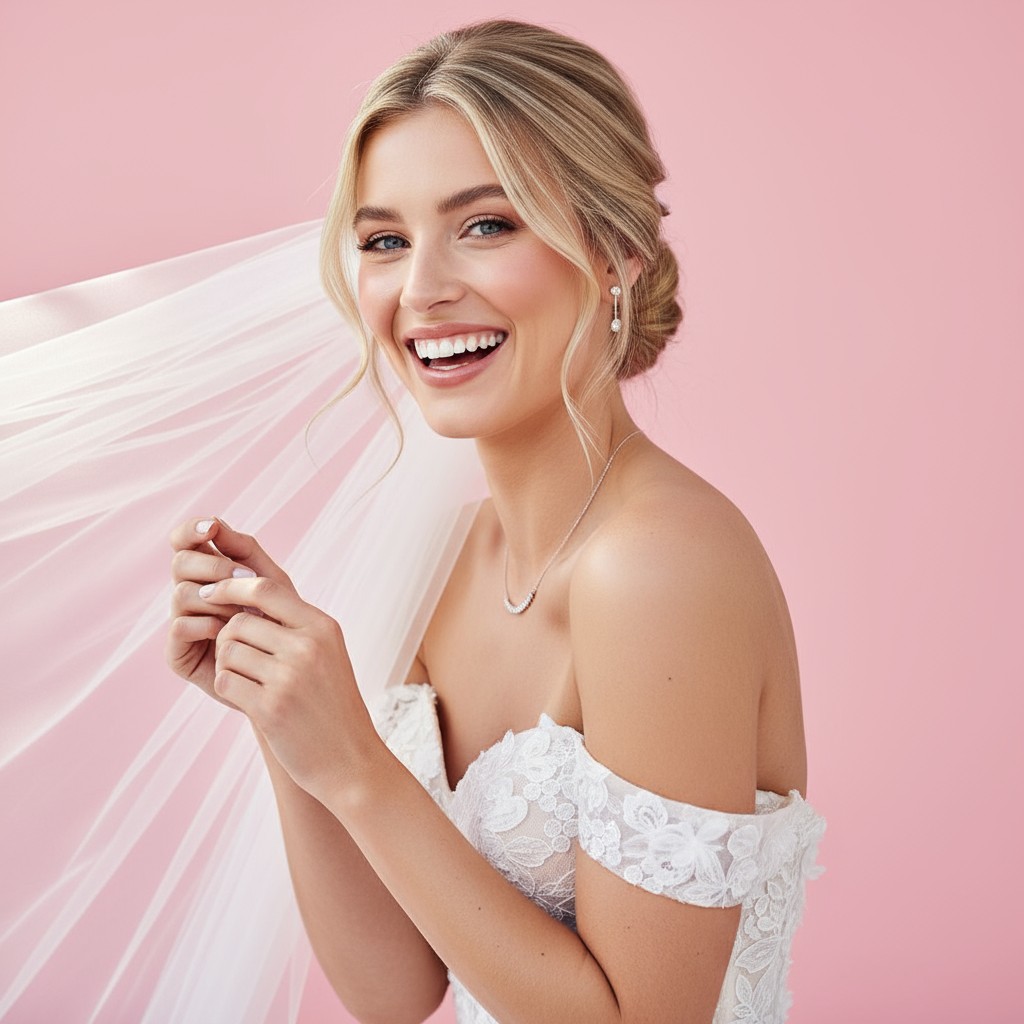
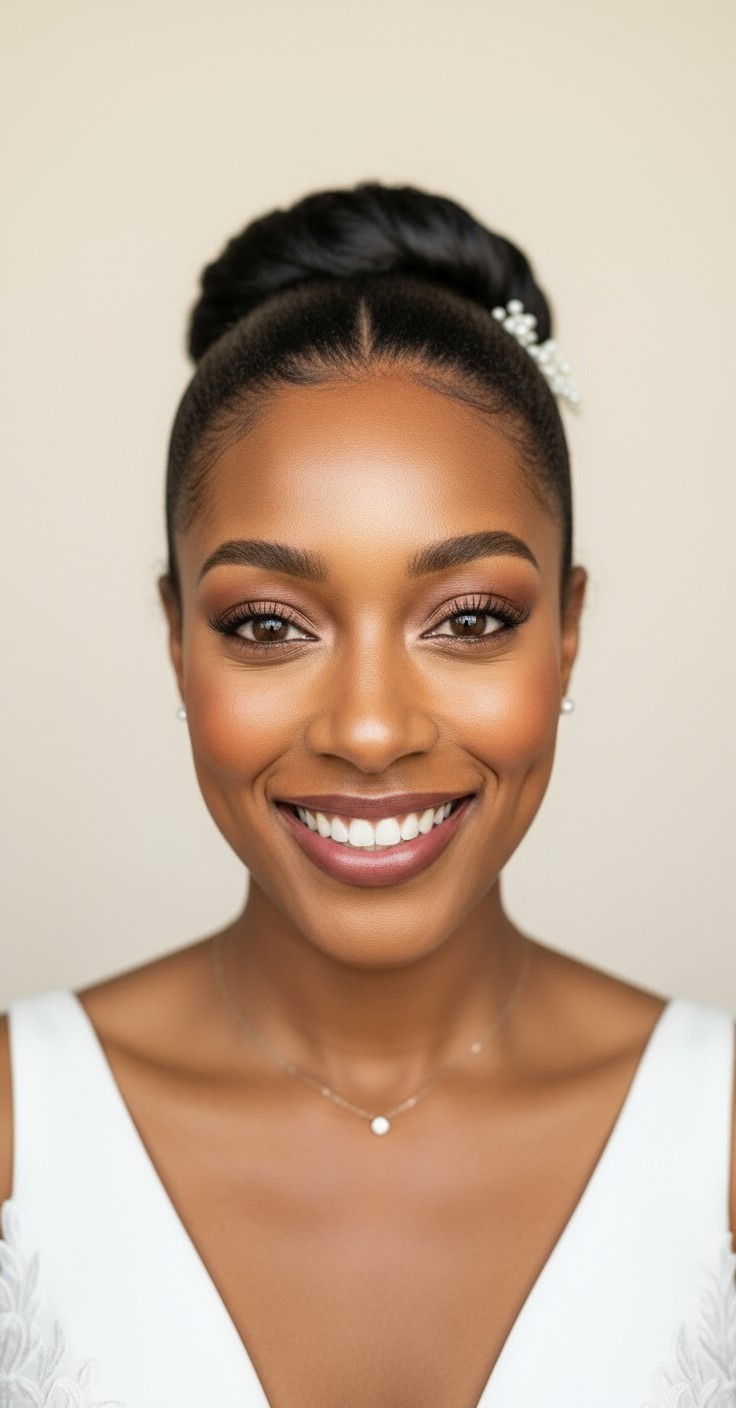
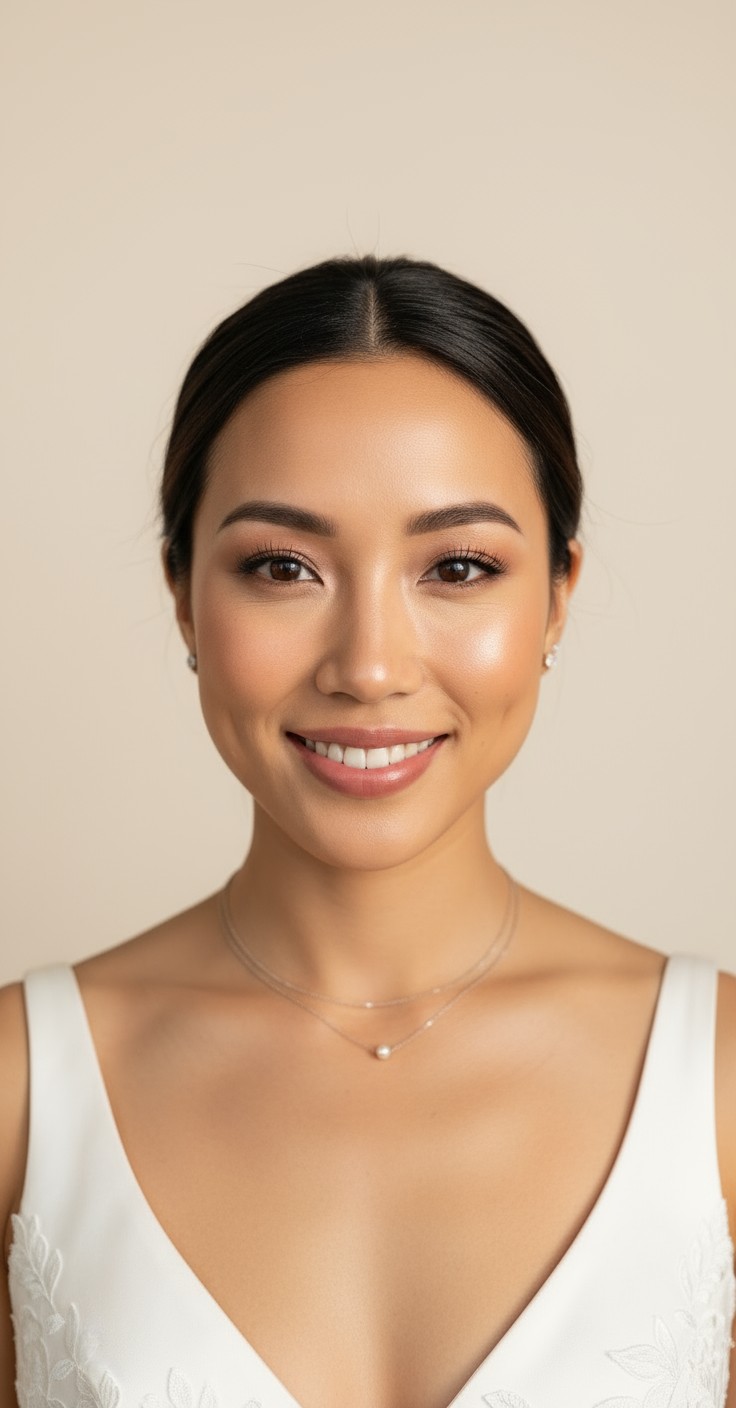
The bridal bun delivers that effortless elegance brides dream about—sophisticated enough to feel special, but timeless enough you'll love your photos decades later. There's something deeply confident about sweeping your hair into a beautiful bun; it frames your face, highlights your dress neckline, and lets your natural beauty shine without competing for attention.
Beyond the romance, bridal buns are incredibly practical for all-day wear. They stay secure through emotional vows, windy outdoor ceremonies, and hours of dancing, so you're never fussing with flyaways. Plus, they work beautifully with every veil length and can be dressed up or down with accessories to match any wedding style from classic ballroom to bohemian garden party.


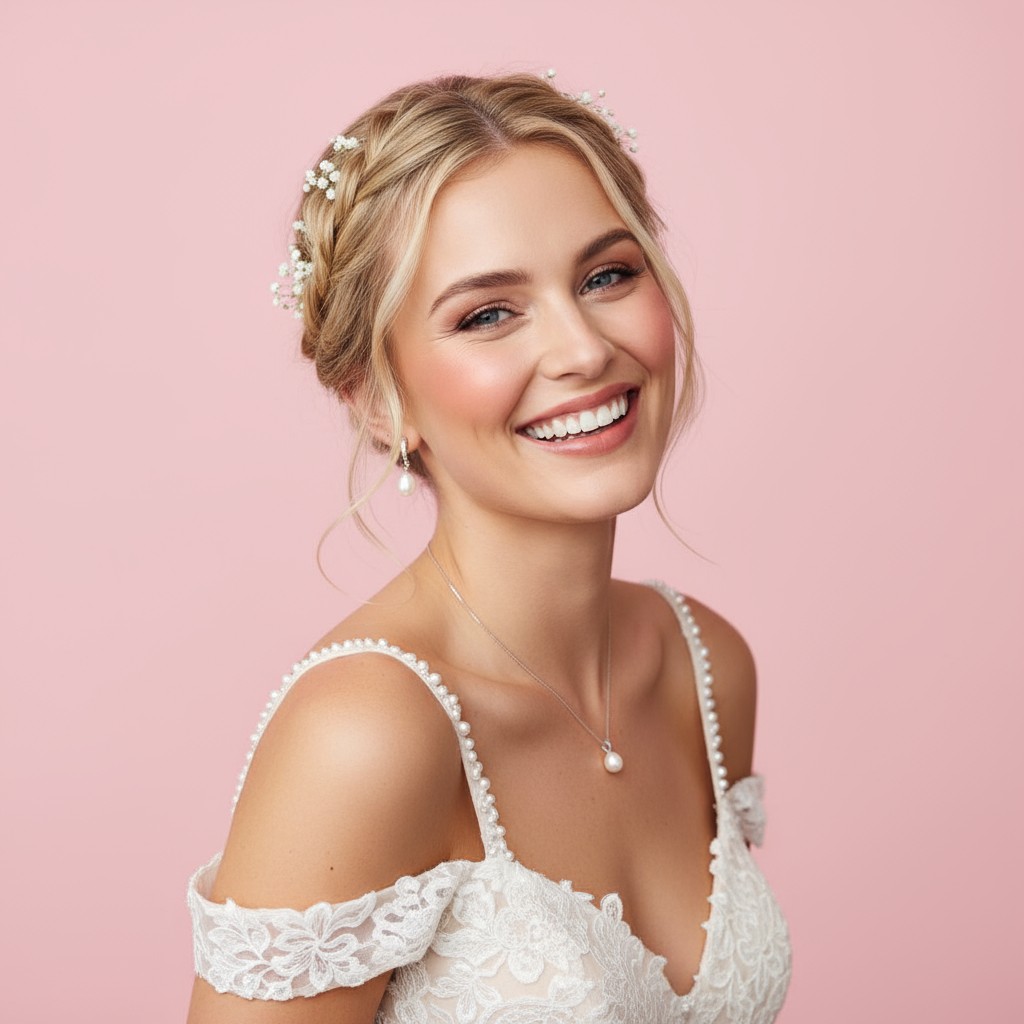
Pearl-studded hairpins scattered throughout the bun
Vintage gold or silver hair comb at the base
Crystal or rhinestone headband across the crown
Delicate hair vine wrapped around the bun
Art deco-inspired brooch as a statement piece
White or blush roses tucked into the bun's twist
Baby's breath for a soft, romantic cloud effect
Cathedral veil positioned just above the bun for dramatic effect
Fingertip veil attached at the crown or bun base for classic elegance
Start with second-day hair or use dry shampoo for better grip and texture.
Apply strong-hold hairspray in layers while building the bun, not just at end.
Use U-shaped pins vertically through the bun to anchor it to your head.
Pack a mini emergency kit: bobby pins, hairspray, and small comb for touchups.
Prep hair with texturizing spray or mousse on damp hair, then blow-dry smooth or with a slight wave for grip.
Gather hair into a low, mid, or high ponytail depending on your preferred bun placement and secure with a strong elastic.
Twist the ponytail into a rope, wrap it around the base in a circular motion, and tuck the ends underneath.
Pin the bun firmly with U-shaped pins inserted vertically, working around the perimeter and through the center for stability.
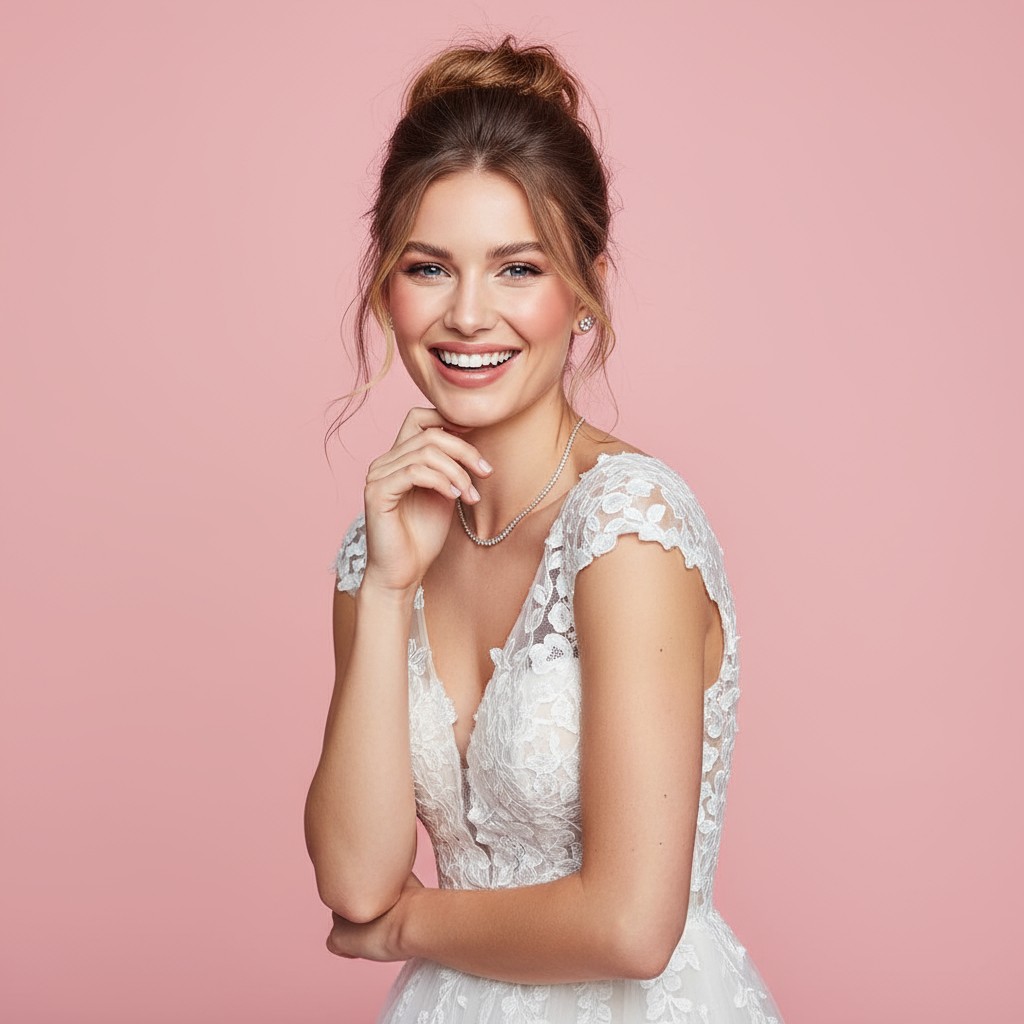
Gently pull and loosen sections for romantic softness, set with hairspray, and add accessories or veil for your final bridal moment.
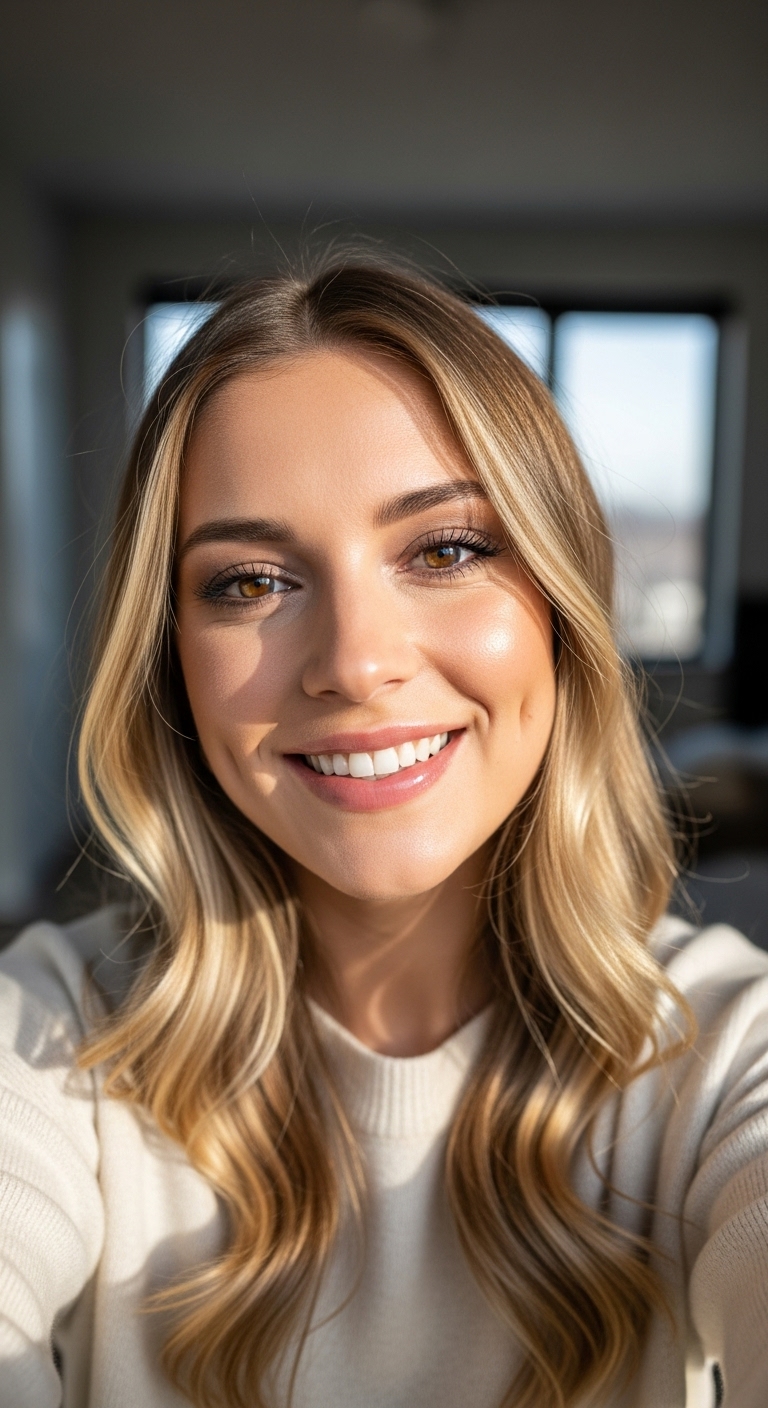
Prefer instant?
Try 500+ hairstyles in minutes without
leaving home. See exactly how you'll
look on your big day.
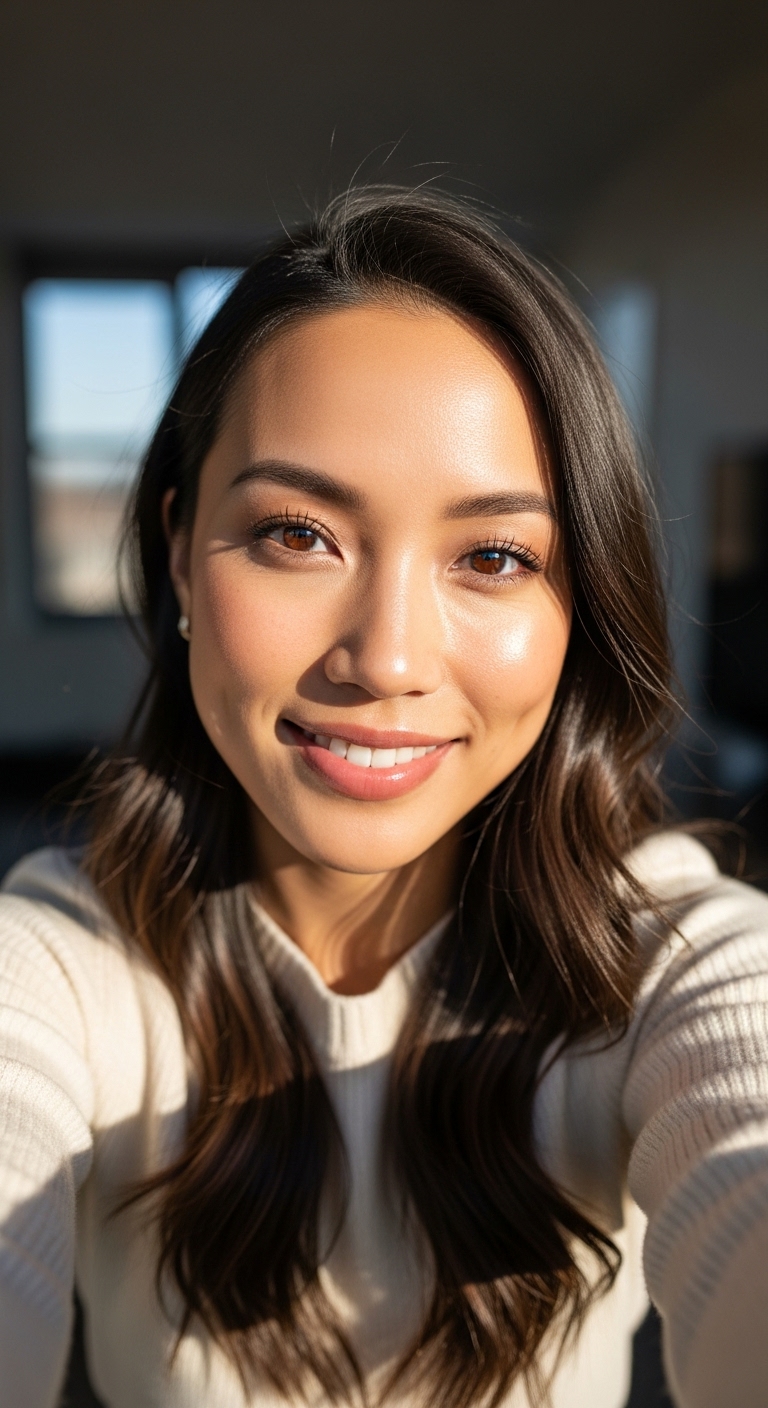
✨ Try Before You Commit
Show your stylist clear visual
references. No more guessing or
miscommunication.
📱 Perfect Communication
Skip endless salon consultations
and trials. Find your perfect style
risk-free.
💰 Save Time & Money
Absolutely! Use a hair donut or padding insert to create fuller volume, and tease the ponytail before wrapping. Texturizing products and strategic pinning will make thin hair look beautifully abundant.
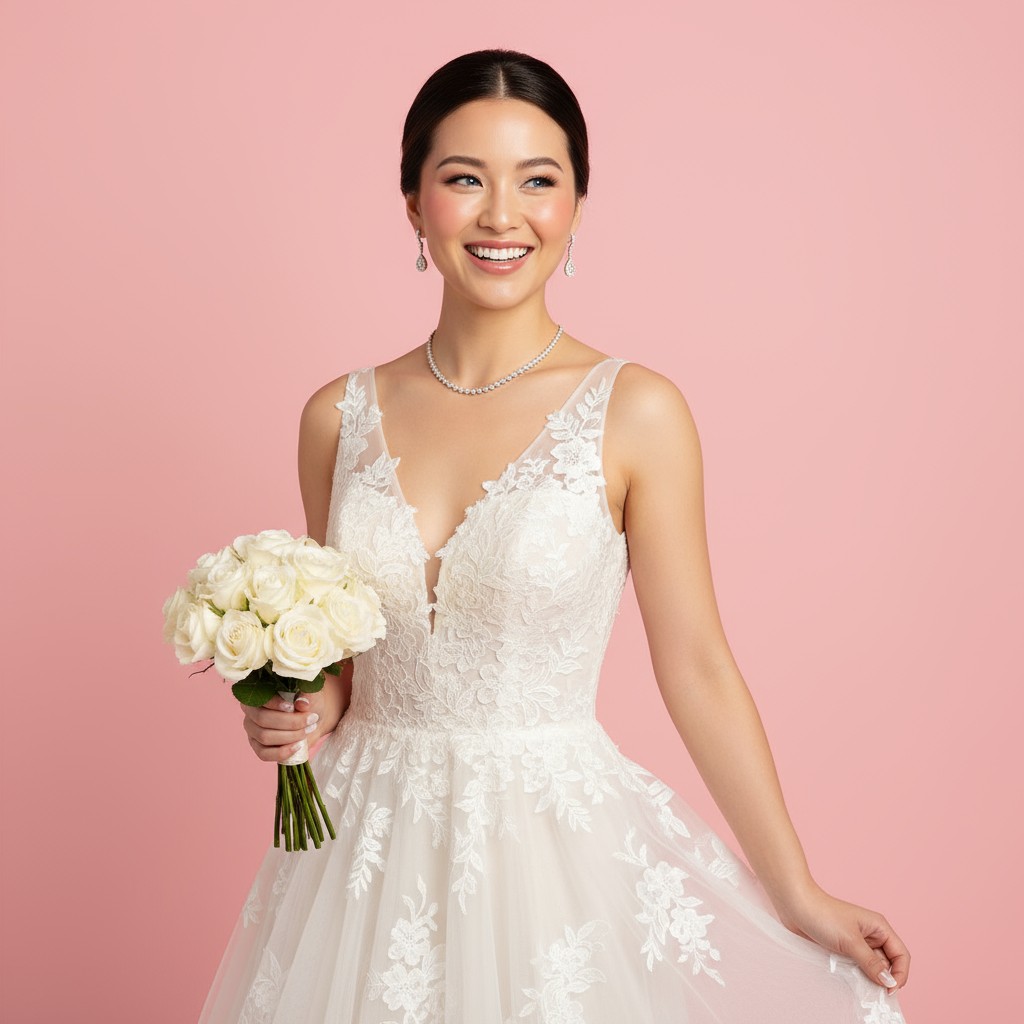
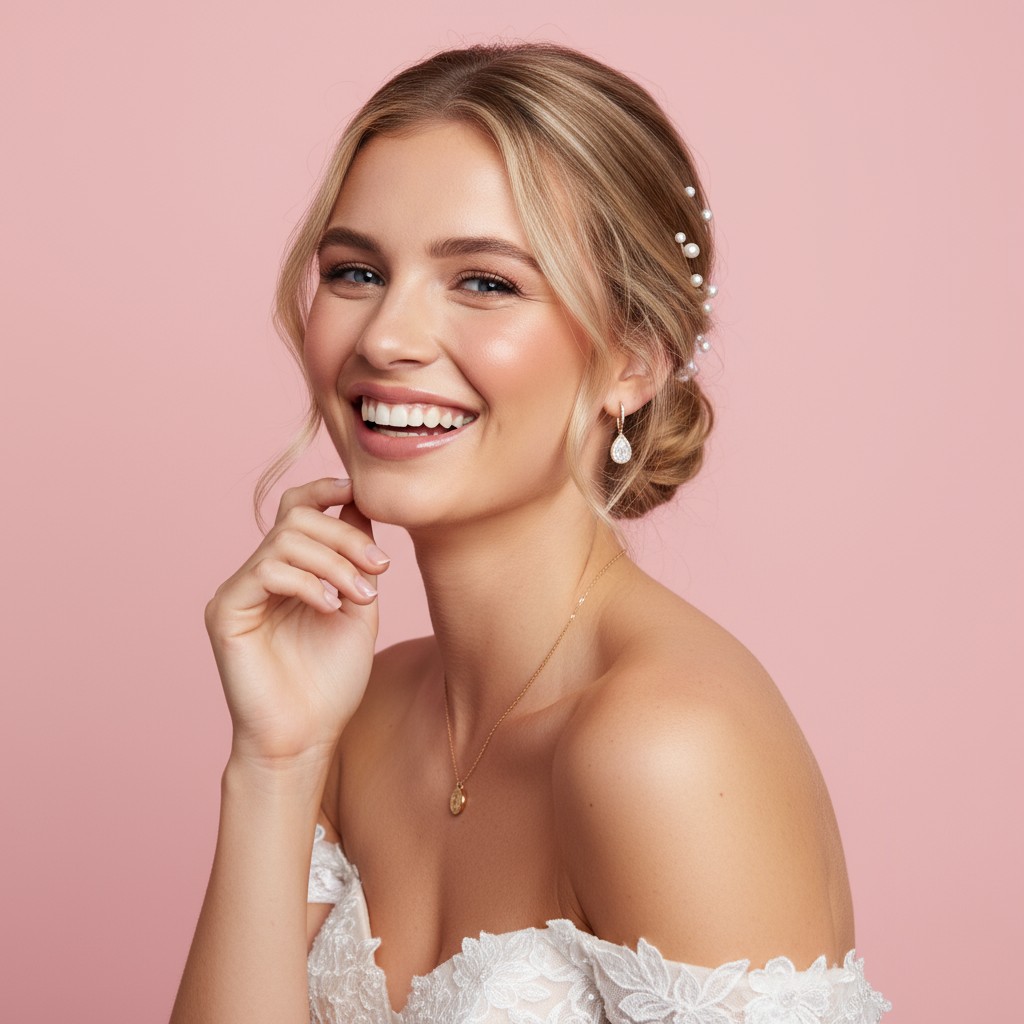
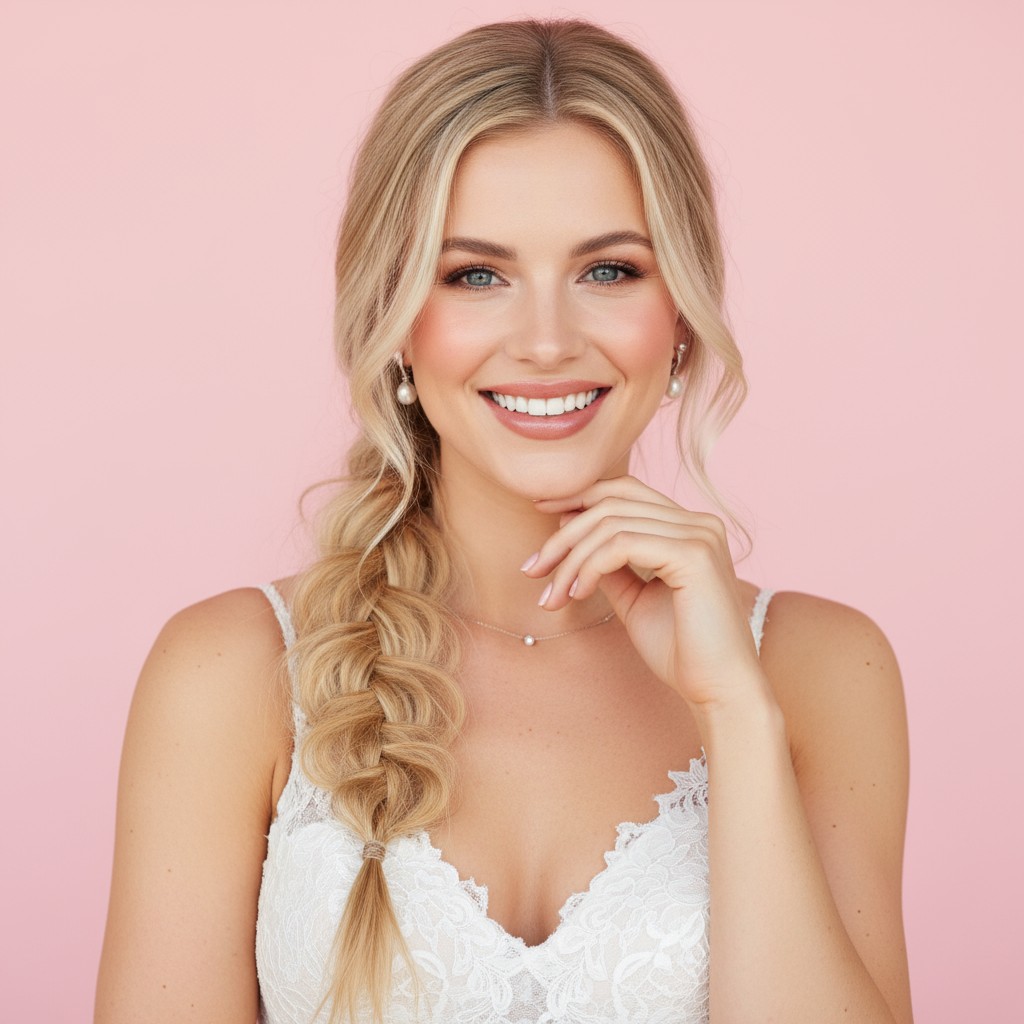
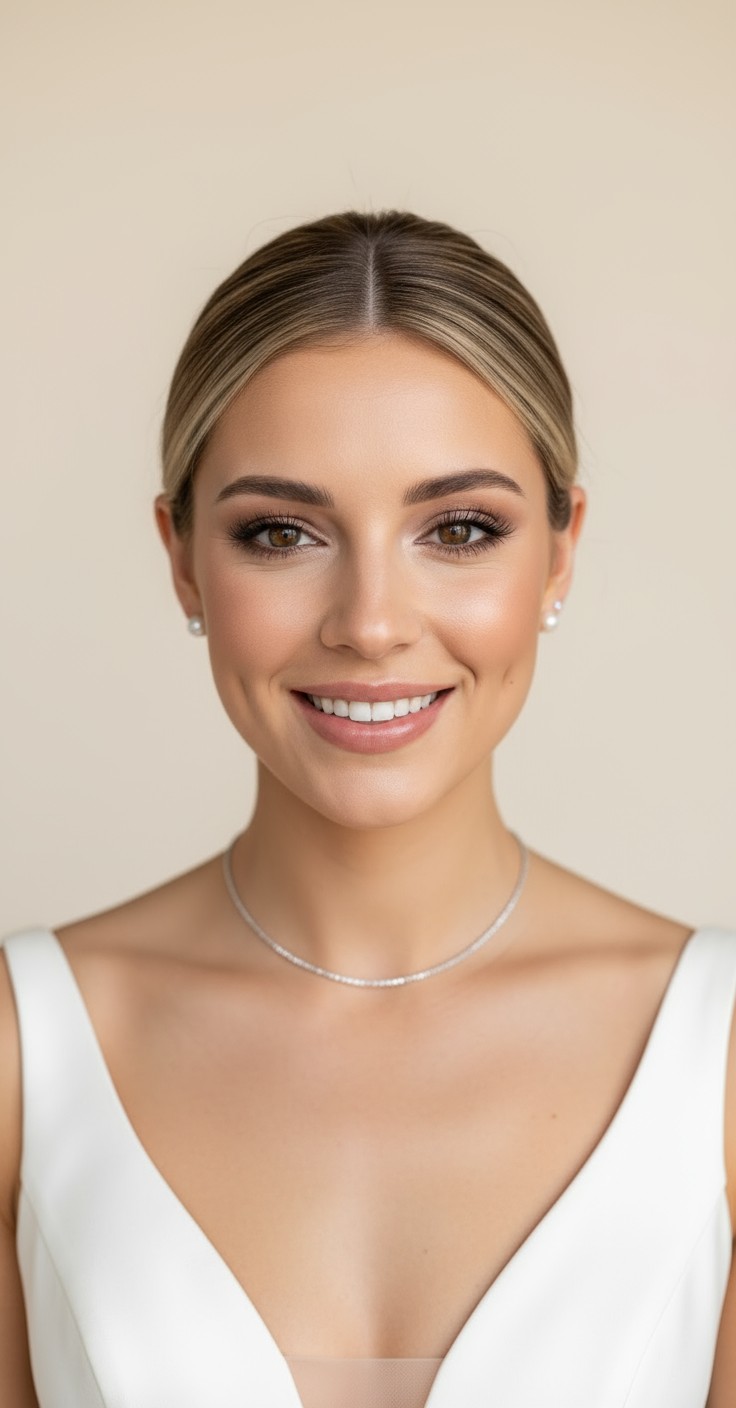
Yes, it's one of the best pairings! A bun beautifully showcases your shoulders and neckline, especially when positioned low or to the side. Consider adding a delicate necklace to complete the elegant look.
With proper pinning technique and strong-hold products, your bun will last all night. The key is using enough pins anchored to your scalp, not just the bun itself, and setting each layer as you build it.
After securing everything, gently pull small sections to create texture and softness—this is called "pancaking." Leave a few face-framing pieces loose, and avoid pulling the hair too taut when creating the initial ponytail.