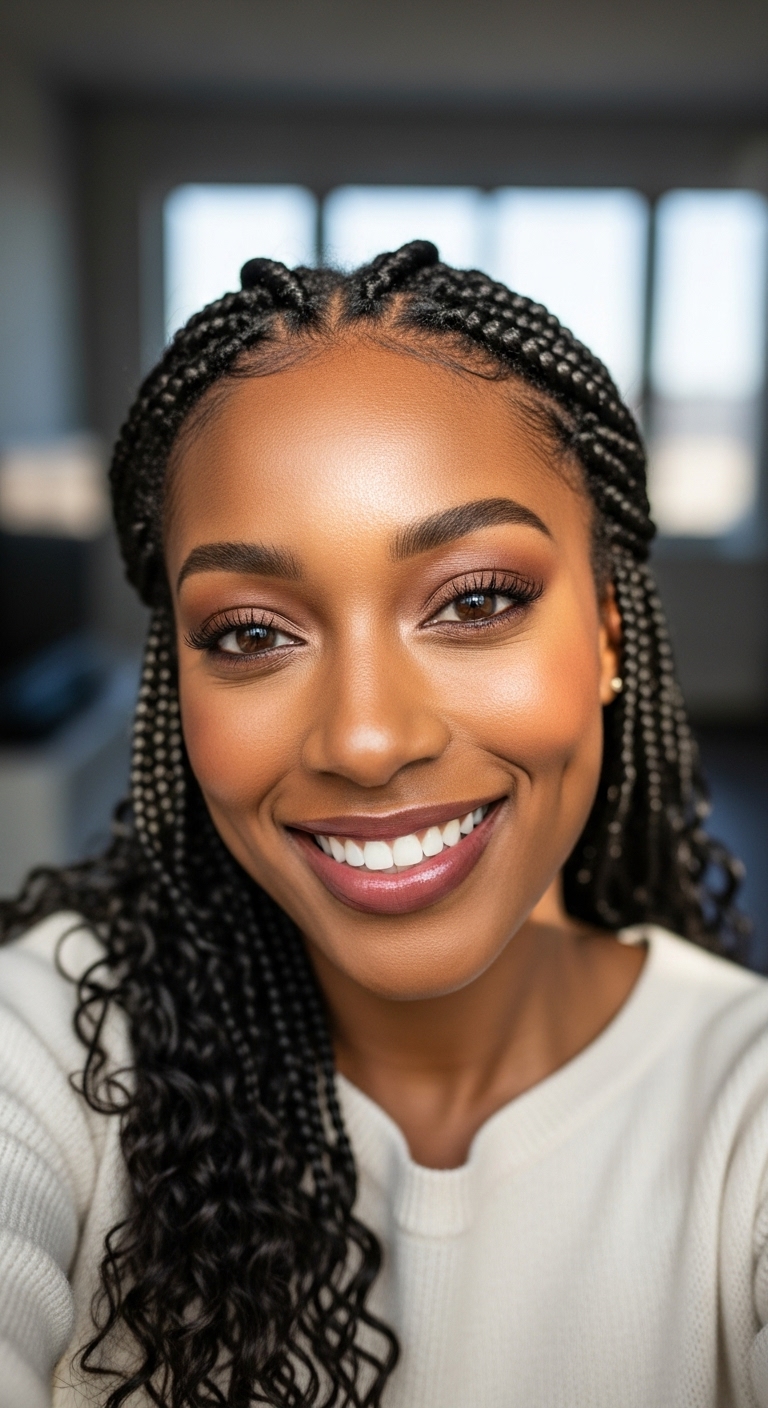
Preview this look on your face in seconds with our AI hair designer app.


Face shapes: Oval • Heart • Square

Hair length: Medium • Long • Extra Long

Hair texture: Straight • Wavy • Curly • Thick

Difficulty: Medium

Time to style: 45-60 minutes

Works with: Cathedral veil • Drop veil • Birdcage veil • Statement earrings • Hair combs
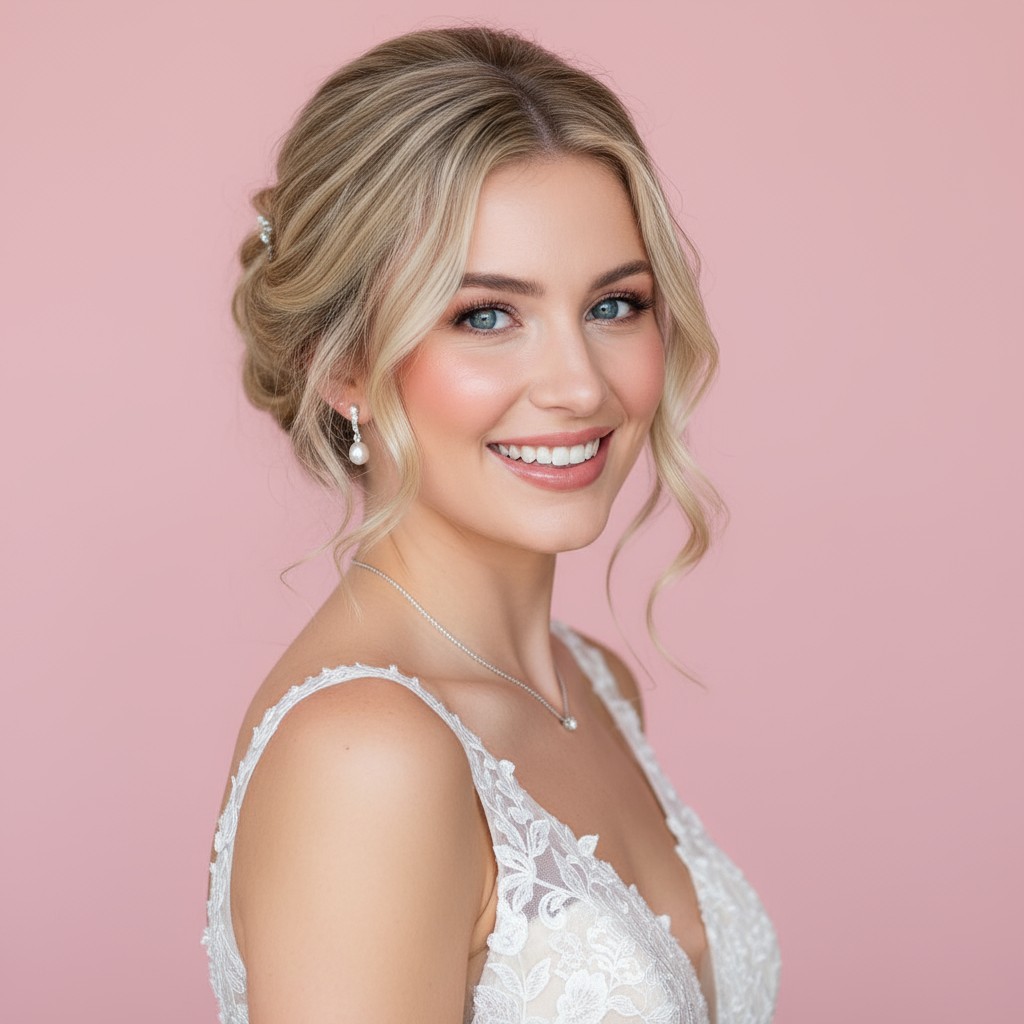
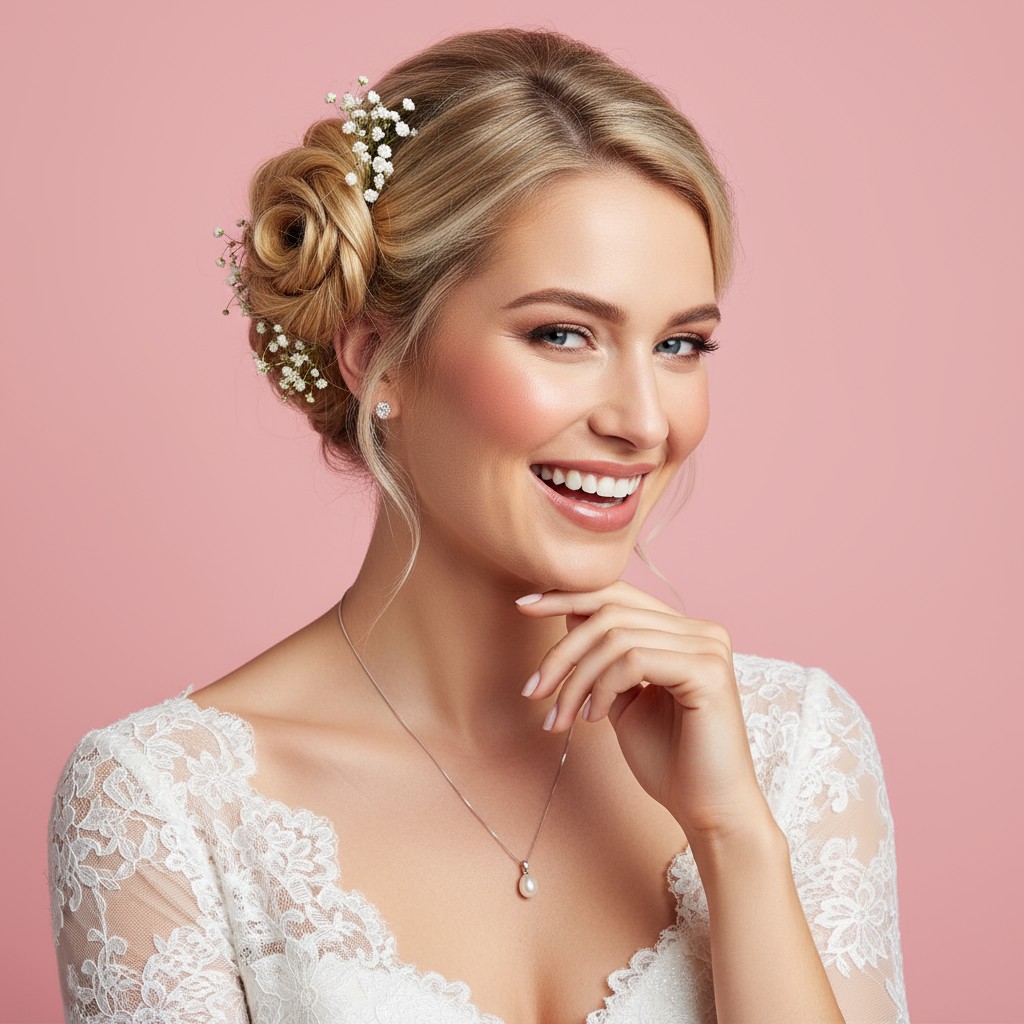
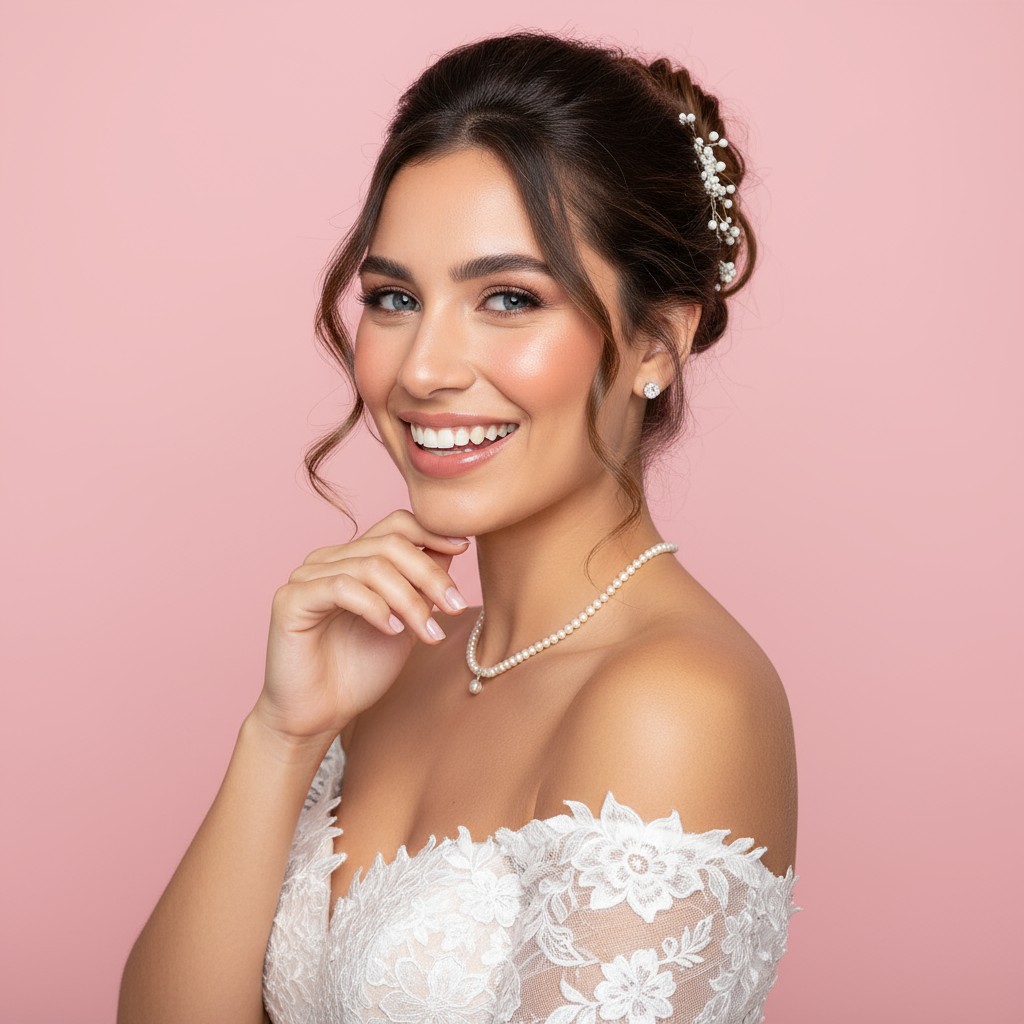
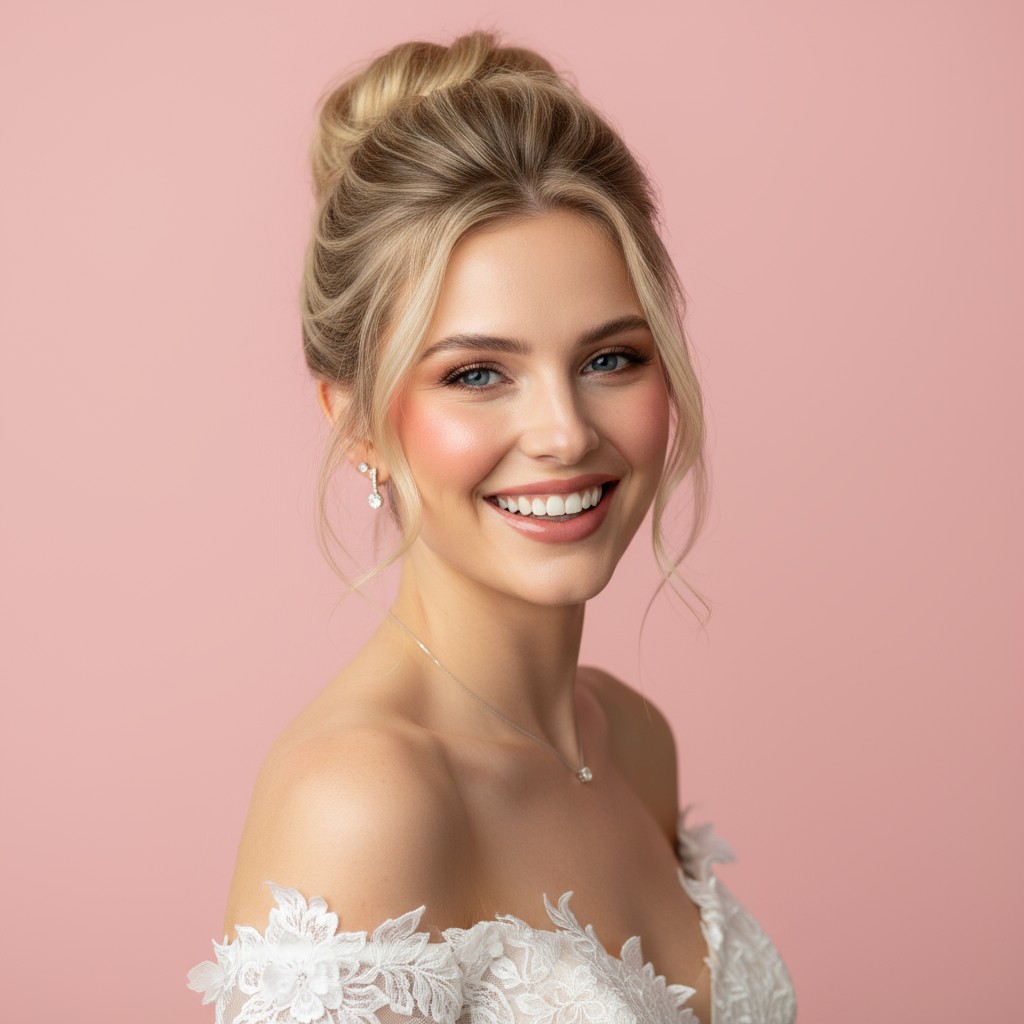
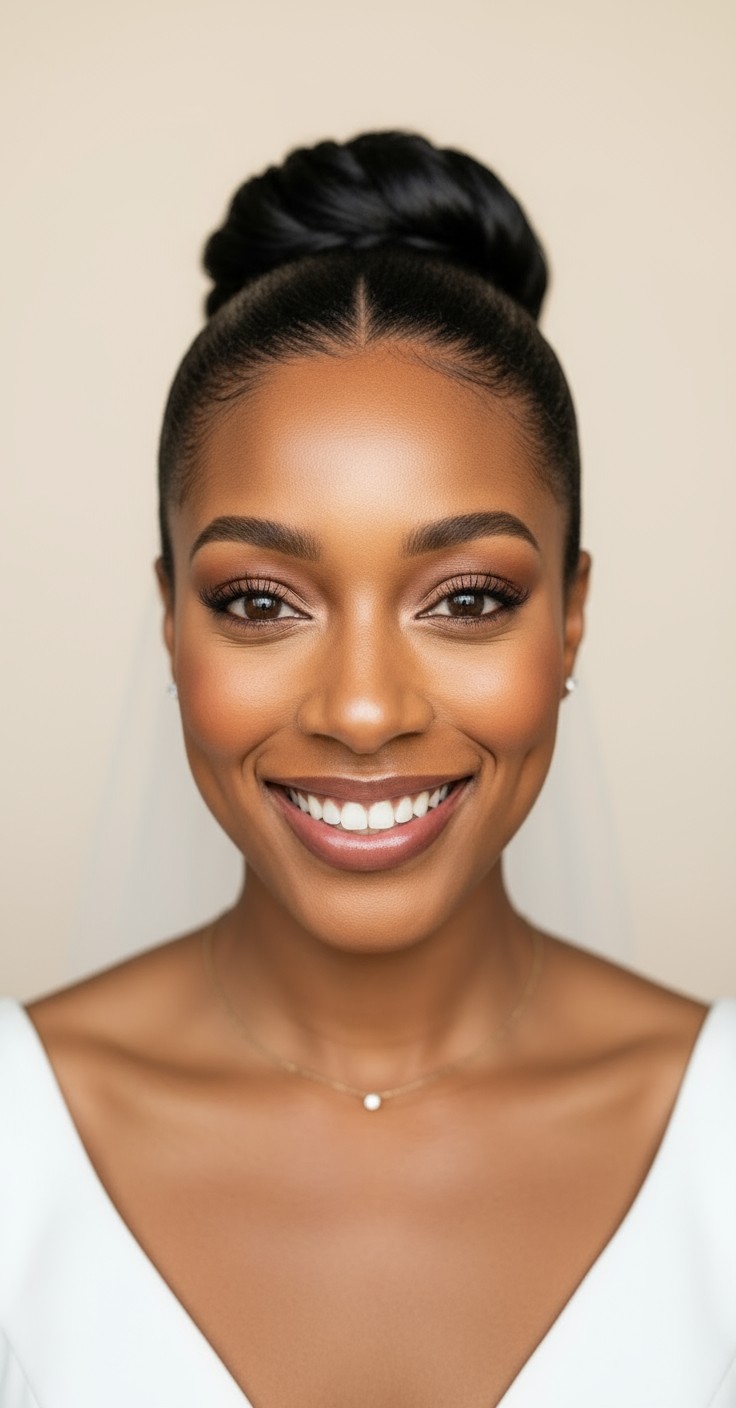
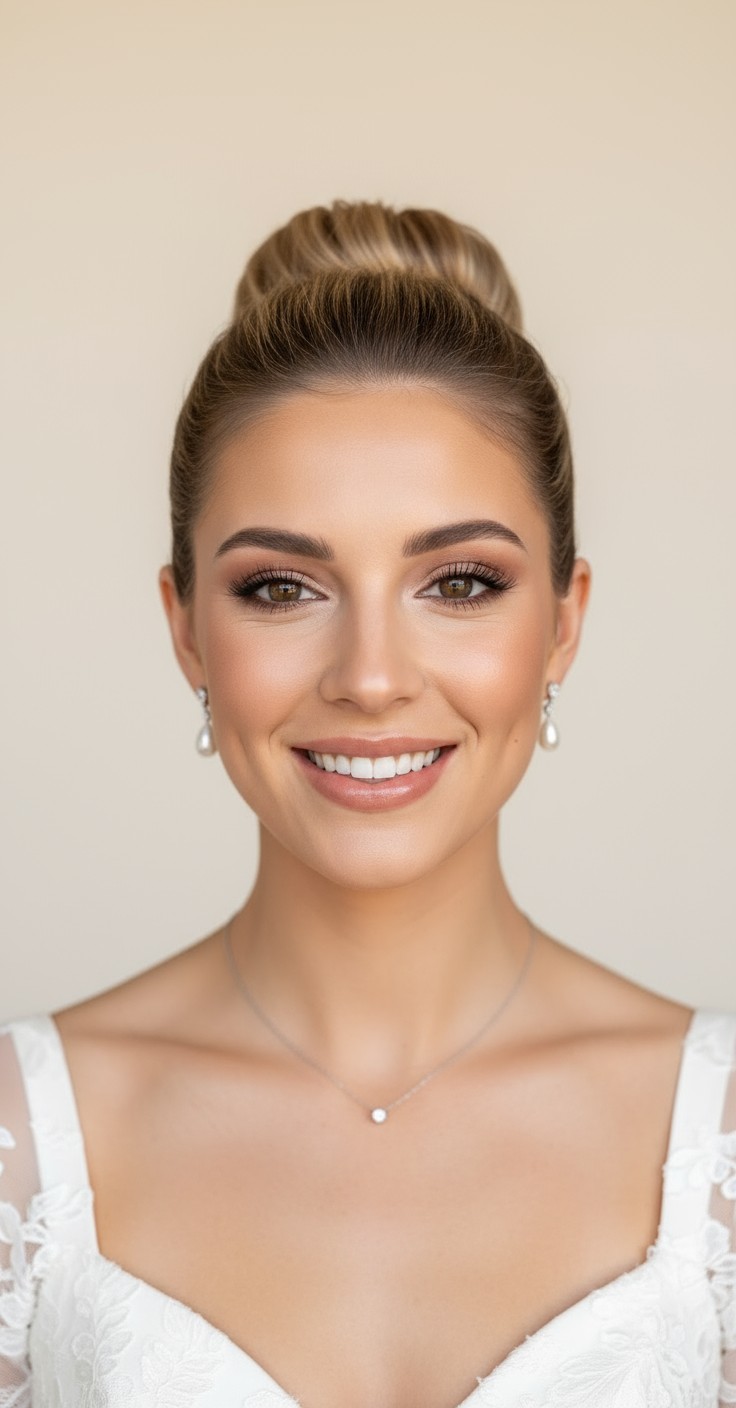
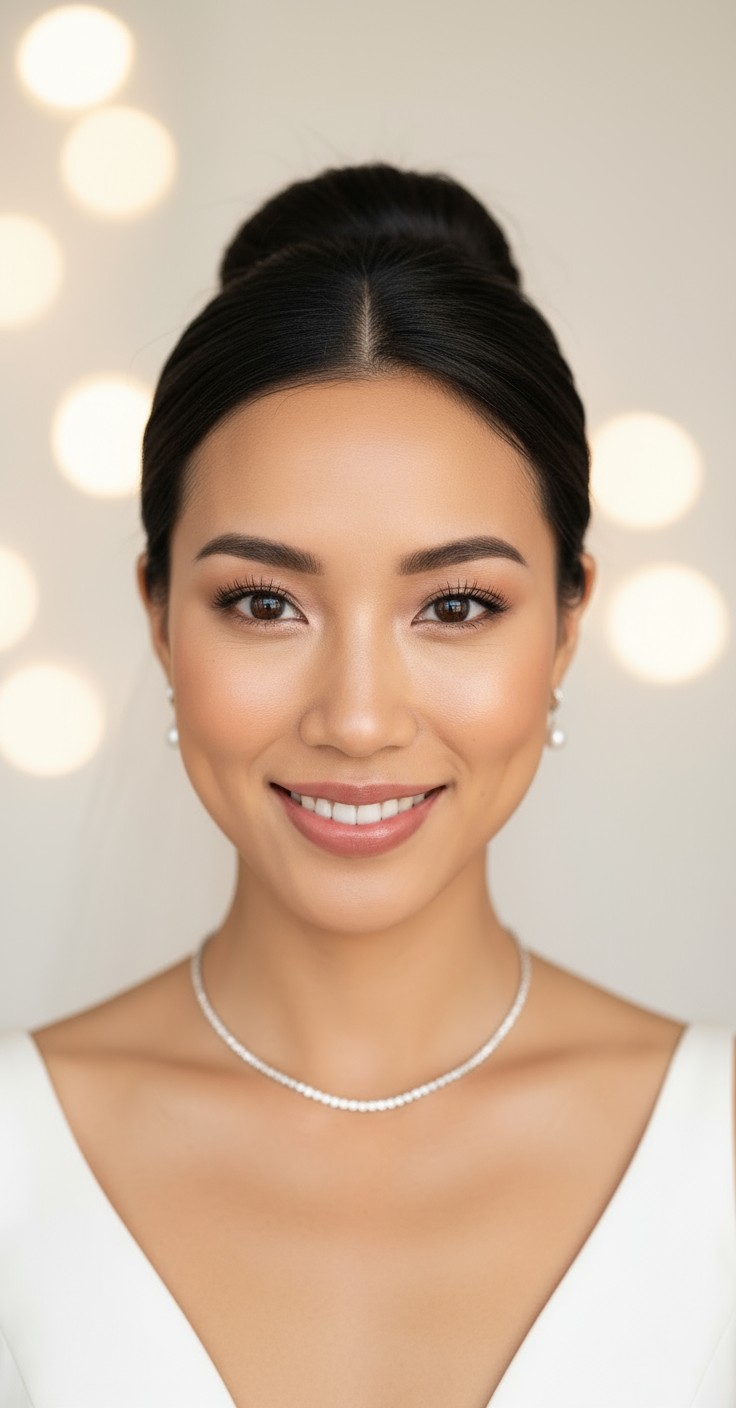
The bridal high bun offers an instant sense of sophistication and grace that makes every bride feel like royalty walking down the aisle. It creates a timeless, elegant silhouette that photographs beautifully from every angle, giving you that confident, polished look you've always imagined for your wedding day. There's something deeply romantic about the way it frames your face and showcases your features, your dress neckline, and those special earrings you've chosen.
Beyond its stunning appearance, the high bun is incredibly practical for a long celebration. It stays secure through emotional moments, windy outdoor ceremonies, and hours of dancing without constant touch-ups. The elevated placement works beautifully with virtually any veil style and keeps hair off your neck and shoulders, ensuring you stay comfortable and cool throughout your special day.


Vintage pearl hairpins scattered throughout the bun
Crystal-embellished hair comb at the base
Delicate gold leaf vine wrapping around the bun
Art deco inspired headpiece positioned above the bun
Minimalist diamond bobby pins for subtle sparkle
White spray roses or baby's breath tucked into the twist
Silk ribbon wrapped around the base with trailing ends
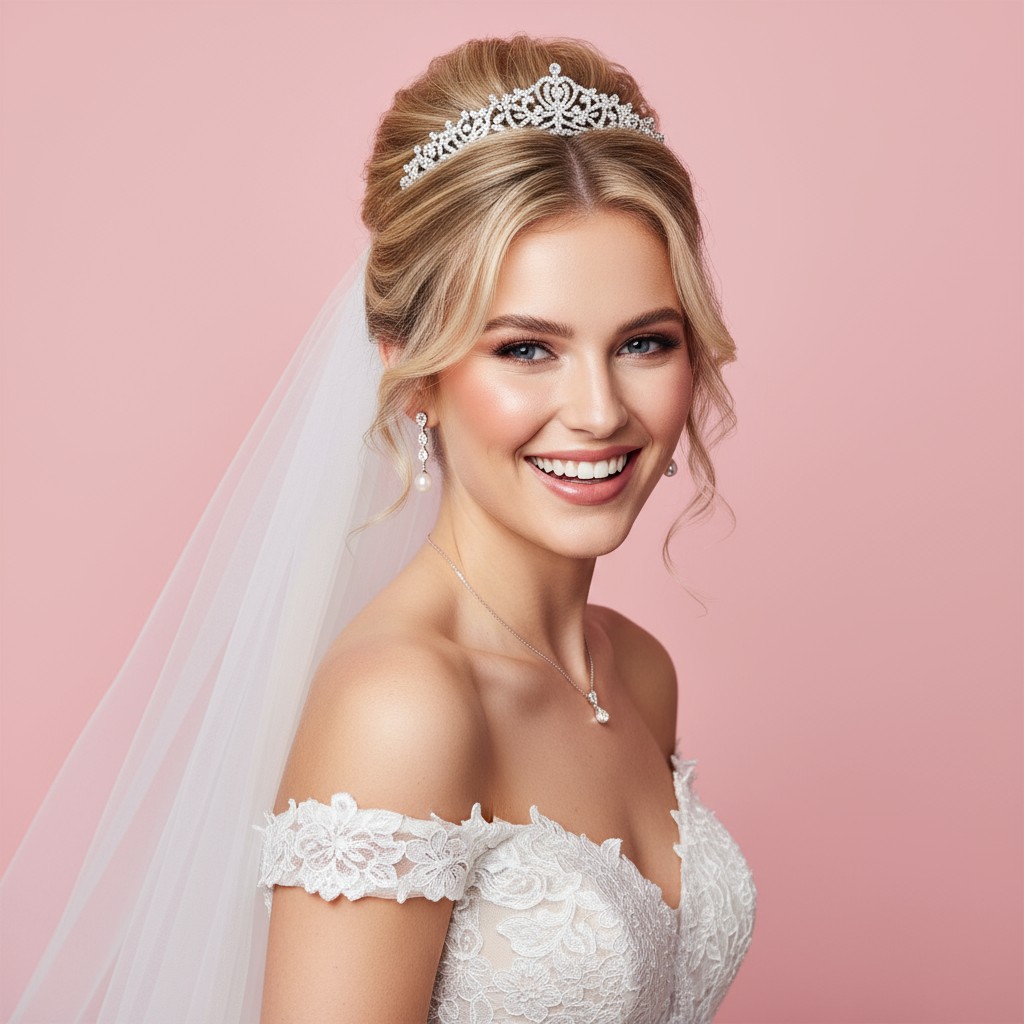
Cathedral veil positioned just below the bun for dramatic effect
Drop veil secured at the base of the bun for classic elegance
Start with day-old hair for better grip and texture
Backtease at crown before building bun for lasting volume
Use elastic and U-pins first, then decorative pins
Finish with strong-hold hairspray and light texturizing spray
Prep hair with texturizing spray on dry, day-old hair and create a deep side or center part depending on your preference.
Gather hair into a high ponytail at the crown, backteasing underneath sections for volume before securing with a strong elastic.
Twist the ponytail loosely and wrap it around the base in a circular motion, leaving the ends slightly loose for texture.
Pin the bun in place with U-shaped pins pushed through the center, then add bobby pins around the perimeter for extra hold.
Gently pull and loosen sections of the bun for romantic softness, secure flyaways with hairspray, and add your chosen accessories for the final reveal.
Prefer instant?
Try 500+ hairstyles in minutes without
leaving home. See exactly how you'll
look on your big day.
✨ Try Before You Commit
Show your stylist clear visual
references. No more guessing or
miscommunication.
📱 Perfect Communication
Skip endless salon consultations
and trials. Find your perfect style
risk-free.
💰 Save Time & Money
Absolutely! Using clip-in extensions at the ponytail stage and backteasing for volume creates a fuller, more substantial bun. A textured, slightly messy finish also makes fine hair look thicker and more romantic.
The key is not pulling too tightly at the scalp when creating the base ponytail—secure the bun itself, not just the roots. If you feel tension, have your stylist reposition pins to distribute weight more evenly.
Yes, it's actually one of the best choices for outdoor weddings! The elevated, secure structure keeps hair off your neck in heat and withstands wind much better than loose, flowing styles.
Not when styled correctly! Leaving soft face-framing pieces, creating texture in the bun, and positioning it at the right height for your face shape ensures a romantic, balanced look rather than a severe one.