Preview this look on your face in seconds with our AI hair designer app.


Face shapes: Oval • Heart • Round

Hair length: Medium • Long • Extra Long

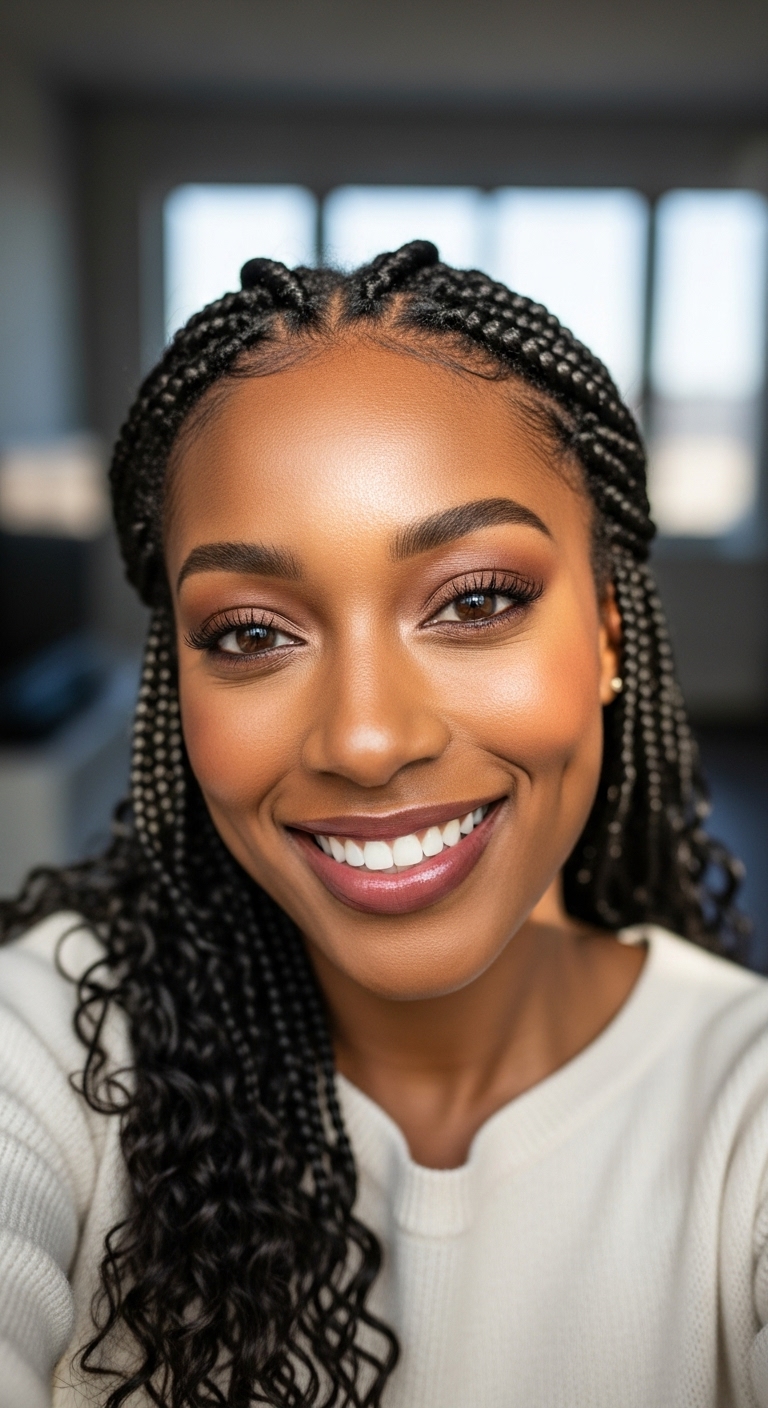
Hair texture: Straight • Wavy • Curly • Thick

Difficulty: Easy

Time to style: 20-30 minutes

Works with: Cathedral veil • Chapel veil • Fingertip veil • Hair jewelry • Fresh flowers
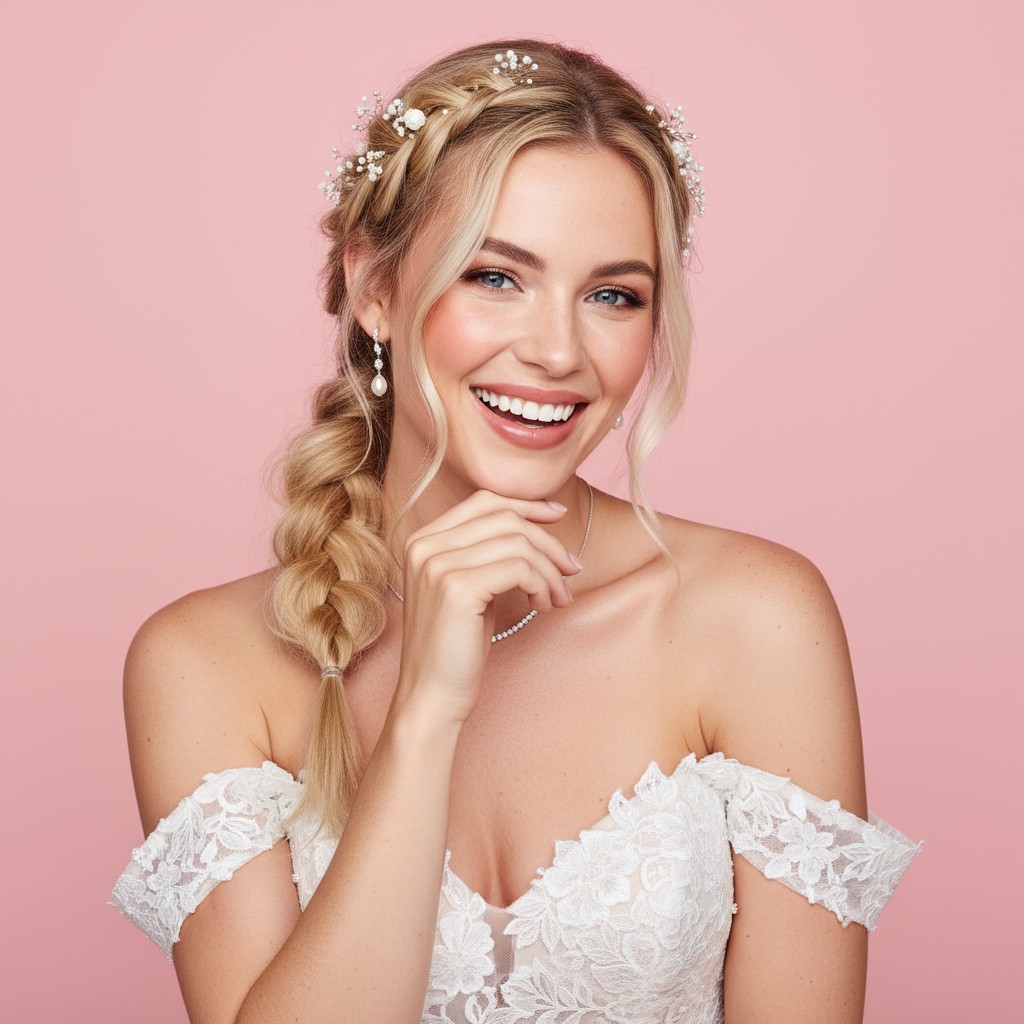
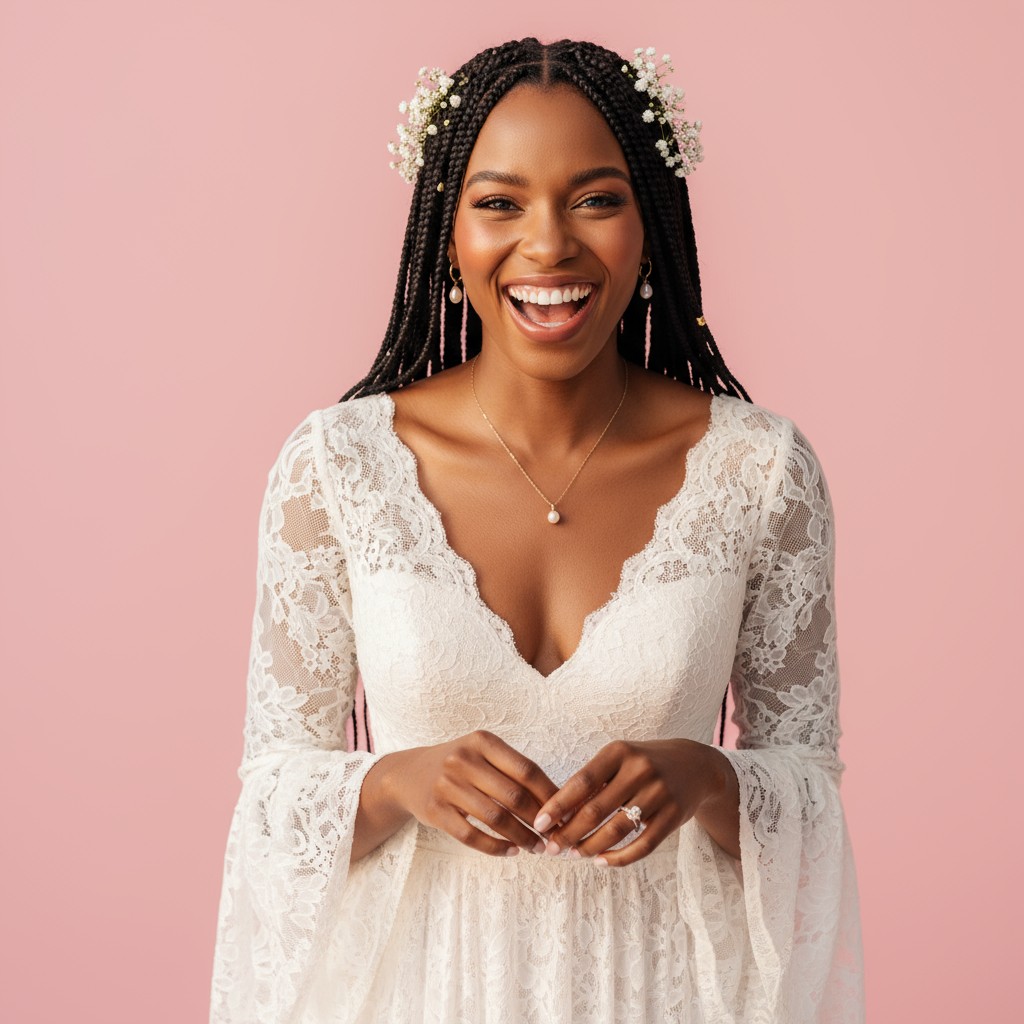
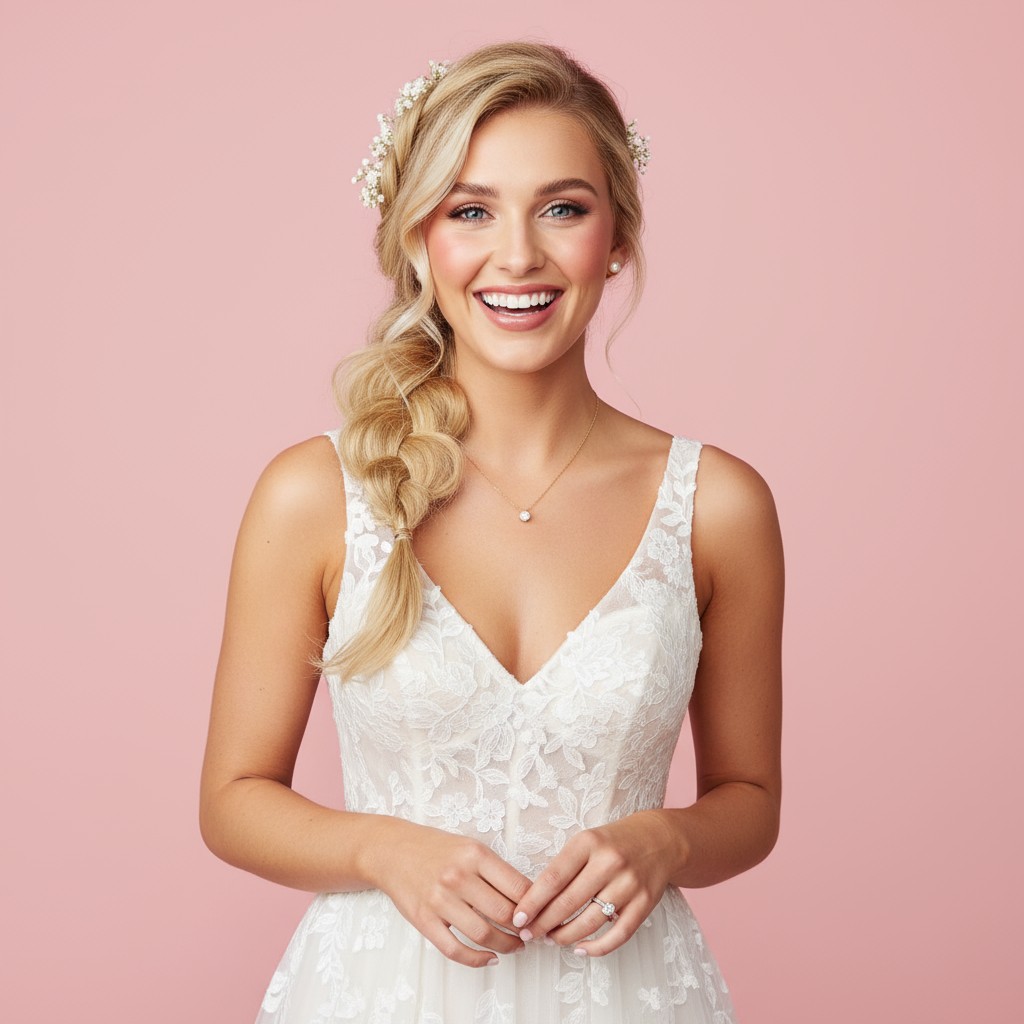
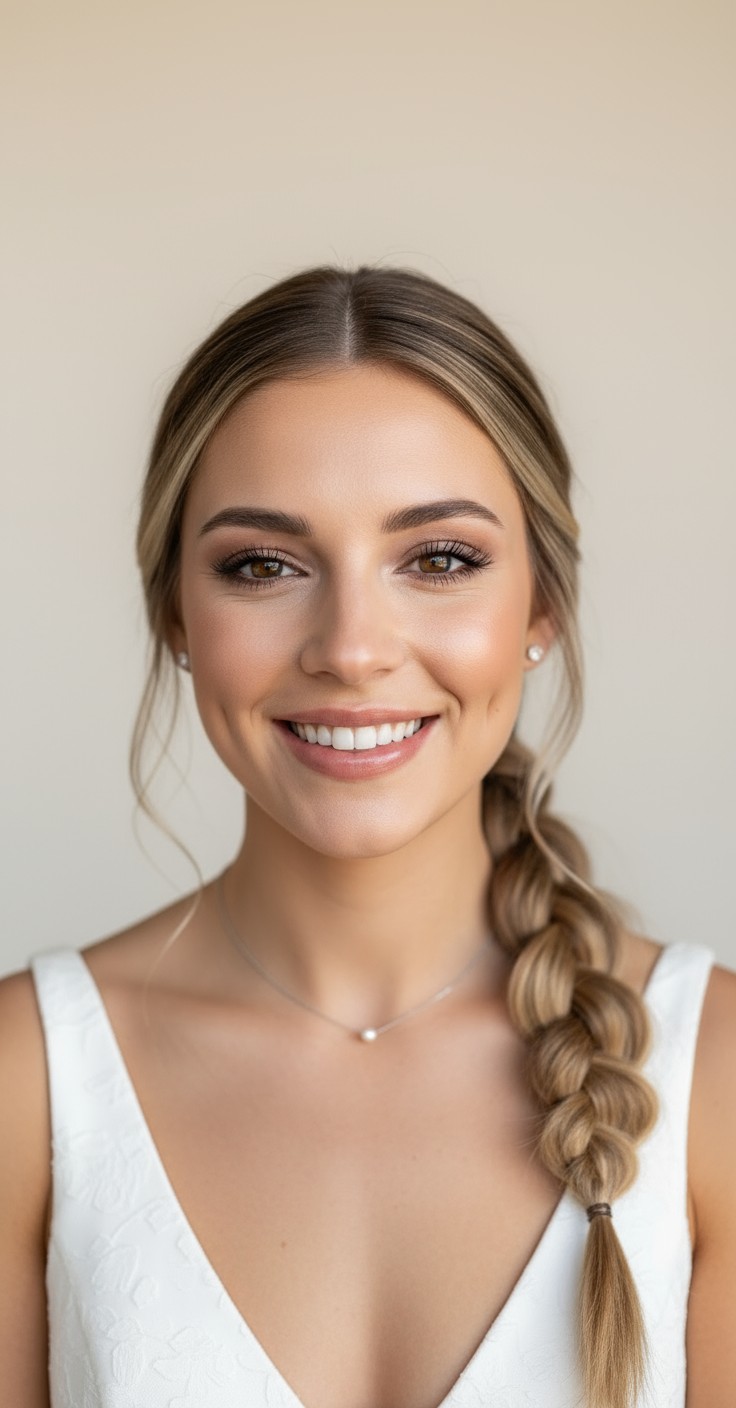
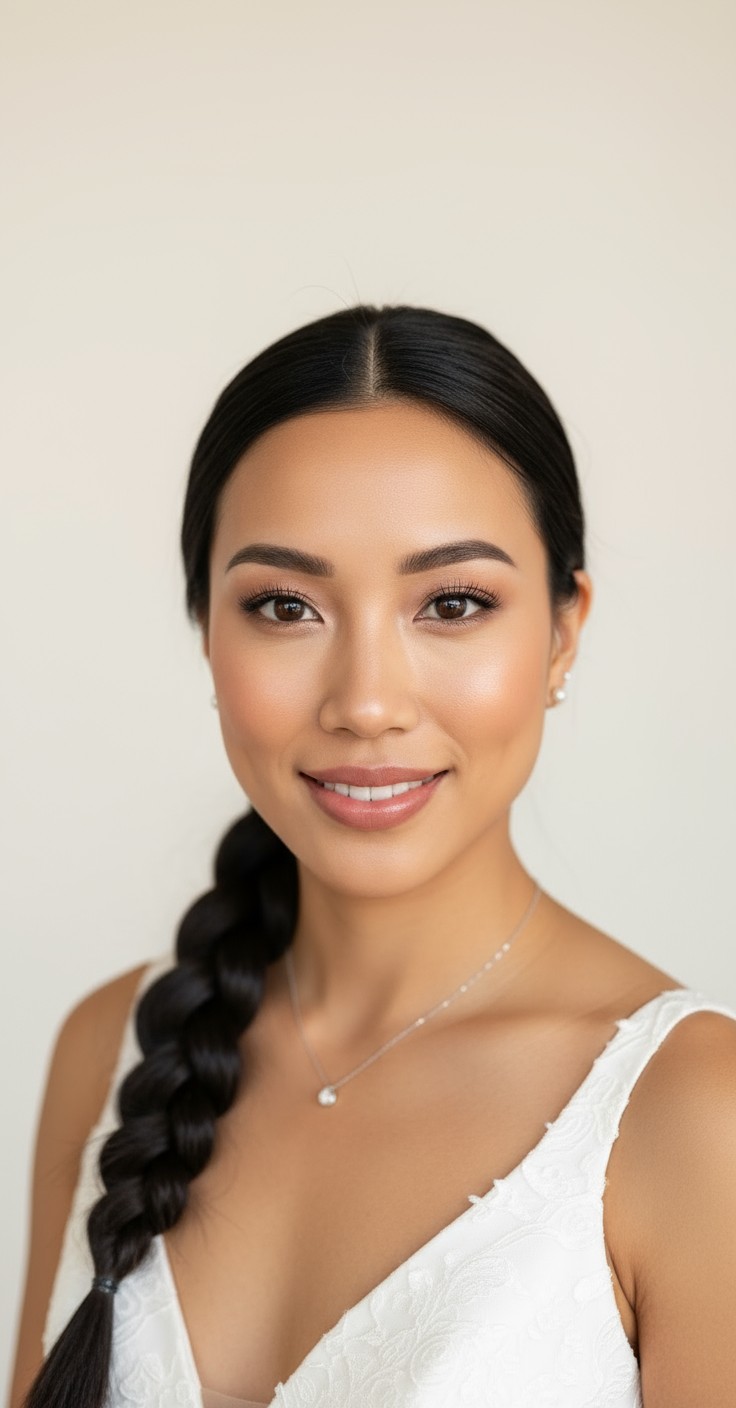
The bubble braid brings a playful elegance that makes brides feel both romantic and modern on their big day. It's that rare style that photographs beautifully from every angle—giving you confidence during your ceremony and creating stunning images you'll treasure forever. There's something inherently joyful about the cascading bubble effect that captures the celebration of love itself.
Beyond its beauty, this style is remarkably practical for all-day wear. The segmented structure actually distributes weight evenly, preventing the headache that comes from tight pulling, and it holds up beautifully through dancing, hugging, and even outdoor ceremonies. It works seamlessly with veils of any length and stays secure without requiring constant touch-ups, letting you focus on what really matters—enjoying every moment.


Pearl-studded elastic bands to wrap each bubble section
Delicate crystal pins scattered throughout for subtle sparkle
Gold or silver hair cuffs at alternating bubble segments
Vintage-inspired ribbon woven between sections
Minimalist metal rings securing each bubble
Baby's breath tucked into every other bubble for ethereal romance
Small spray roses or ranunculus at the base of each section
Cathedral veil positioned above the first bubble for dramatic entrance
Fingertip veil attached at the crown to showcase the full braid length
Apply volumizing mousse to damp hair before blow-drying for lasting body.
Tease gently at the crown and each bubble section for dimension.
Use clear elastics and cross two bobby pins for invisible, secure hold.
Finish with flexible-hold hairspray to maintain movement while preventing flyaways.
Prep hair with texturizing spray on dry hair to create grip and add dimension throughout.
Secure hair into a low, mid, or high ponytail depending on your desired bubble placement using a sturdy elastic.
Place clear elastics down the length of the ponytail at 2-3 inch intervals, creating evenly spaced sections.
Gently pancake each bubble section by pulling the hair outward between elastics for soft, romantic fullness.
Secure any loose pieces with bobby pins, add your chosen accessories, and mist with hairspray for all-day hold.
Prefer instant?
Try 500+ hairstyles in minutes without
leaving home. See exactly how you'll
look on your big day.
✨ Try Before You Commit
Show your stylist clear visual
references. No more guessing or
miscommunication.
📱 Perfect Communication
Skip endless salon consultations
and trials. Find your perfect style
risk-free.
💰 Save Time & Money
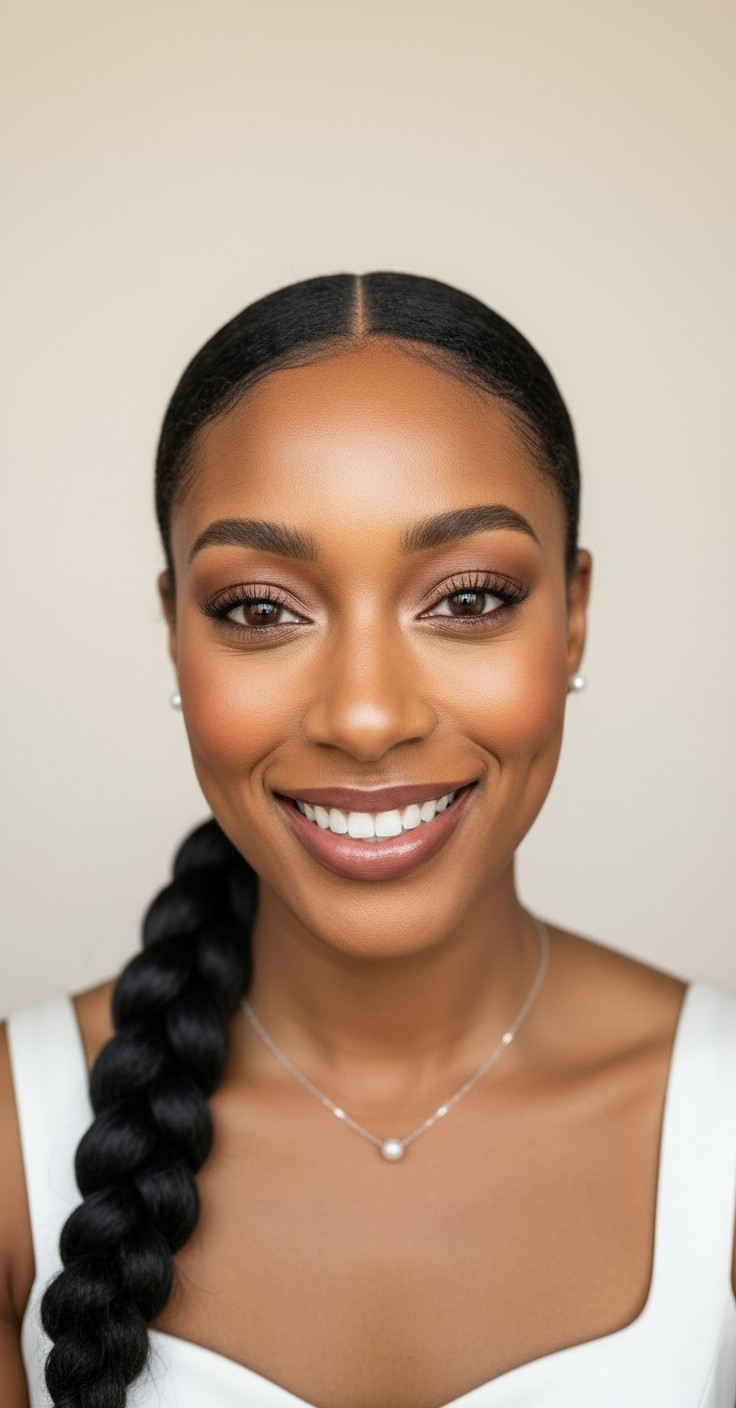
Absolutely! The bubble technique actually creates the illusion of thicker, fuller hair by gently pulling and expanding each section. Using a texturizing spray beforehand adds extra grip and volume that makes fine hair look luxuriously full.
Yes, the segmented structure of bubble braids makes them incredibly stable and secure. Each elastic acts as an anchor point, so even if one section loosens slightly, the rest of the style stays perfectly intact throughout your celebration.
Bubble braids work beautifully with veils! Simply attach your veil at the crown or just above the first bubble, and the cascading braid will frame it perfectly. The vertical structure actually complements the veil's flow rather than competing with it.
Plan to do at least 2-3 practice runs in the month before your wedding. Bubble braids are beginner-friendly, so most brides feel confident after just one or two attempts, but practicing helps you perfect your bubble placement and sizing.