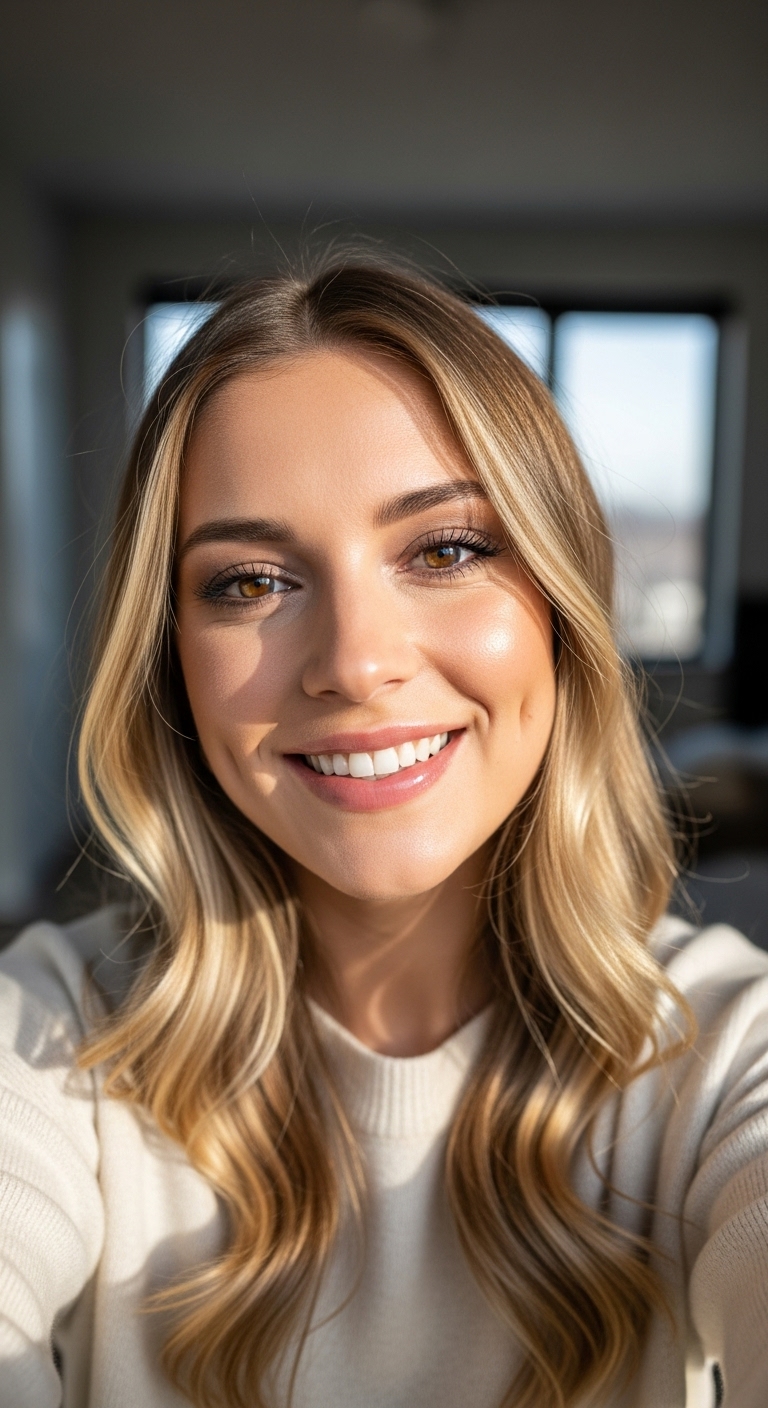
Preview this look on your face in seconds with our AI hair designer app.


Face shapes: Oval • Heart • Diamond

Hair length: Medium • Long • Extra Long

Hair texture: Straight • Wavy • Curly • Thick

Difficulty: Medium

Time to style: 45-60 minutes

Works with: Cathedral veil • Fingertip veil • Floral crown • Pearl hairpins • Delicate headbands
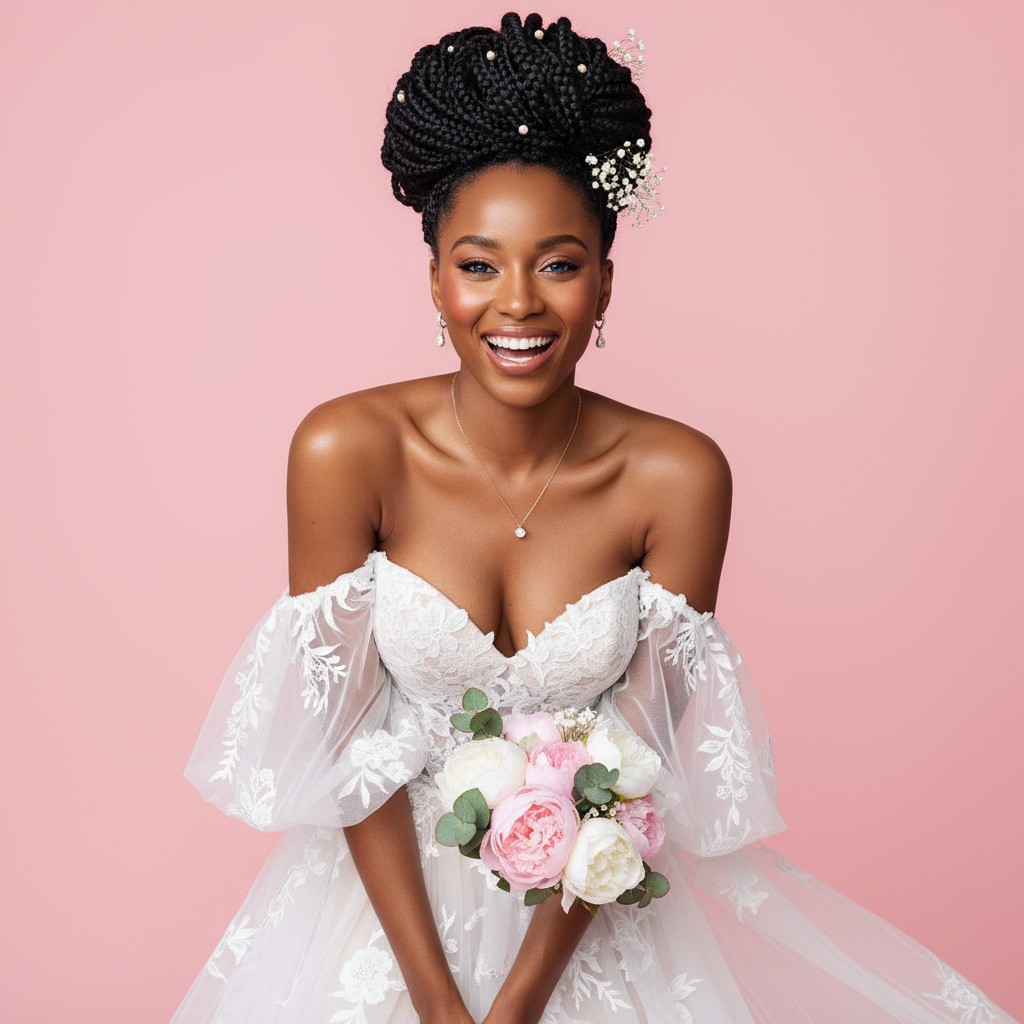
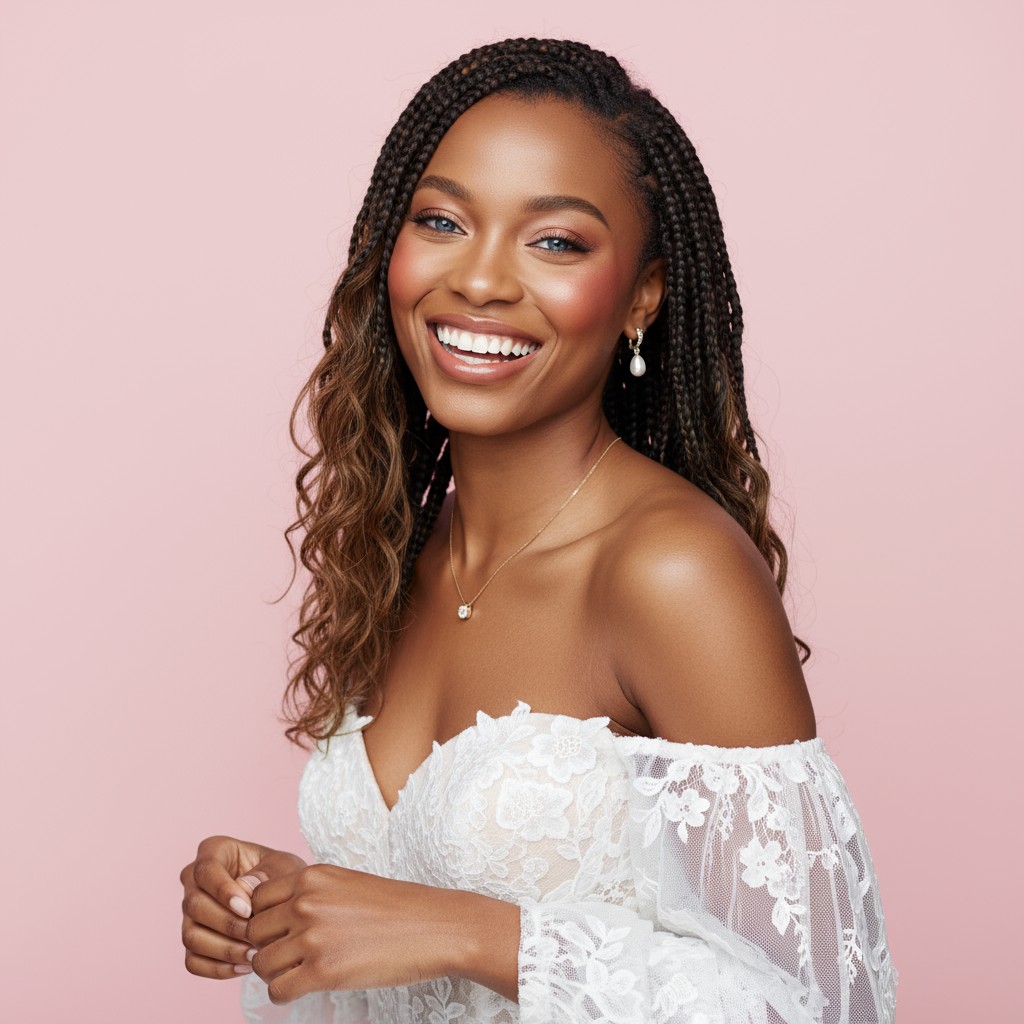
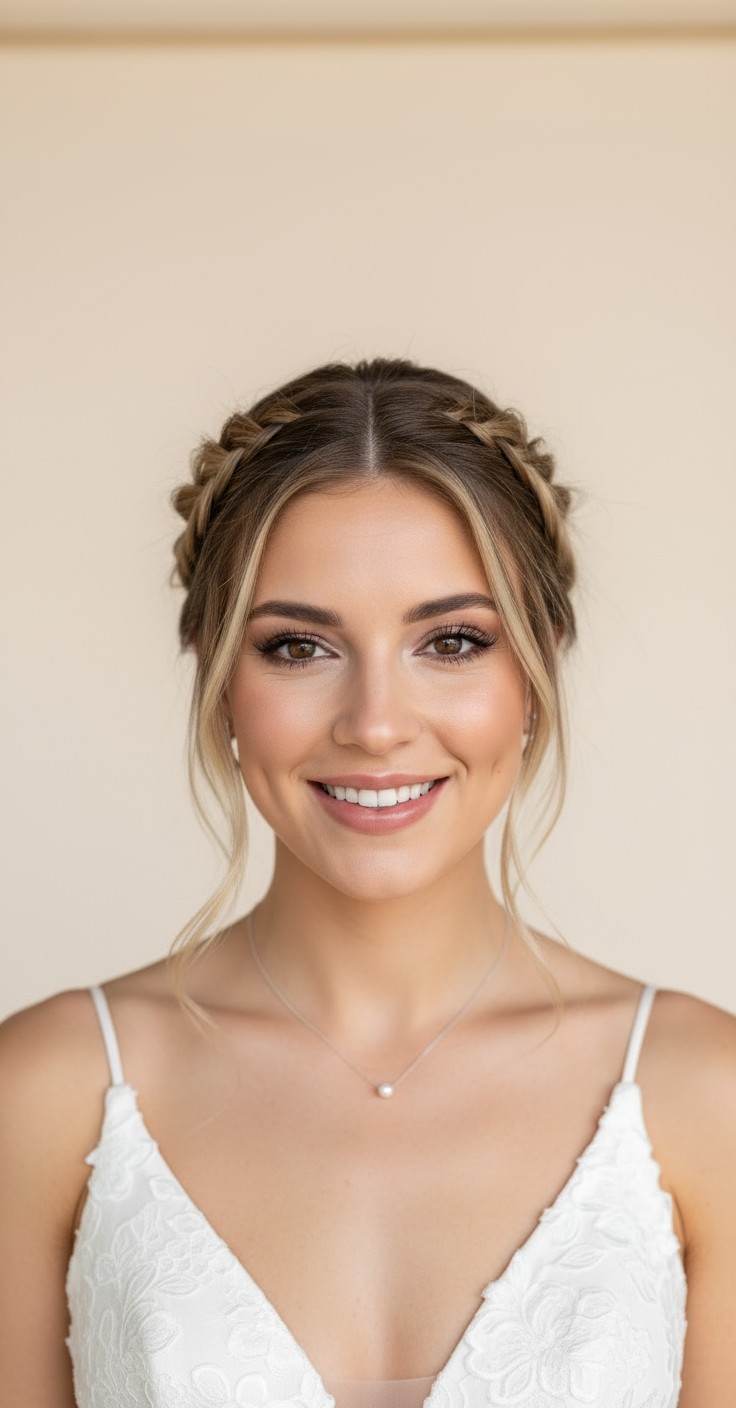
The dutch braid wedding hairstyle brings that perfect blend of romantic texture and effortless sophistication that makes brides feel like the best version of themselves. There's something about the dimensional, raised braid that photographs beautifully from every angle—catching the light during your first dance and looking just as stunning in candid moments as posed portraits. It's a style that whispers timeless elegance while still feeling fresh and modern.
Beyond the beauty factor, this hairstyle is incredibly practical for your big day. The dutch braid technique creates a secure foundation that holds through hugs, happy tears, and hours on the dance floor without constant touch-ups. It works seamlessly with veils of any length, keeps hair off your face during outdoor ceremonies, and won't wilt in humidity the way looser styles might.


Delicate pearl pins scattered throughout the braid
Vintage gold hair combs at the base
Crystal-studded bobby pins for subtle sparkle
Thin crystal headband placed before the braid starts
Art deco-inspired barrettes
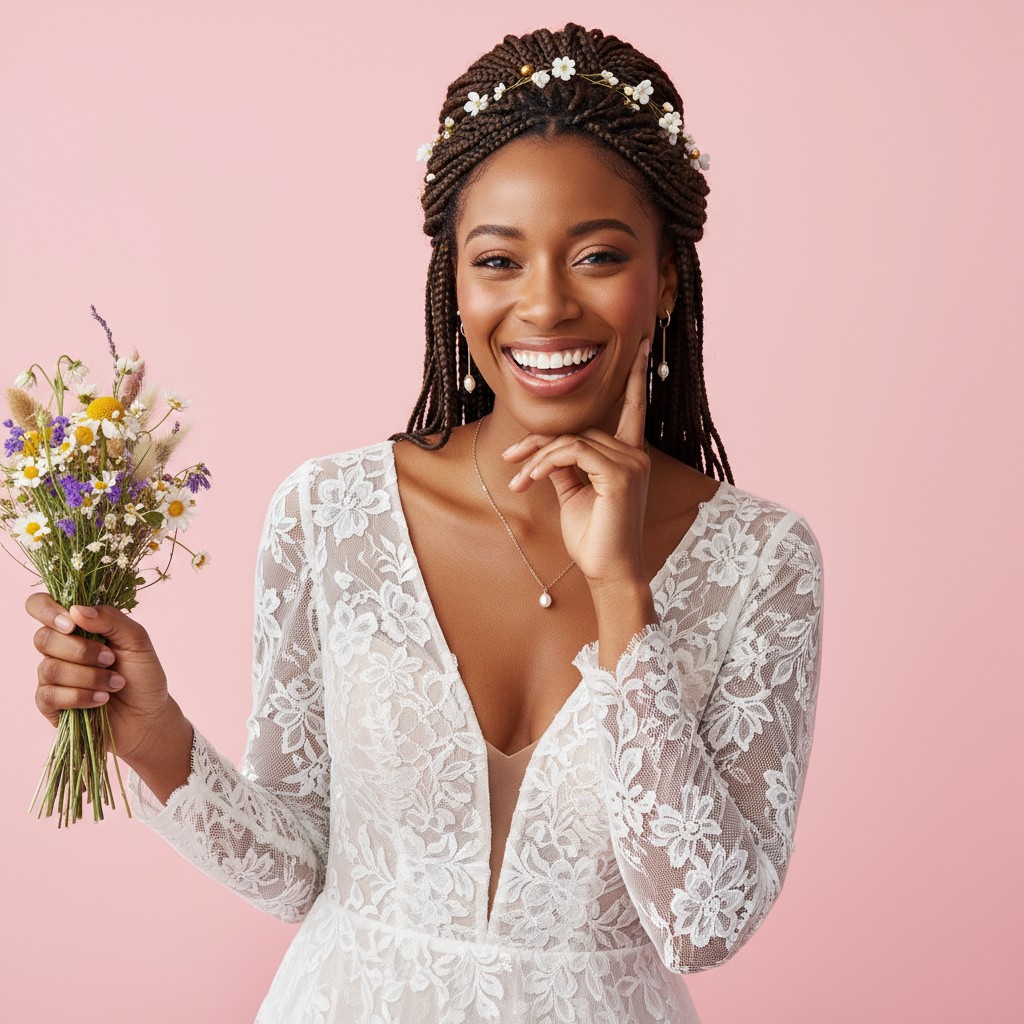
Baby's breath tucked into braid sections for whimsical romance
Small spray roses or ranunculus woven along the braid
Cathedral veil attached beneath the braid for dramatic effect
Fingertip veil positioned at the crown for classic elegance
Start with second-day hair or use dry shampoo for better grip.
Apply texturizing spray before braiding to prevent slipping throughout the day.
Secure every few inches with clear elastics, not just at the end.
Finish with firm-hold hairspray and let set before adding veil or accessories.
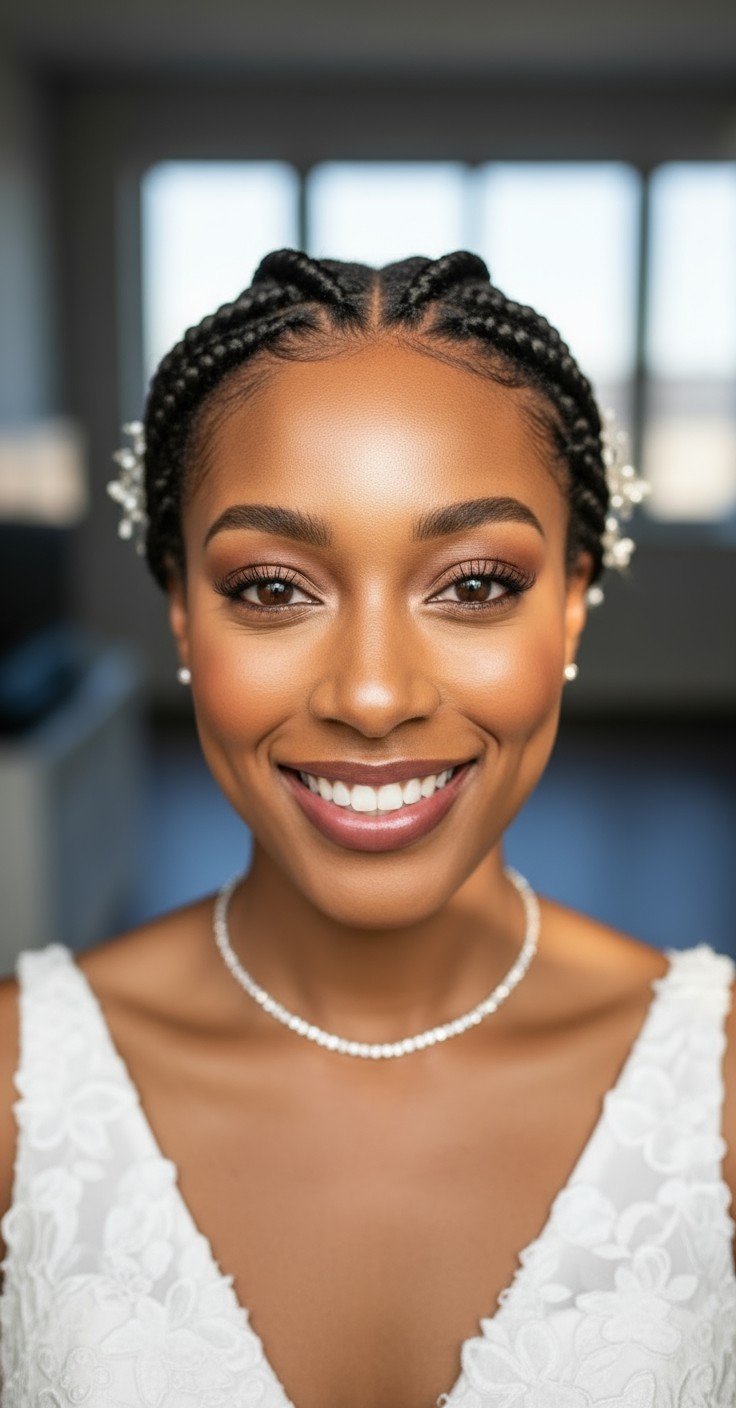
Prep hair with texturizing spray and brush through to remove tangles, then create a deep side part or center part depending on your desired look.
Start at the crown by taking a three-inch section and begin braiding by crossing strands under (not over) the middle piece, adding hair from the sides as you go.
Continue the dutch braid technique down the head, keeping tension consistent and securing small sections with clear elastics every few inches for stability.
Once the braid reaches your desired ending point, secure with an elastic and either pin into an updo or leave as a flowing braid down the back.
Gently pancake the braid by pulling sections slightly apart for romantic volume, then secure with pins and set with hairspray for all-day hold.
Prefer instant?
Try 500+ hairstyles in minutes without
leaving home. See exactly how you'll
look on your big day.
✨ Try Before You Commit
Show your stylist clear visual
references. No more guessing or
miscommunication.
📱 Perfect Communication
Skip endless salon consultations
and trials. Find your perfect style
risk-free.
💰 Save Time & Money
Absolutely! The dutch braid technique actually creates the illusion of thicker, fuller hair by raising the braid above the scalp. Use a volumizing mousse beforehand and gently pull the braid sections apart (pancaking) to maximize dimension.
Plan for about 60-75 minutes for a polished dutch braid updo, including prep time. If you're adding extensions or intricate accessories, add another 15-20 minutes to be safe.
Yes, dutch braids work beautifully with veils! Your stylist can secure the veil beneath the braid at the crown or base, and it removes easily for the reception without disturbing your hairstyle.
Dutch braids are one of the most weather-resistant bridal styles because the hair is tightly woven and secured. A good texturizing spray and strong-hold finishing spray will keep it picture-perfect through any climate.