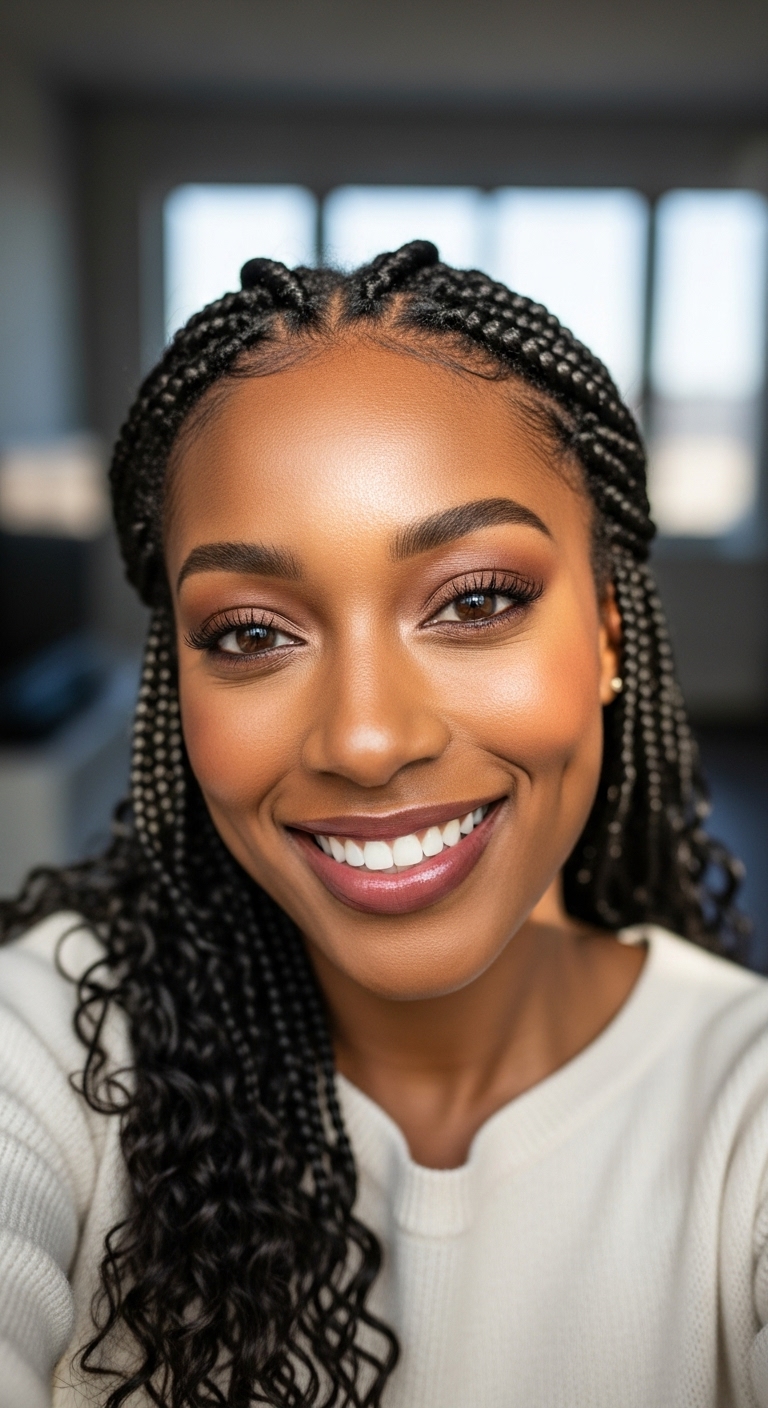
Preview this look on your face in seconds with our AI hair designer app.


Face shapes: Oval • Heart • Diamond

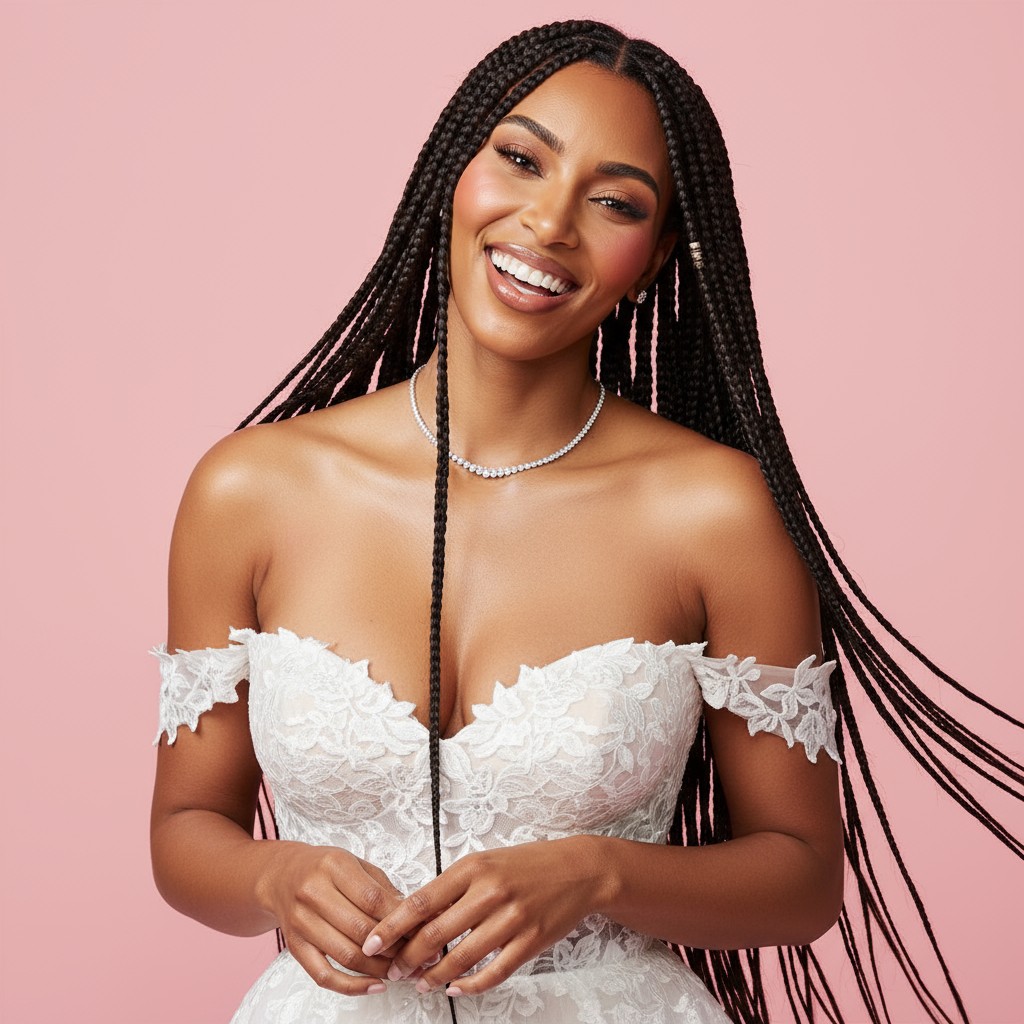
Hair length: Long • Extra Long

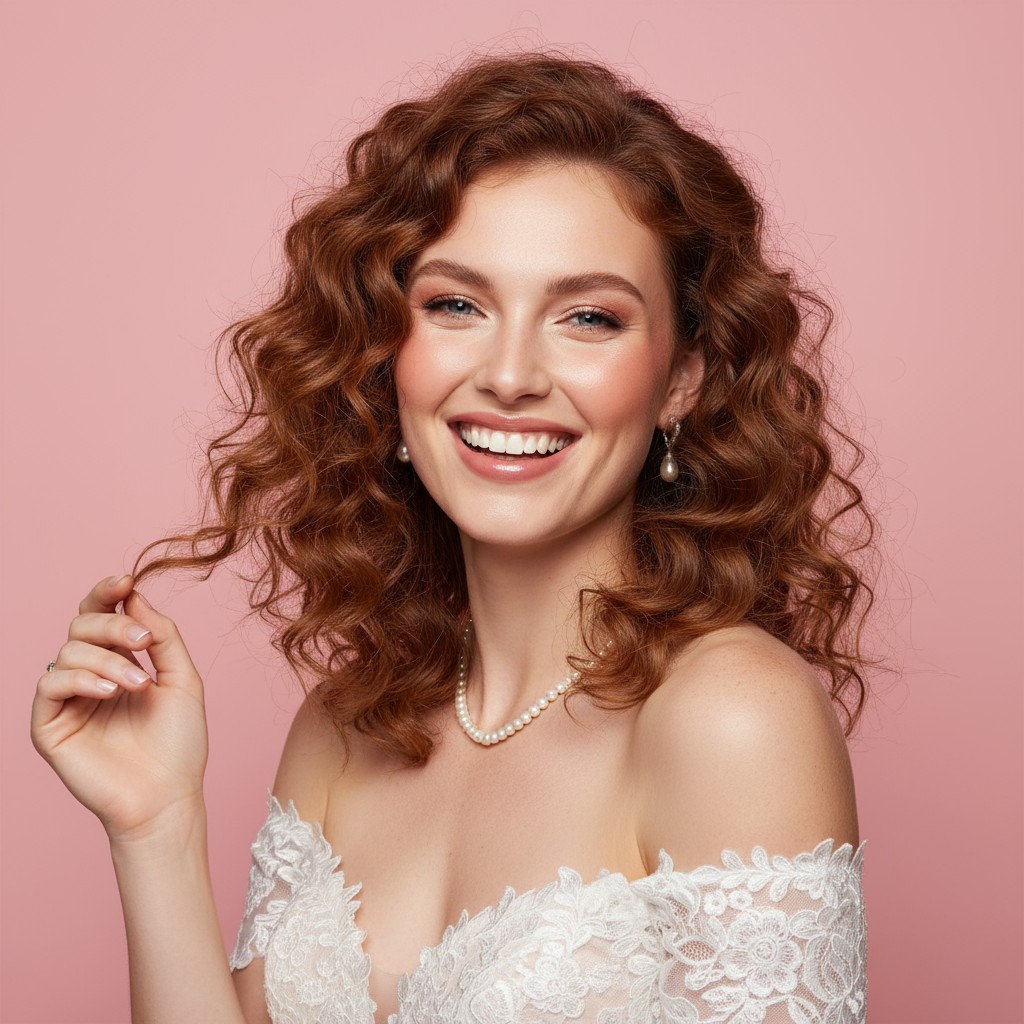
Hair texture: Straight • Wavy • Fine • Thick

Difficulty: Medium

Time to style: 45-60 minutes

Works with: Cathedral veil • Chapel veil • Floral crown • Pearl pins • Crystal hair vine
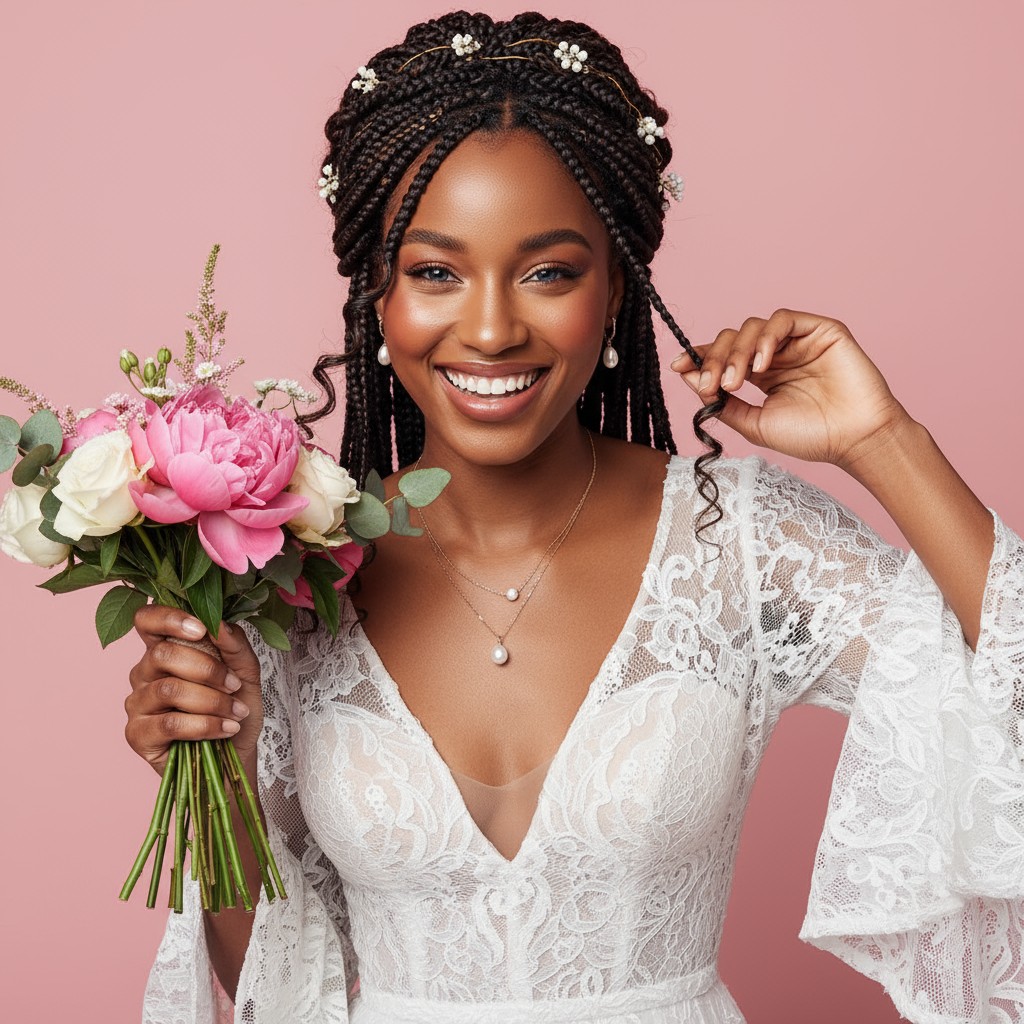
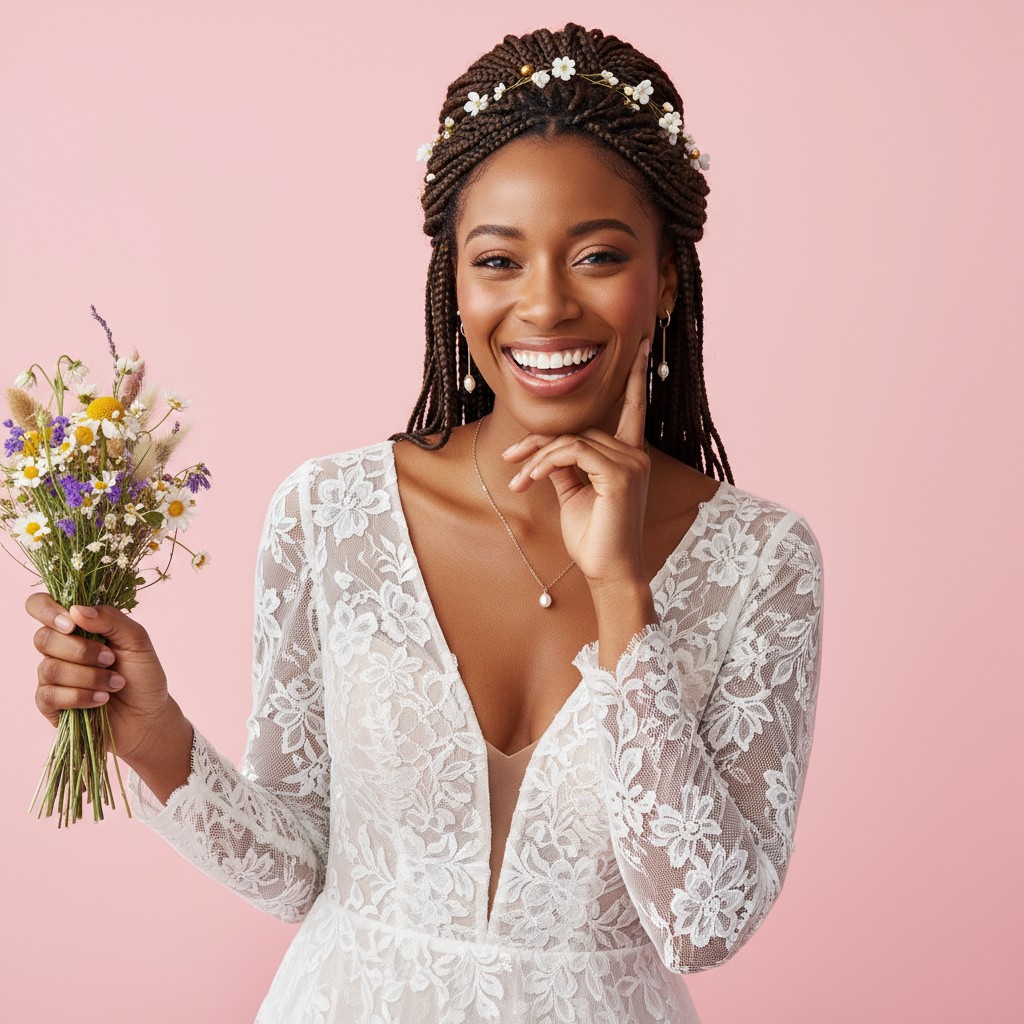
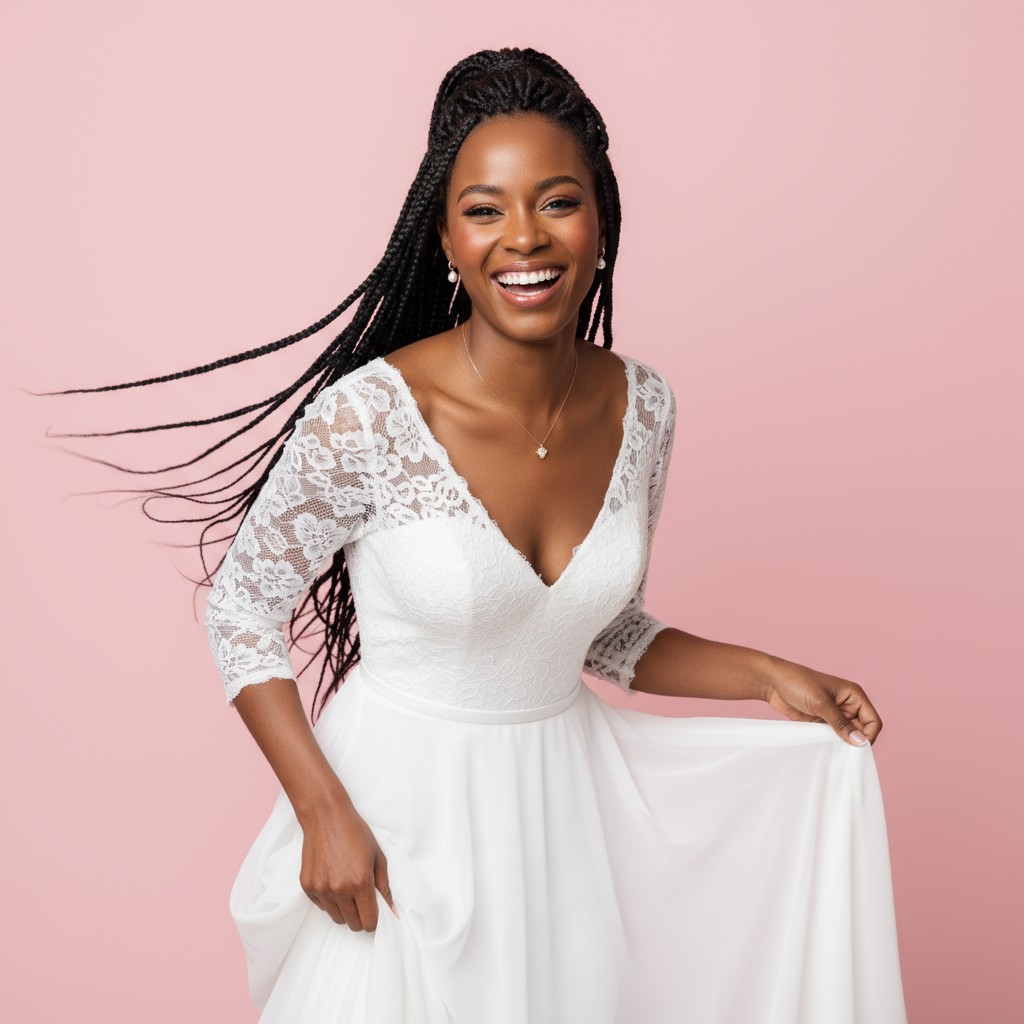
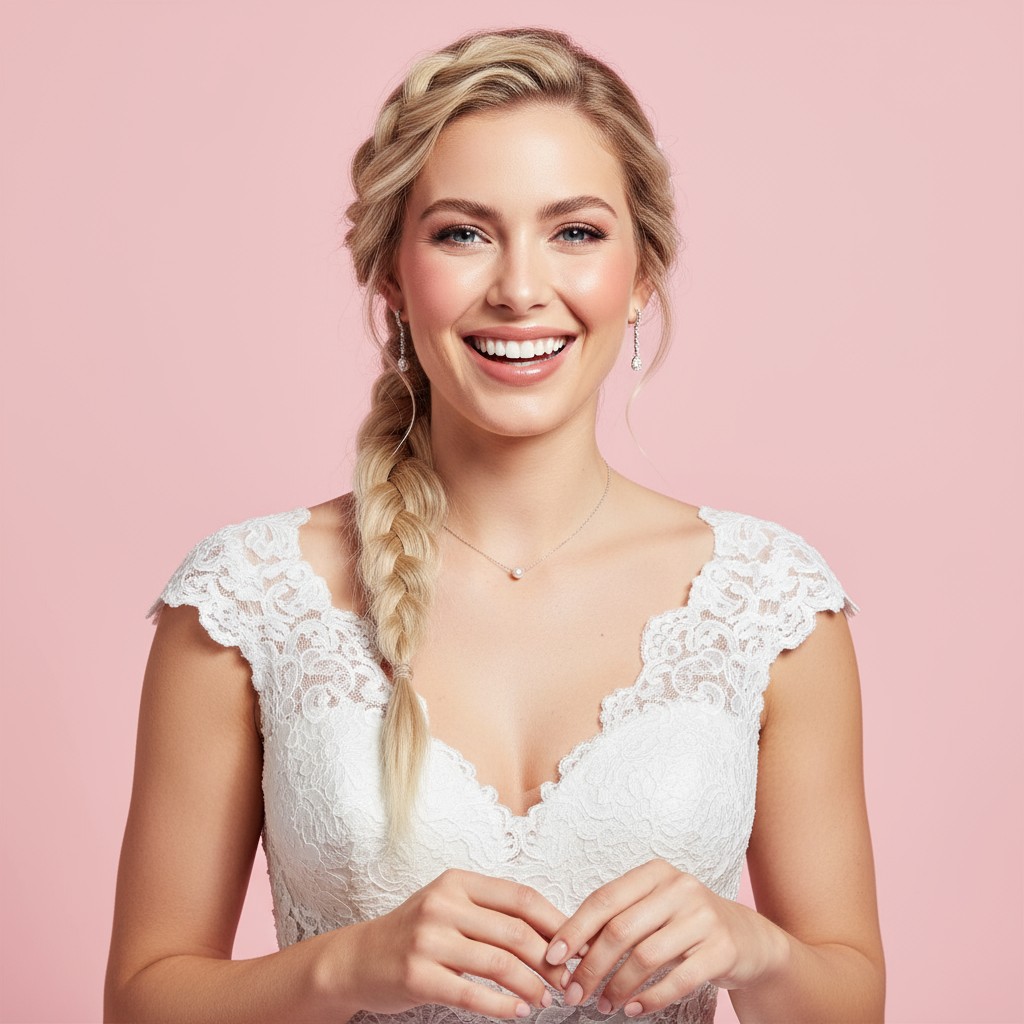
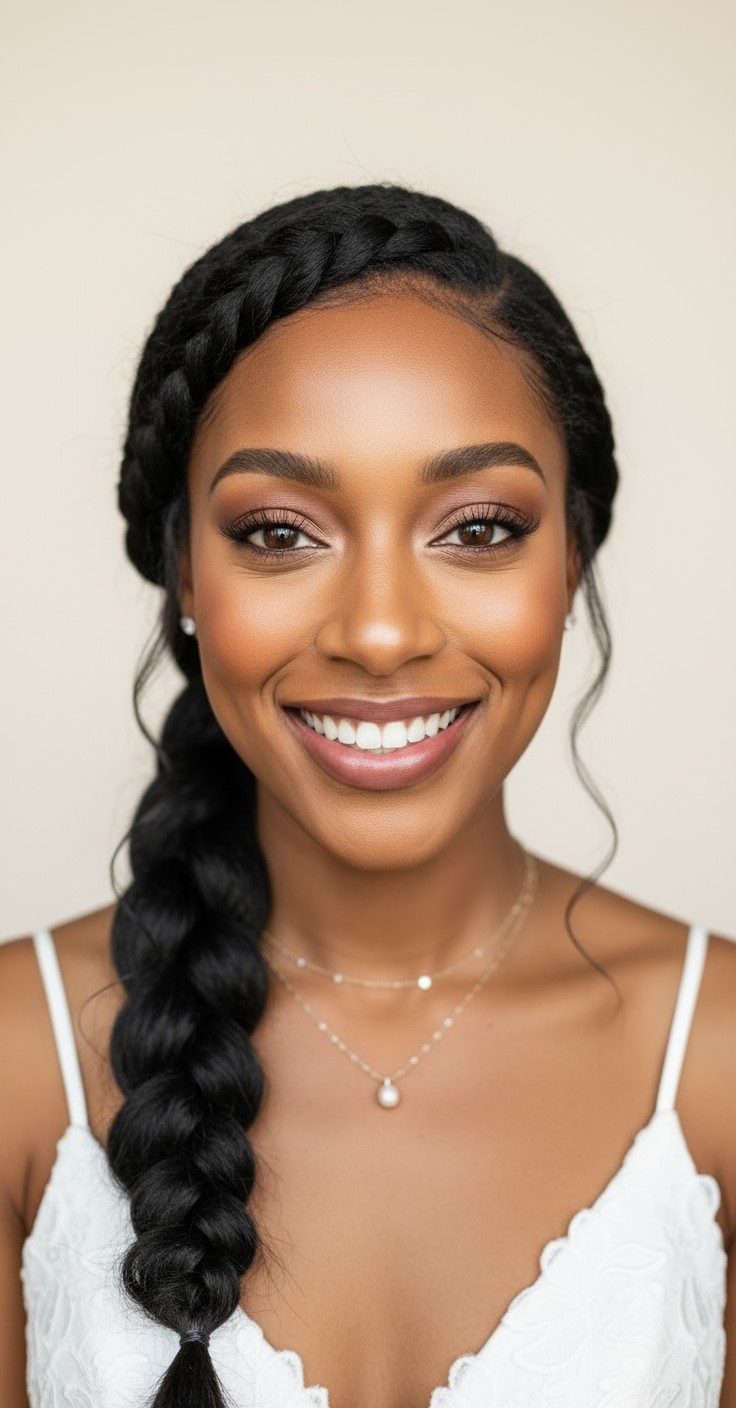
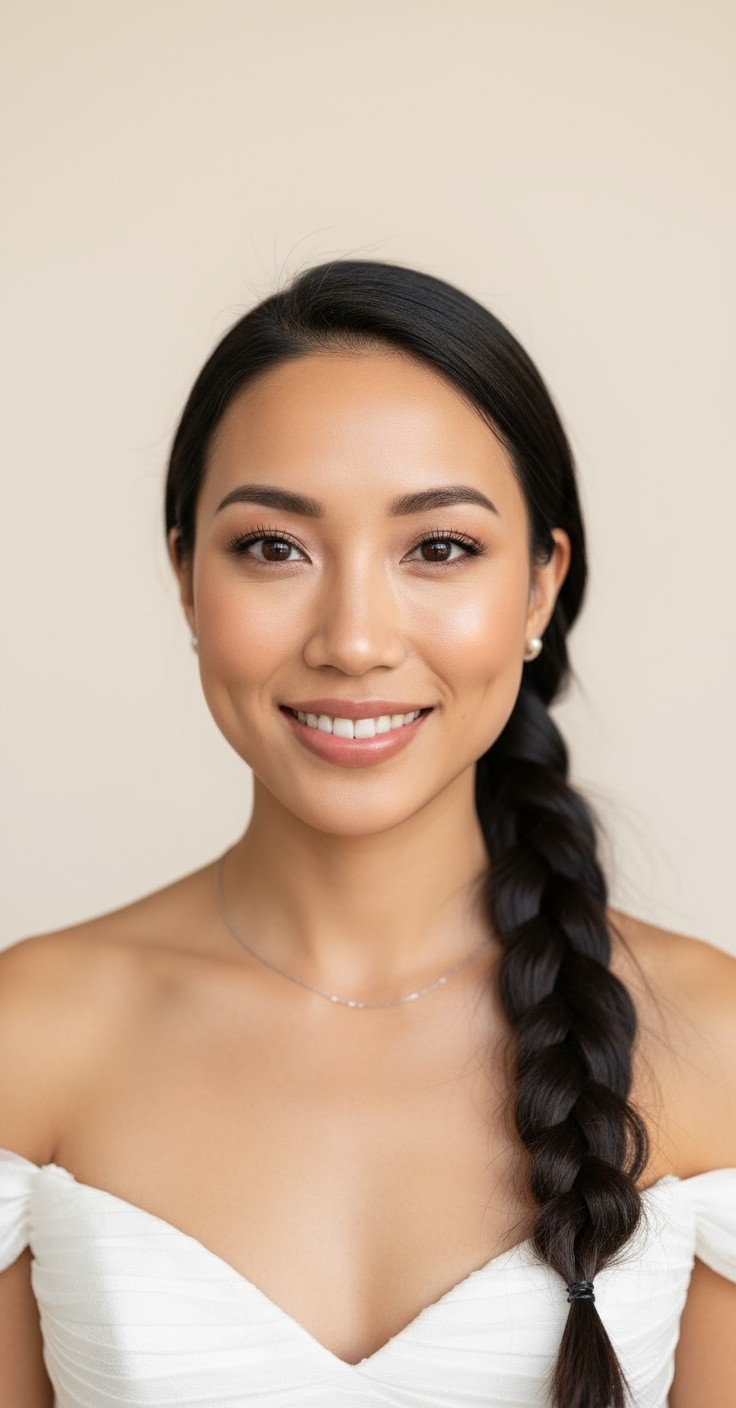
The Elsa braid brings an enchanting, fairy-tale elegance that makes brides feel like royalty on their special day. This romantic side-swept style creates a soft, feminine silhouette that photographs beautifully from every angle, giving you that timeless confidence as you walk down the aisle. It's the perfect balance between polished and whimsical, letting your personality shine through while maintaining bridal sophistication.
Beyond its stunning appearance, the Elsa braid is incredibly practical for a full day of celebrations. The secure side placement keeps hair off your shoulders and stays put through dancing, hugs, and outdoor photo sessions without constant touch-ups. It works seamlessly with veils and accessories, and the cascading texture creates natural volume that flatters most face shapes while staying comfortable from ceremony to last dance.


Delicate pearl hairpins scattered throughout the braid
Crystal hair vine woven along the braid's curve
Vintage silver comb at the base of the braid
Snowflake-inspired crystal clips for winter weddings
Thin silver or gold hair chain draped across the braid
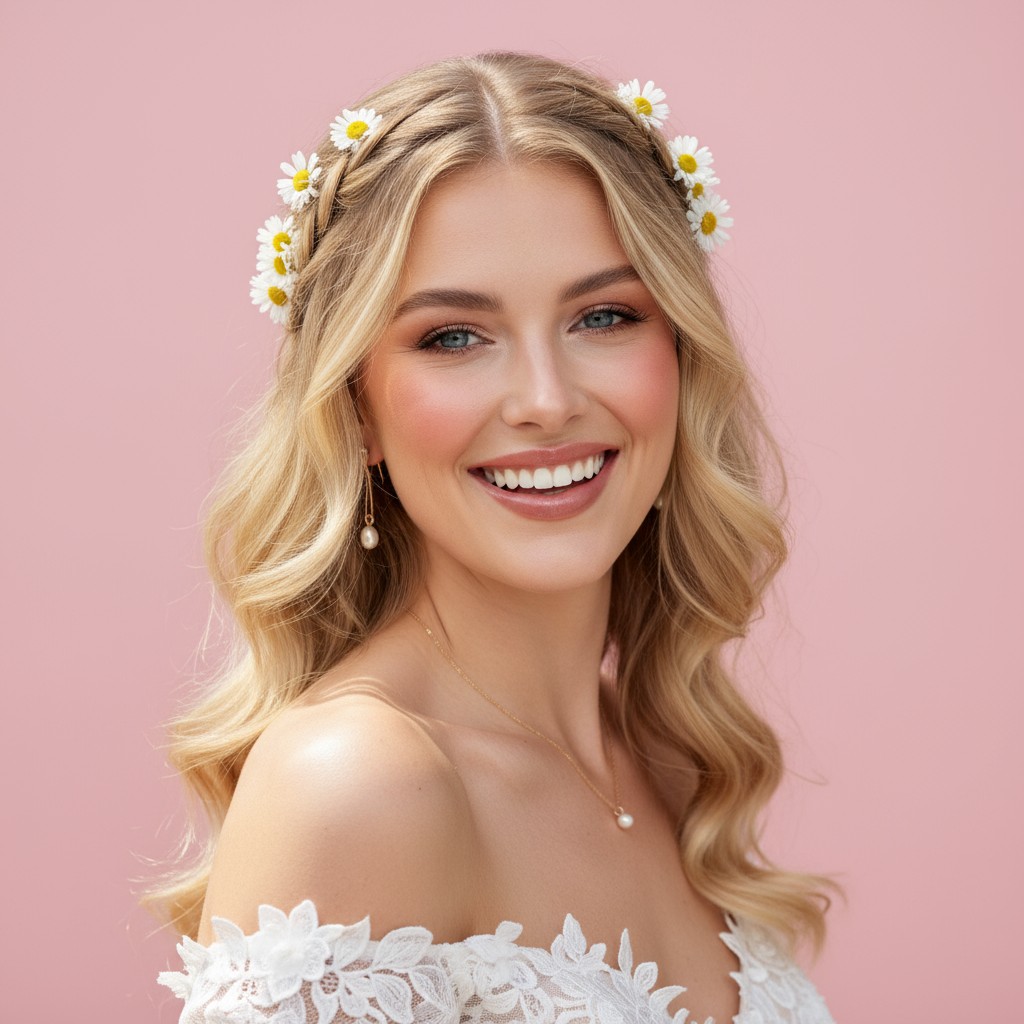
Small white roses or baby's breath tucked into braid sections
Silk ribbon in ivory or blue woven through the braid
Cathedral or chapel veil positioned at the crown for dramatic effect
Single-tier fingertip veil secured above the braid
Prep with texturizing spray on dry hair for grip and lasting hold.
Use clear elastic bands that won't show through blonde or light hair.
Set with flexible-hold hairspray; avoid heavy products that create stiffness.
Pin veil above braid base to prevent pulling or loosening throughout day.
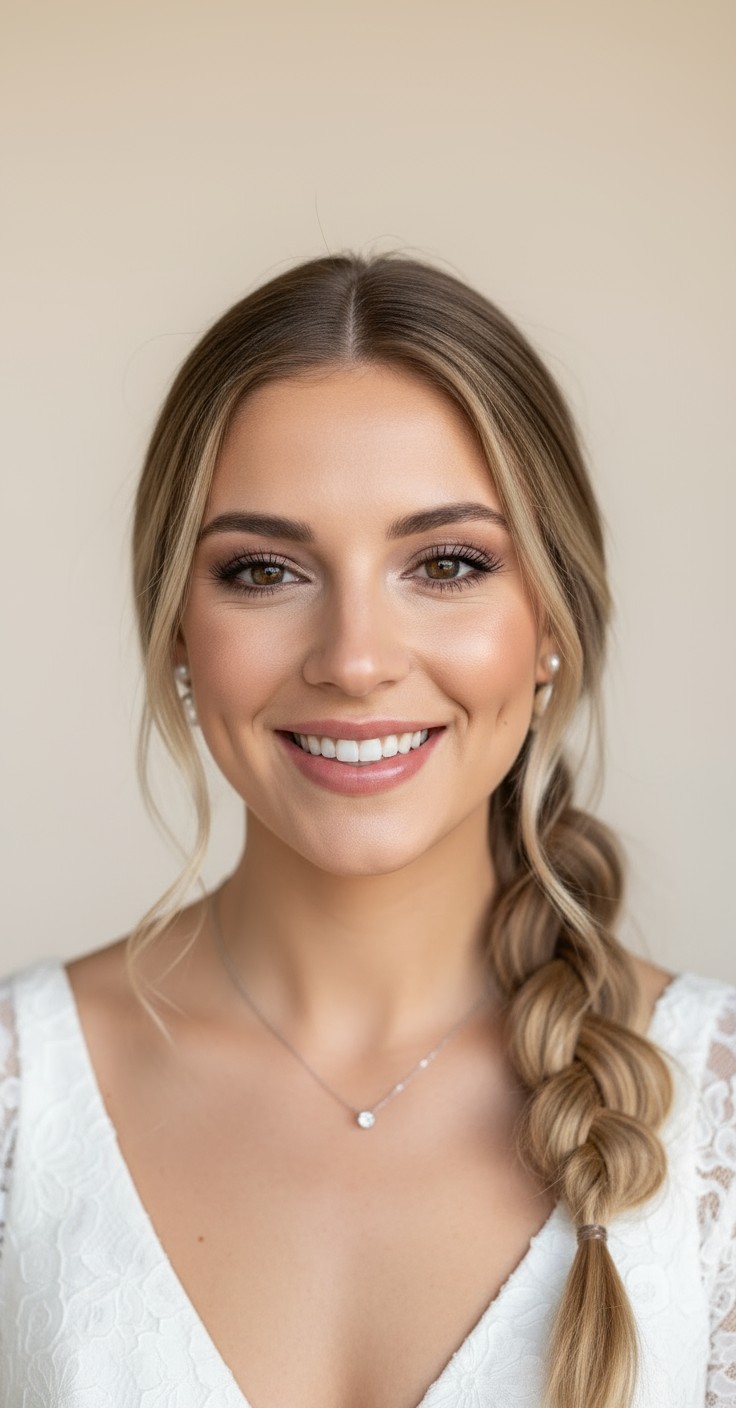
Prep hair with texturizing spray and create a deep side part, sweeping all hair over one shoulder.
Start a Dutch braid at the hairline on the heavier side, crossing sections under (not over) for that signature raised effect.
Continue braiding diagonally down past the ear and over the shoulder, gradually loosening tension for a softer, more romantic look.
Secure the braid end with a clear elastic and gently pancake each section by pulling edges outward for volume and width.
Secure flyaways with pearl pins, mist with flexible hairspray, and gently loosen face-framing pieces for an ethereal, princess-worthy finish.
Prefer instant?
Try 500+ hairstyles in minutes without
leaving home. See exactly how you'll
look on your big day.
✨ Try Before You Commit
Show your stylist clear visual
references. No more guessing or
miscommunication.
📱 Perfect Communication
Skip endless salon consultations
and trials. Find your perfect style
risk-free.
💰 Save Time & Money
Absolutely! The pancaking technique (gently pulling braid sections) creates the illusion of thickness and volume. Adding extensions for length and fullness makes it even more dramatic.
Yes, when properly pinned at the crown or upper back (not directly on the braid), your veil won't pull or loosen the style. Your stylist can reinforce the base with extra pins for all-day security.
This is one of the best styles for outdoor weddings! The side-swept braid keeps hair contained and secure, so you won't spend the day fighting flyaways or wind damage.
Schedule your hair trial 2-3 months before the wedding to allow time for adjustments. If DIYing, practice at least 3-4 times to perfect the tension and placement.