Preview this look on your face in seconds with our AI hair designer app.


Face shapes: Oval • Heart • Square

Hair length: Medium • Long • Extra Long

Hair texture: Straight • Wavy • Curly • Fine • Thick

Difficulty: Medium

Time to style: 45-60 minutes

Works with: Cathedral veil • Fingertip veil • Birdcage veil • Hair pins • Fresh flowers
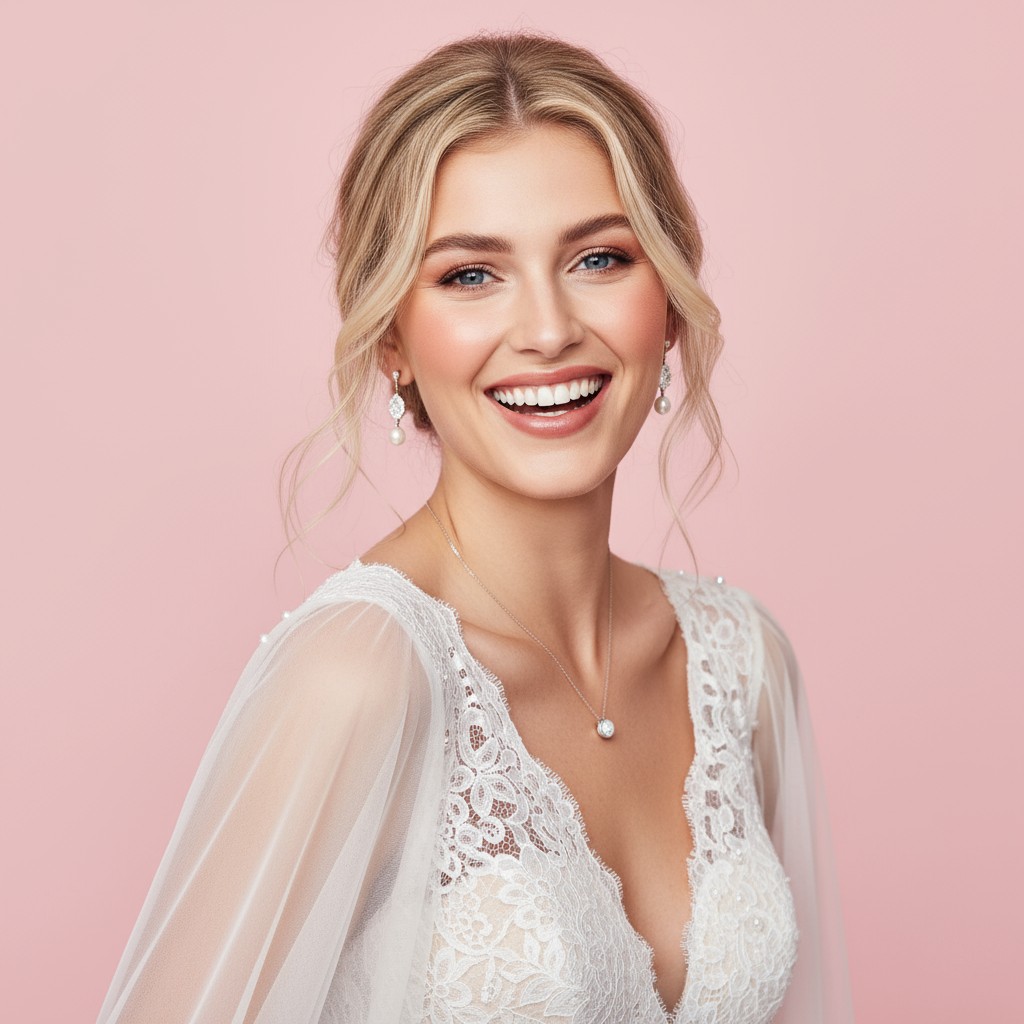
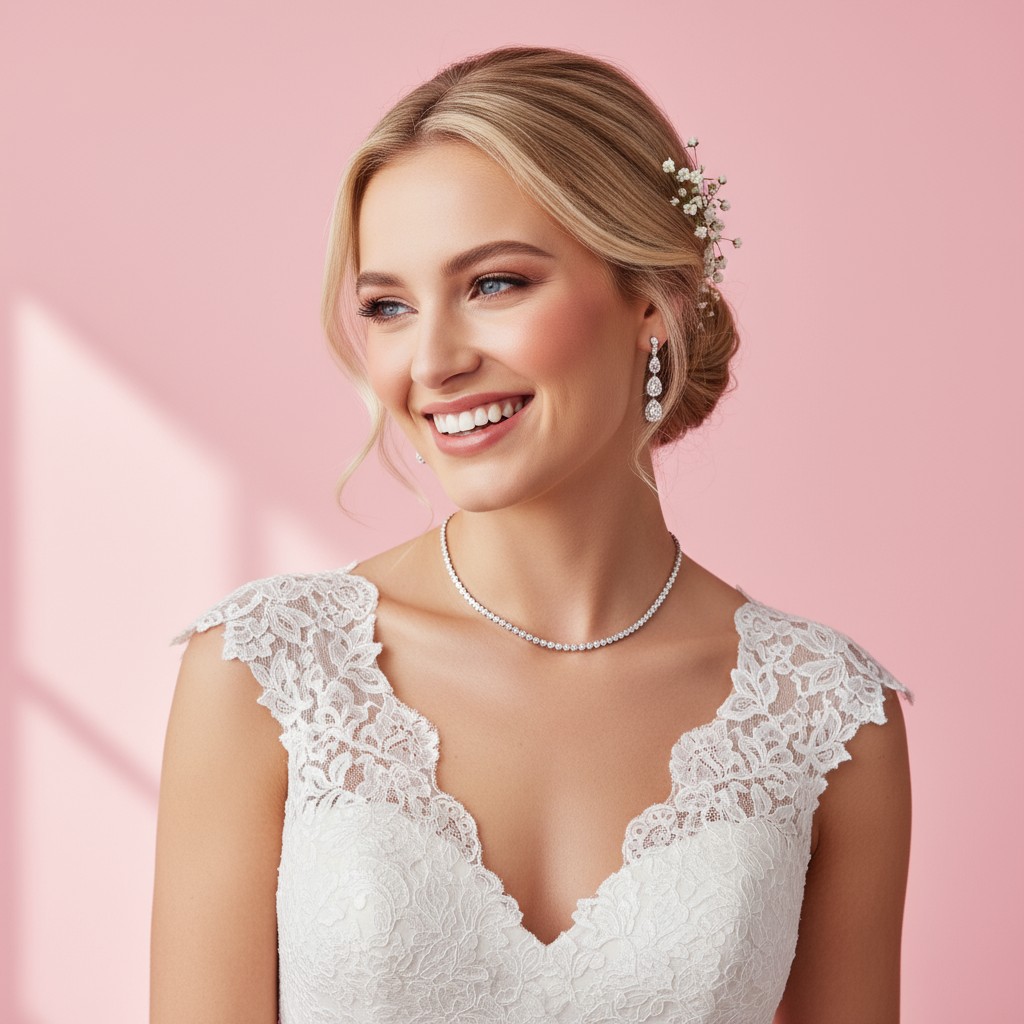
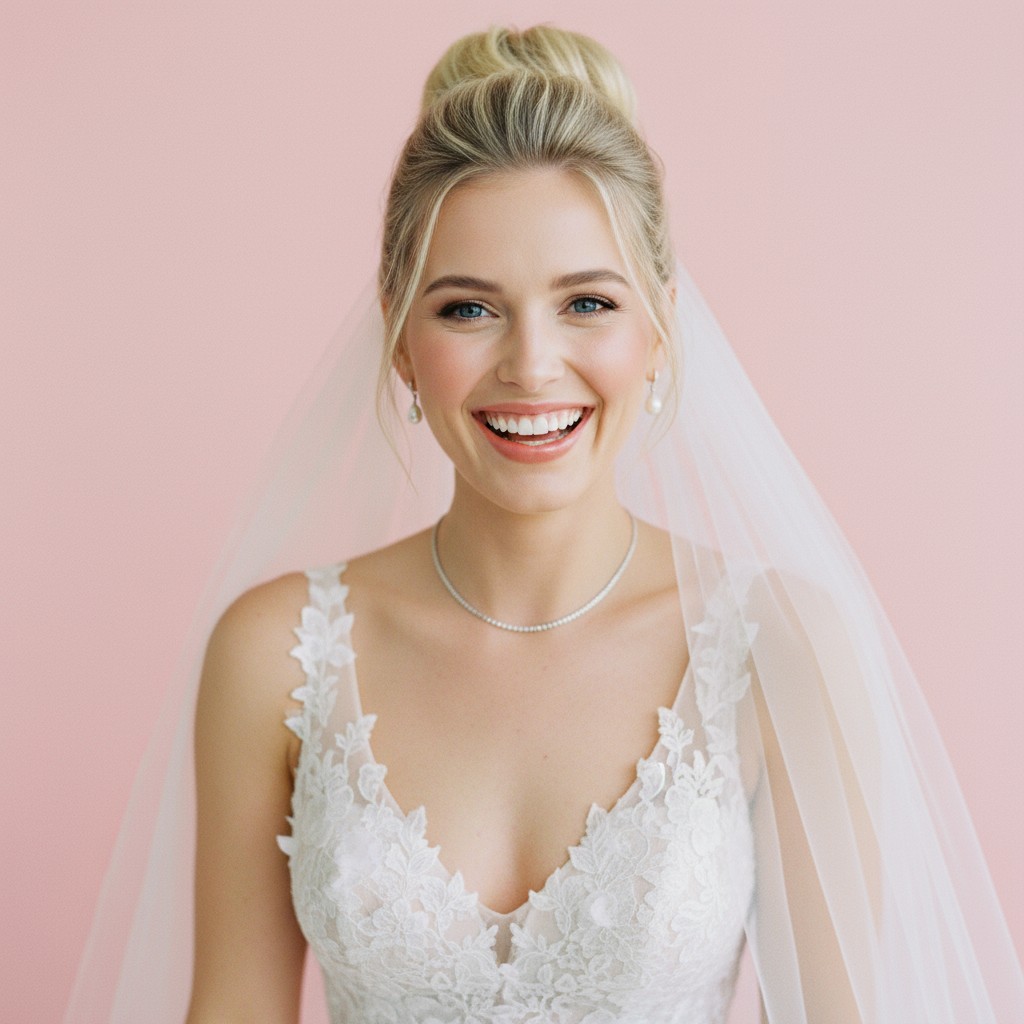
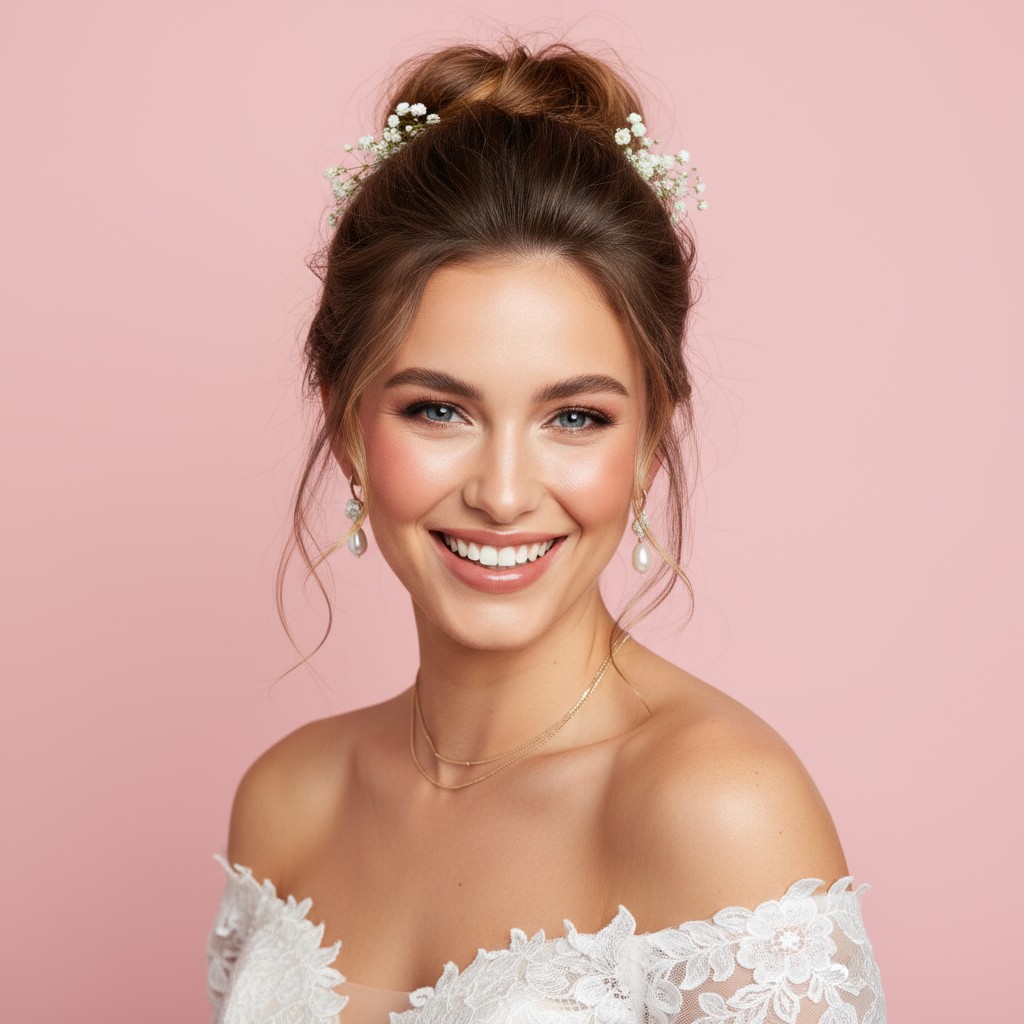
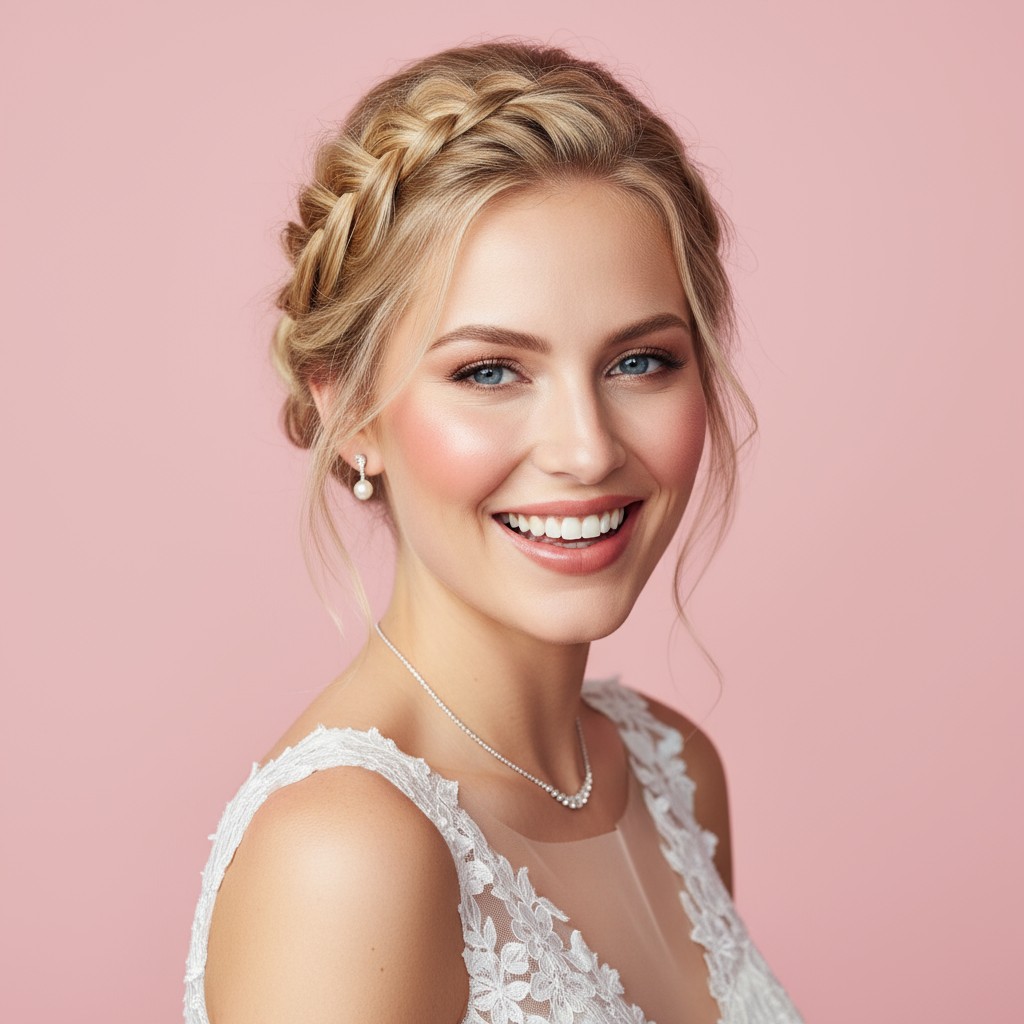
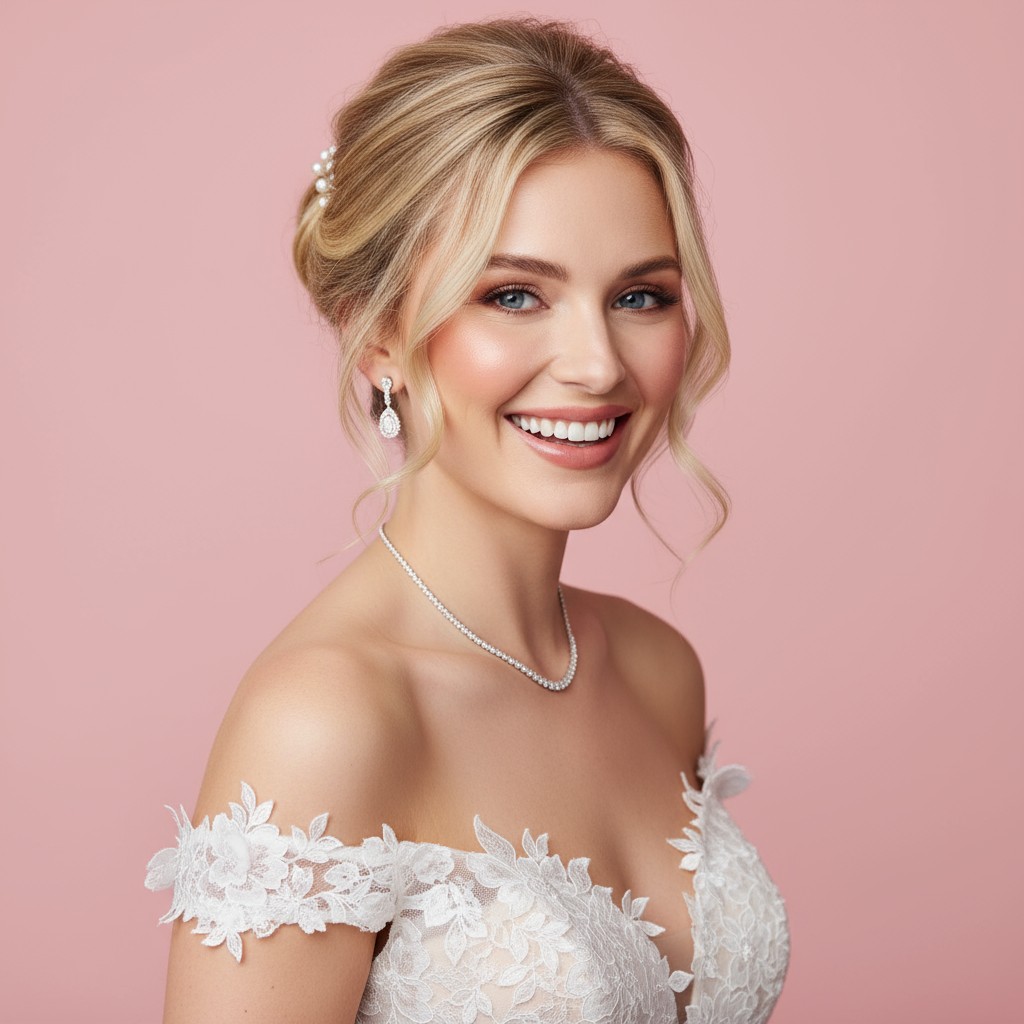
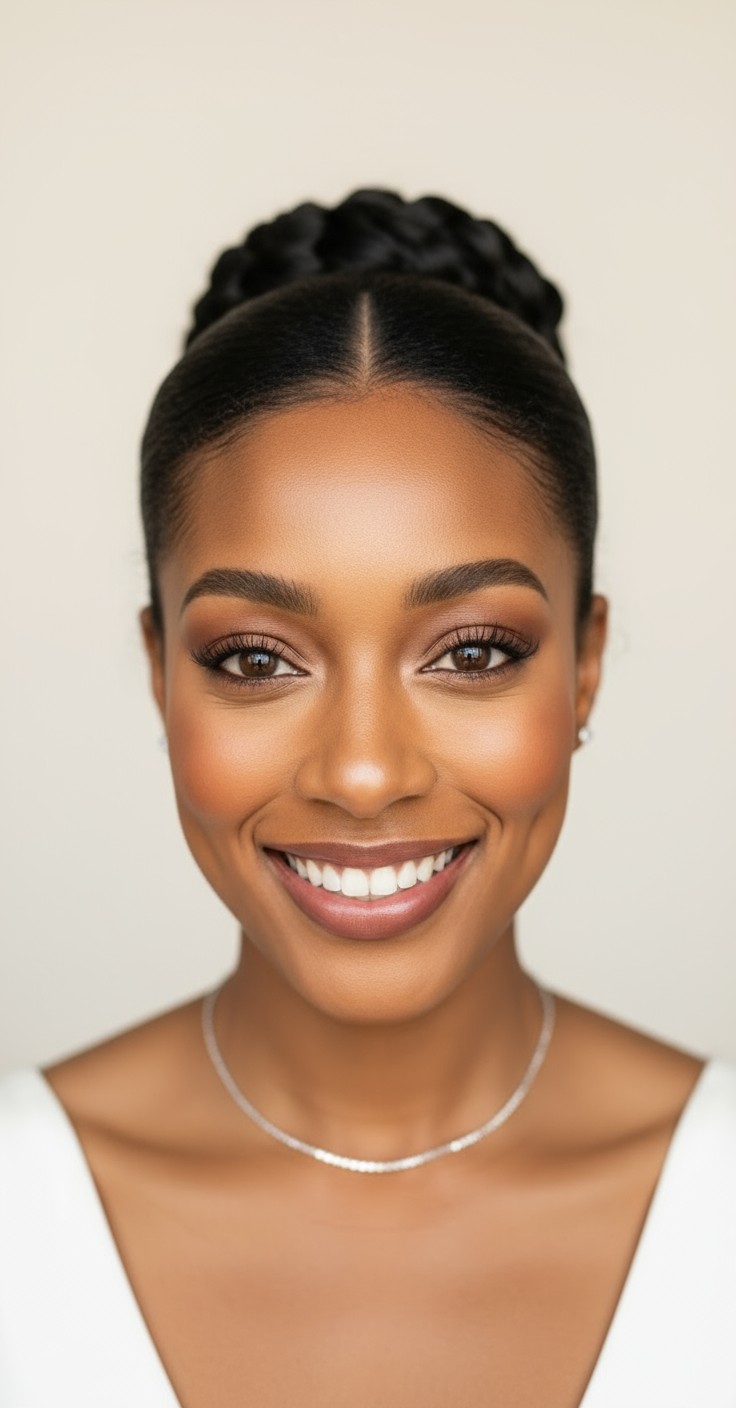
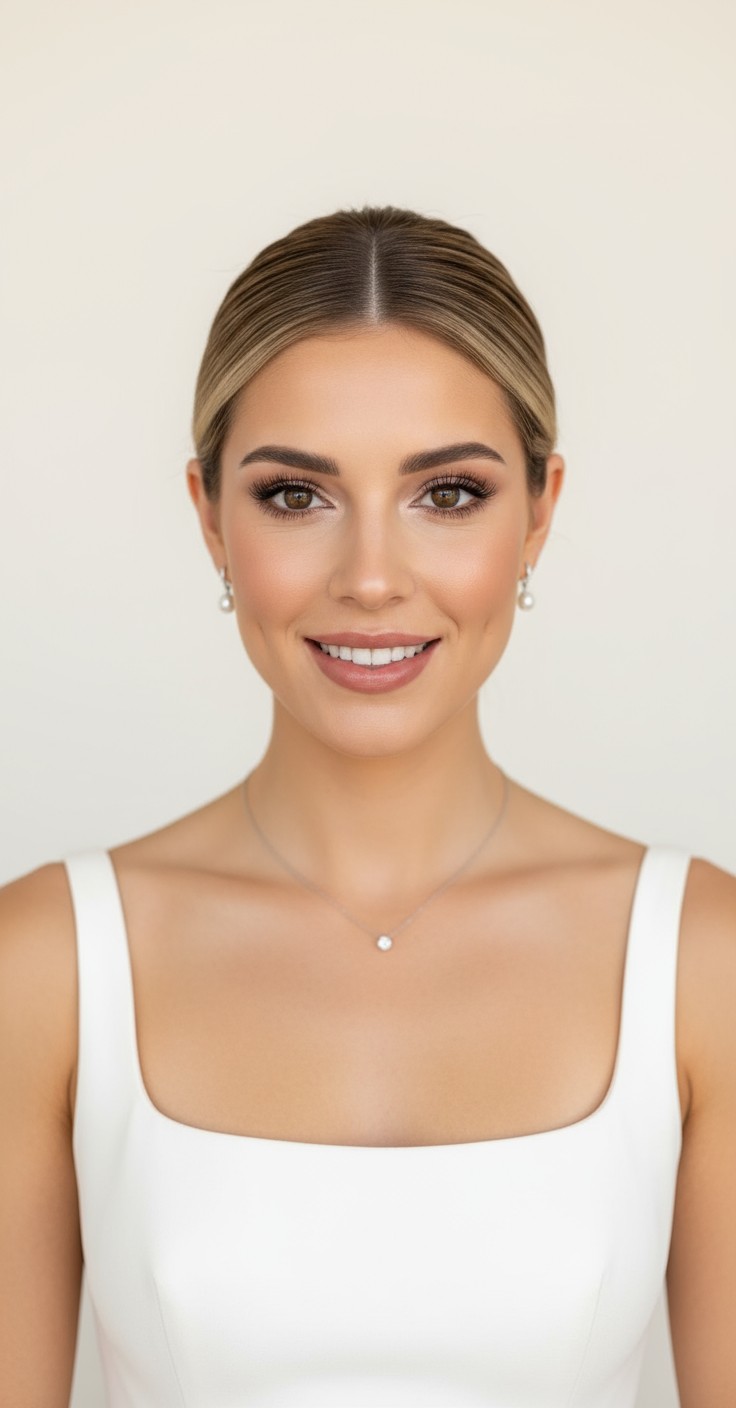
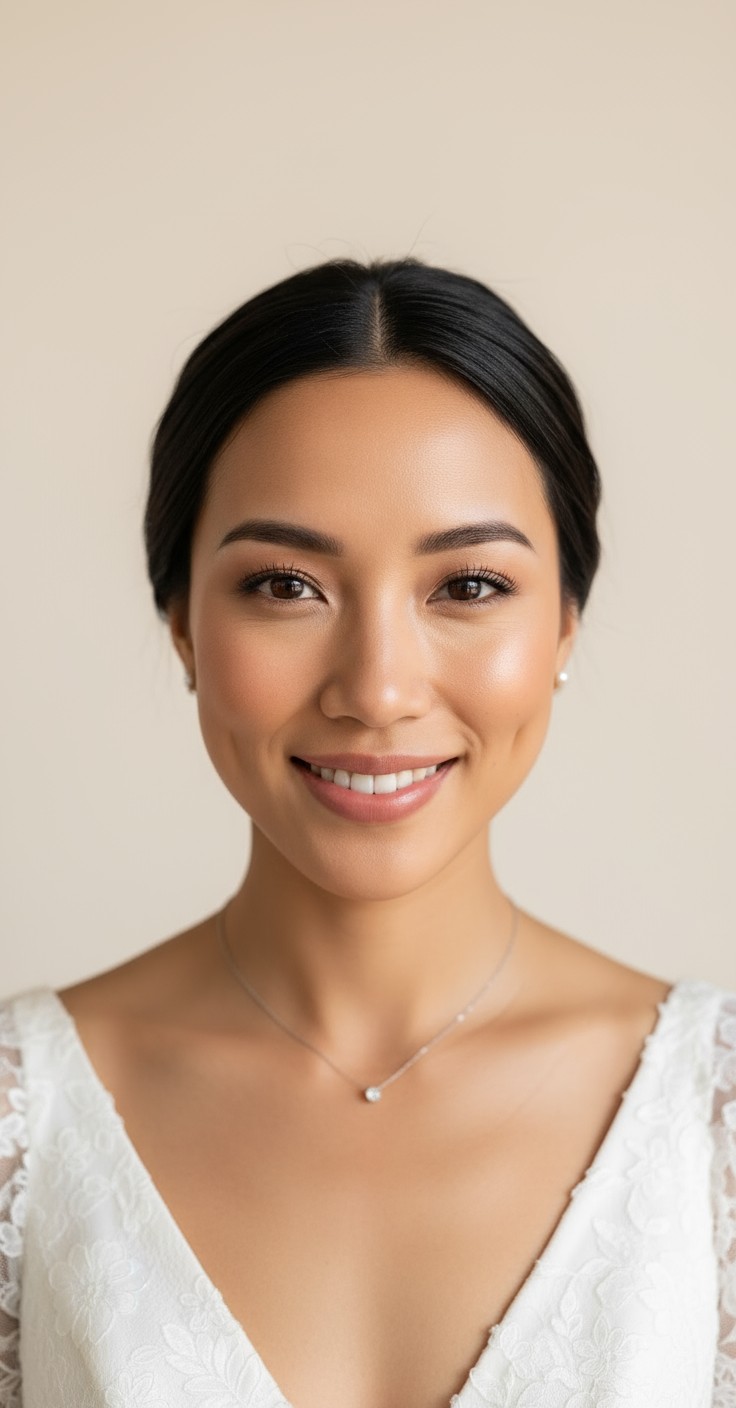
The hair bun gives brides that timeless elegance they've always dreamed of—the kind that looks stunning in person and even more breathtaking in photos decades later. There's something deeply confident about sweeping your hair into a beautiful bun; it frames your face, highlights your dress, and lets your natural beauty shine without competing for attention.
Beyond the romance, buns are incredibly practical for a long wedding day. They stay secure through emotional vows, windy outdoor ceremonies, and hours of dancing, so you never have to worry about touch-ups. Plus, they work beautifully with any veil style and won't flatten or lose shape when you remove it for the reception.


Pearl-studded hairpins scattered throughout
Vintage crystal comb at the base
Delicate gold leaf vine woven around bun
Silk ribbon wrapped elegantly
Art deco headband for gatsby glamour
White spray roses or baby's breath tucked into bun
Silk organza ribbon in ivory or blush tones
Cathedral veil placed below the bun for dramatic effect
Fingertip veil secured above for classic elegance
Wash hair the day before—clean hair is too slippery for buns.
Use texturizing spray at roots for grip and lasting volume.
Secure with both bobby pins and U-pins for maximum hold.
Finish with strong-hold hairspray and let it dry before touching.
Prep hair with texturizing spray and blow-dry with a round brush for smooth volume.
Gather hair into a ponytail at your desired bun placement—low, mid, or high.
Twist or wrap the ponytail around its base, creating your bun shape while leaving it slightly loose for texture.
Pin the bun in place using U-pins first for structure, then bobby pins to catch any loose pieces.
Gently pull and loosen sections for romantic softness, then mist with hairspray and add your accessories.
Prefer instant?
Try 500+ hairstyles in minutes without
leaving home. See exactly how you'll
look on your big day.
✨ Try Before You Commit
Show your stylist clear visual
references. No more guessing or
miscommunication.
📱 Perfect Communication
Skip endless salon consultations
and trials. Find your perfect style
risk-free.
💰 Save Time & Money
Absolutely! Use a hair donut or padding inside the bun to create fullness, and tease sections before wrapping for added volume. The structured shape of a bun actually makes thin hair look thicker.
The secret is layering your hold: start with texturizing spray, secure with multiple pin types, and finish with strong-hold hairspray. A trial run with your stylist ensures the technique works for your hair type.
Yes! Opt for a higher bun placement with some face-framing pieces or soft bangs to elongate your face. Avoid buns placed directly at the widest part of your face.
It depends on your veil style—cathedral veils look dramatic placed below the bun, while shorter veils like fingertip or birdcage styles sit beautifully above. Your stylist can adjust placement during your trial.