Preview this look on your face in seconds with our AI hair designer app.


Face shapes: Oval • Heart • Square

Hair length: Medium • Long • Extra Long

Hair texture: Straight • Wavy • Curly • Fine • Thick

Difficulty: Medium

Time to style: 45-60 minutes

Works with: Cathedral veil • Fingertip veil • Birdcage veil • Drop veil • Hair combs and pins
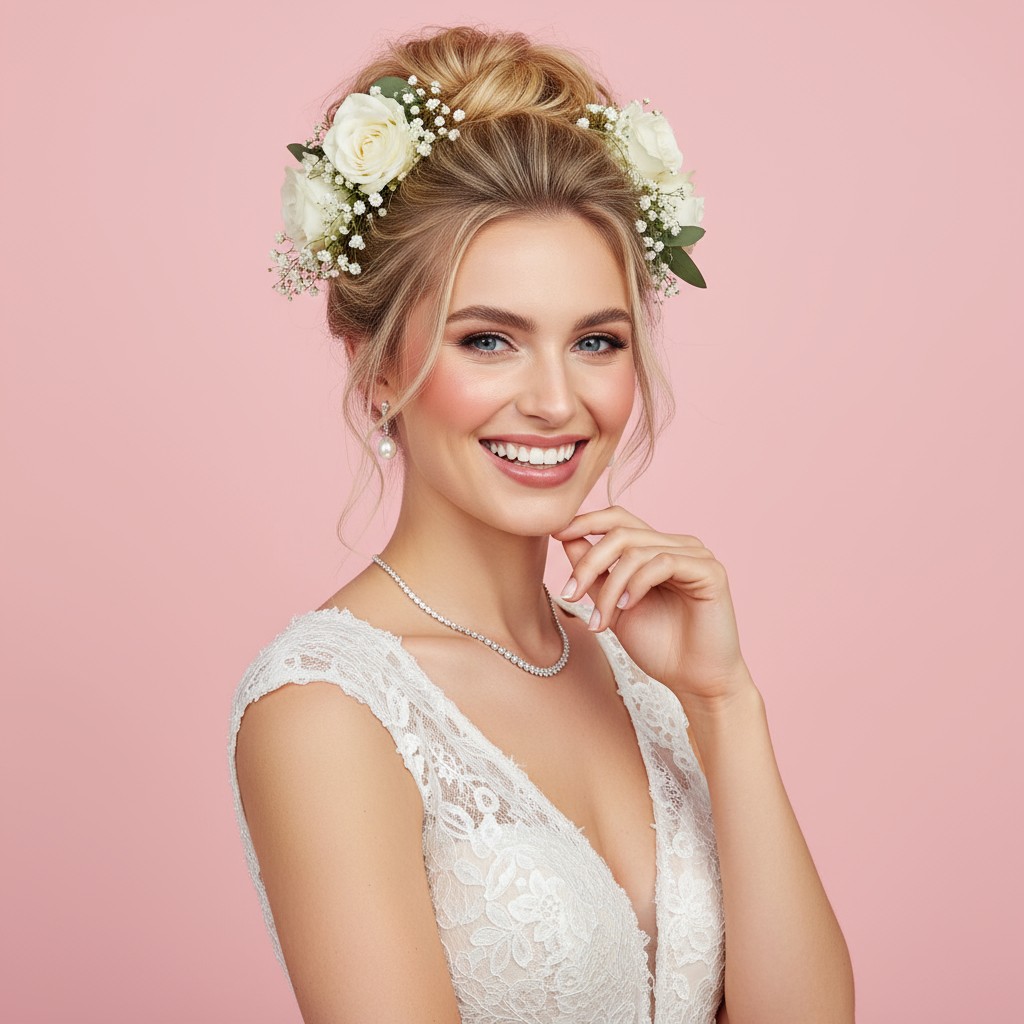
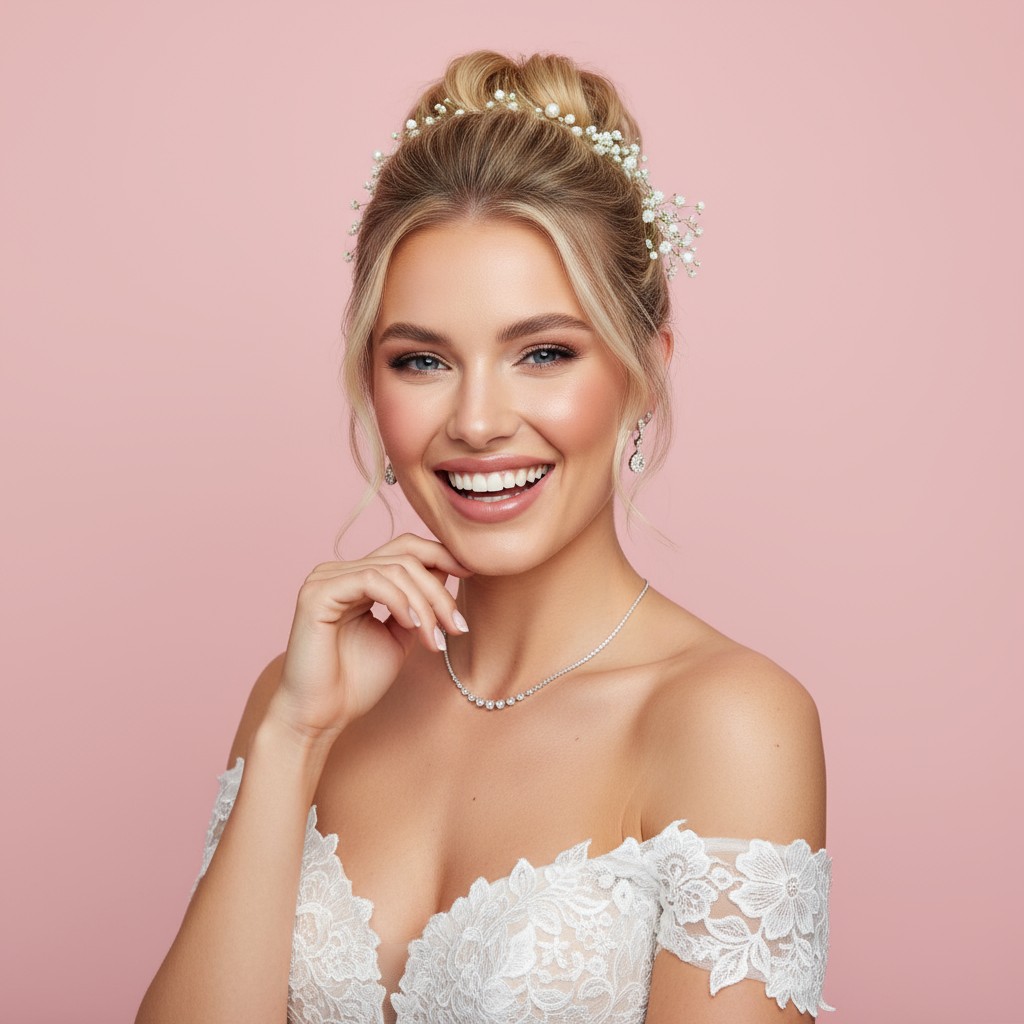
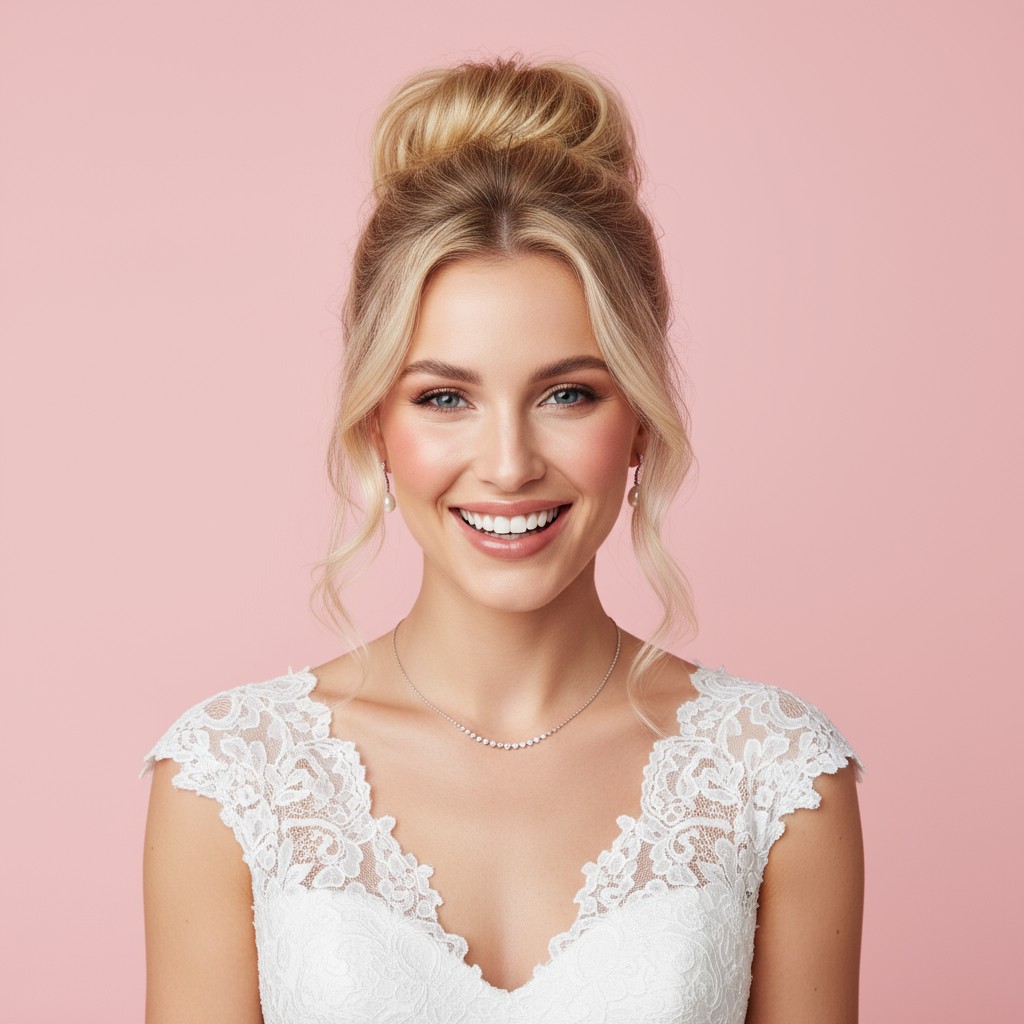
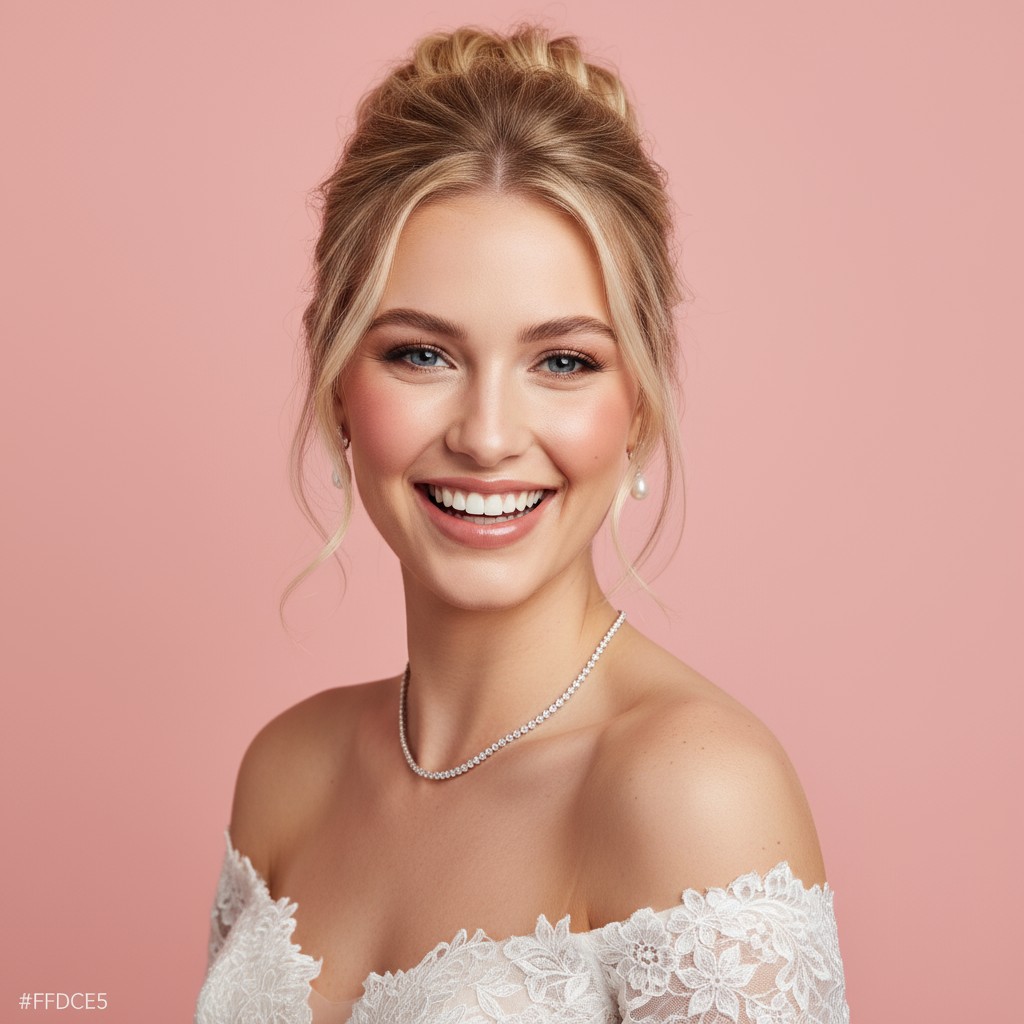
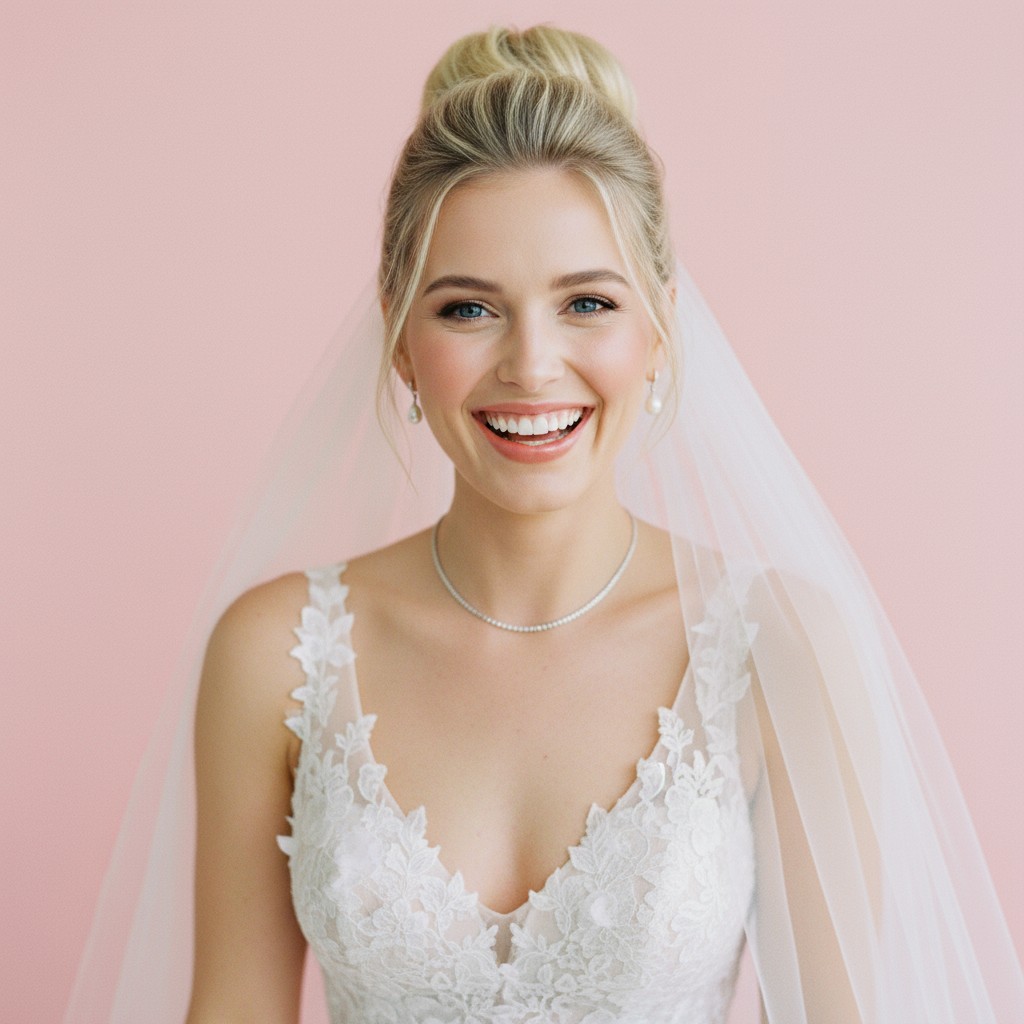
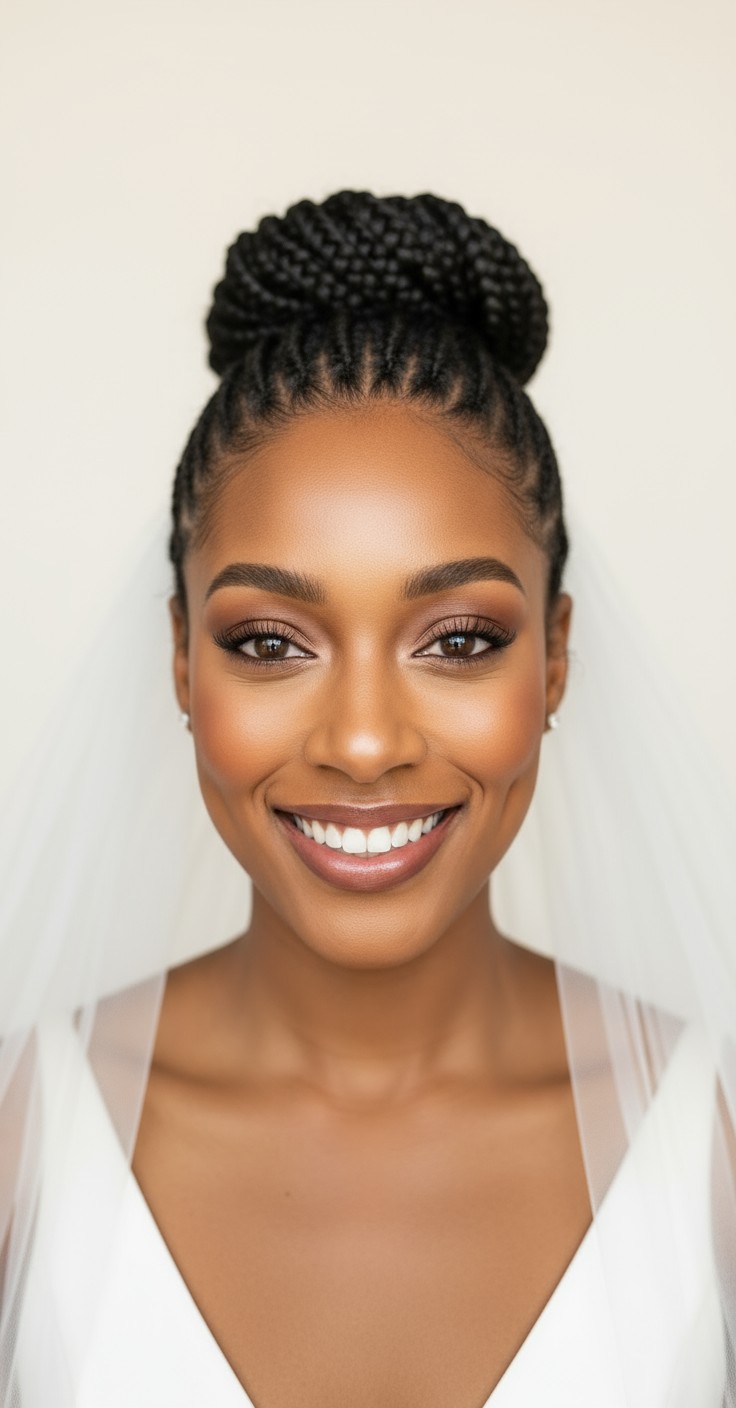
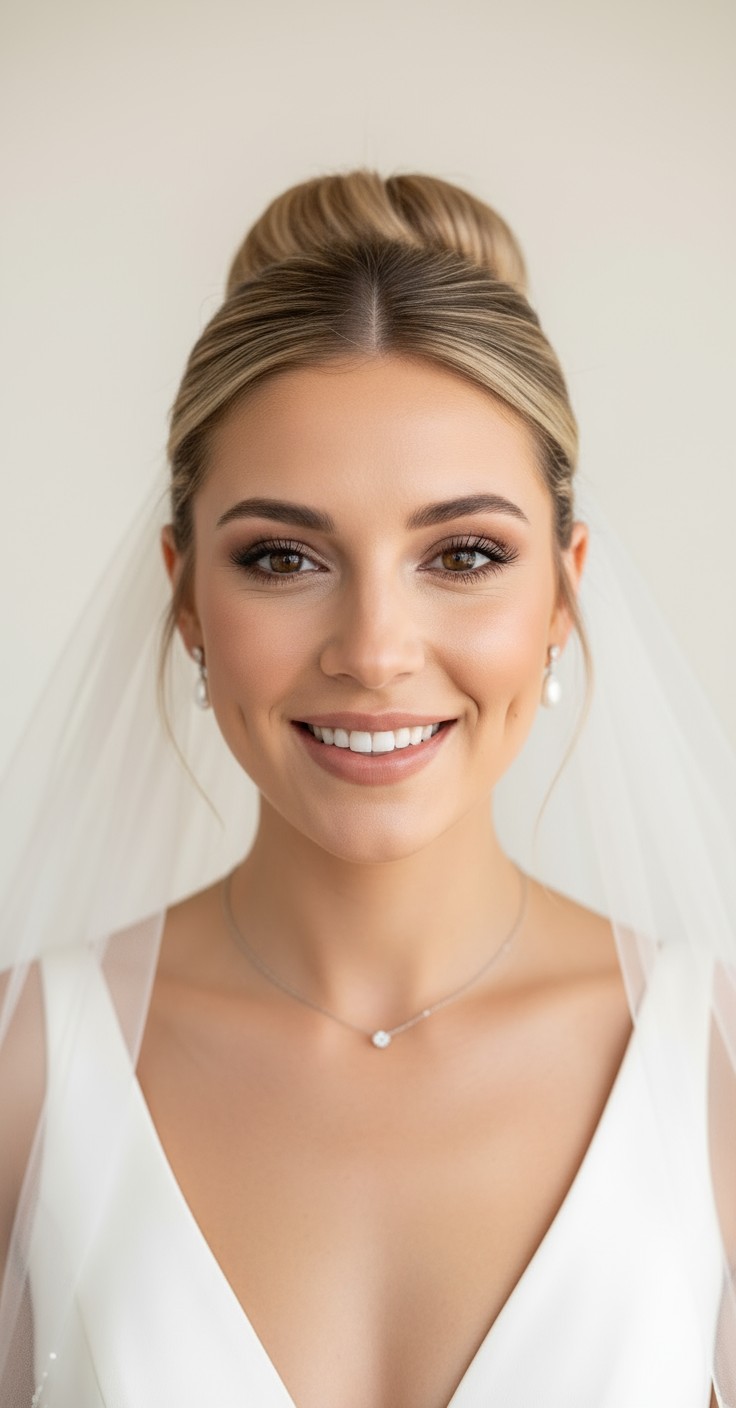
The high bun with veil gives brides that breathtaking, regal elegance that photographs beautifully from every angle. There's something incredibly empowering about sweeping your hair up and away—it frames your face, elongates your neck, and lets your dress neckline truly shine. This style makes you feel like the most confident, sophisticated version of yourself as you walk down the aisle.
Beyond the romance, the high bun is wonderfully practical for all-day wear. It stays secure through hugs, happy tears, and hours of dancing without constant touch-ups. The elevated placement works perfectly with any veil length, keeping the fabric draped beautifully without pulling or slipping. Plus, it's completely wind-proof for outdoor ceremonies and keeps you cool during summer celebrations.


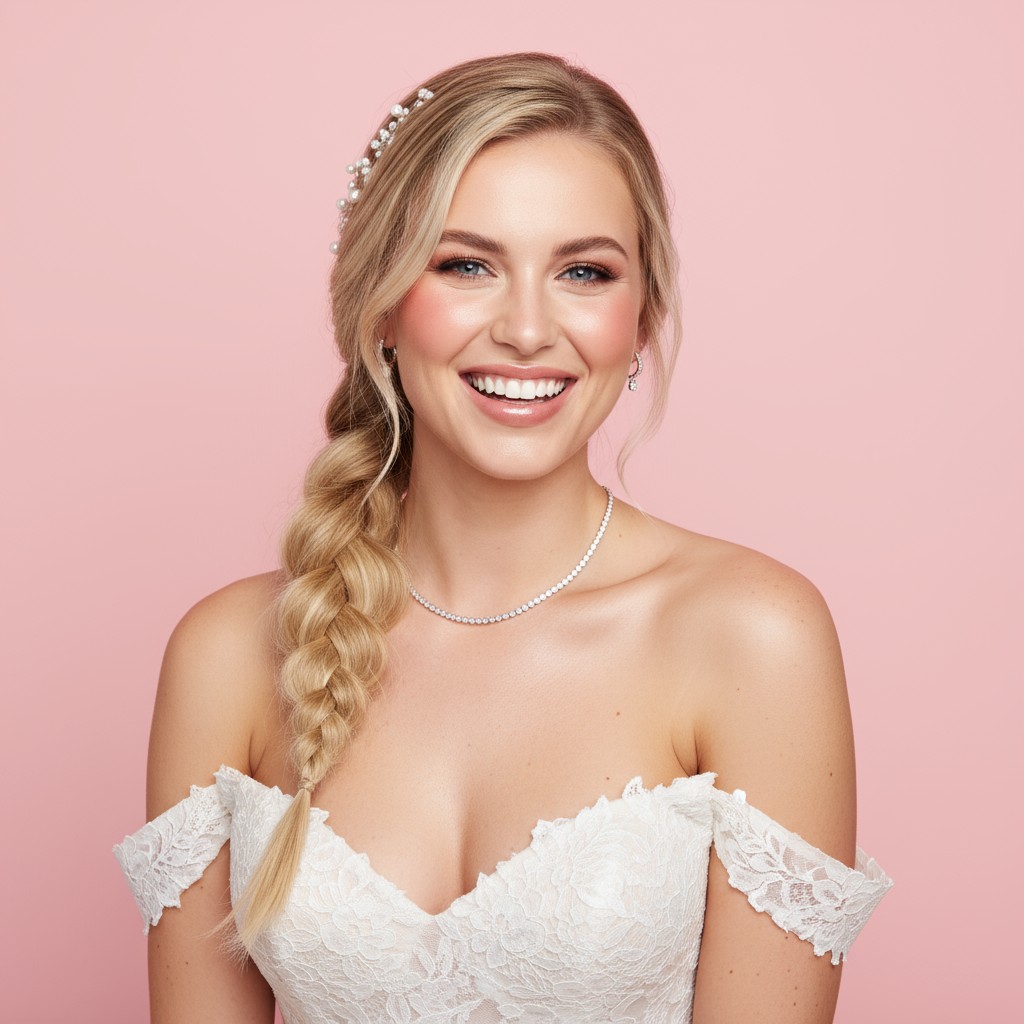
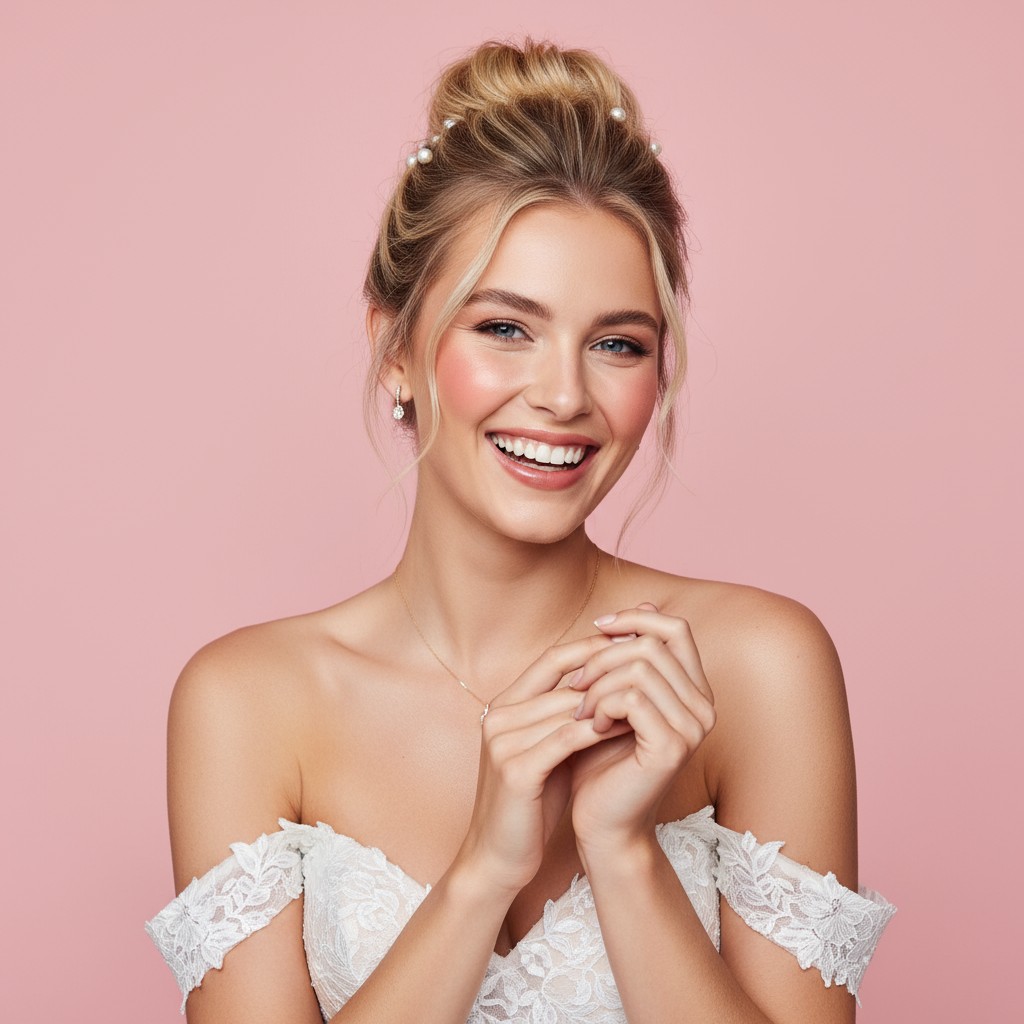
Pearl-studded hairpins scattered throughout the bun
Vintage crystal comb placed at the base of the bun
Delicate gold hair vine wrapped around the bun
Art deco headband positioned above the bun
Rhinestone bobby pins for subtle sparkle
White spray roses or baby's breath tucked into the bun
Silk ribbon wrapped around the base for soft texture
Cathedral or chapel veil attached just below the bun for dramatic length
Fingertip or elbow-length veil positioned at the crown for soft draping
Apply volumizing mousse to damp roots and blow-dry upside down for lift.
Backcomb the crown section before gathering to prevent flatness throughout the day.
Use elastic bands plus 8-10 U-pins for maximum security, not just bobby pins.
Set finished style with strong-hold hairspray and let dry 5 minutes before veil.
Prep hair with texturizing spray on dry hair, then brush into a high ponytail at the crown and secure tightly with a strong elastic.
Backcomb the ponytail in sections from ends to base, creating texture and fullness that will hold the bun shape.
Twist the teased ponytail loosely and wrap it around the base in a circular motion, creating a rounded, voluminous bun shape.
Secure with U-pins inserted vertically through the bun into the base, then tuck any loose ends and smooth flyaways with light hairspray.
Position veil comb just below the bun, secure with pins, then gently loosen bun edges for romantic softness and set with final hairspray.
Prefer instant?
Try 500+ hairstyles in minutes without
leaving home. See exactly how you'll
look on your big day.
✨ Try Before You Commit
Show your stylist clear visual
references. No more guessing or
miscommunication.
📱 Perfect Communication
Skip endless salon consultations
and trials. Find your perfect style
risk-free.
💰 Save Time & Money
Absolutely! Using clip-in extensions at the ponytail stage adds instant fullness, and backcombing creates the illusion of thickness. The veil also adds visual volume and drama to the overall look.
The key is using both a tight elastic and 8-10 U-pins (not just bobby pins) inserted vertically through the bun. Setting with strong-hold hairspray and allowing it to dry completely before adding your veil ensures all-day hold.
Yes! The height of the bun actually elongates your face and creates beautiful balance. Leave a few soft face-framing pieces or tendrils to add dimension and soften the overall look.
For cathedral or chapel veils, attach the comb just below the bun so the fabric drapes elegantly down your back. For shorter veils, position at the crown or top of the bun for a fuller, more romantic silhouette.