Preview this look on your face in seconds with our AI hair designer app.


Face shapes: Oval • Heart • Diamond

Hair length: Long • Extra Long

Hair texture: Wavy • Curly • Thick • Straight

Difficulty: Medium

Time to style: 45-60 minutes

Works with: Cathedral veil • Chapel veil • Floral crown • Pearl pins • Hair vine
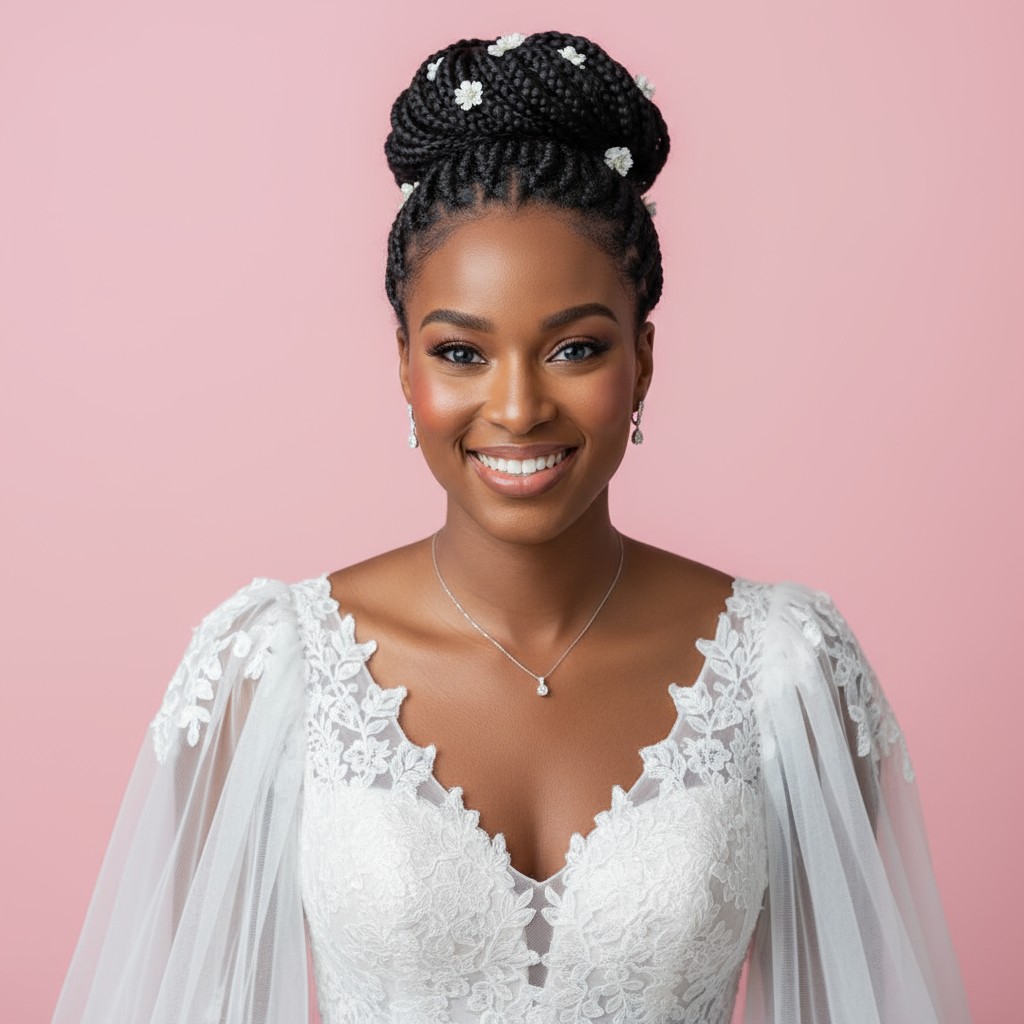
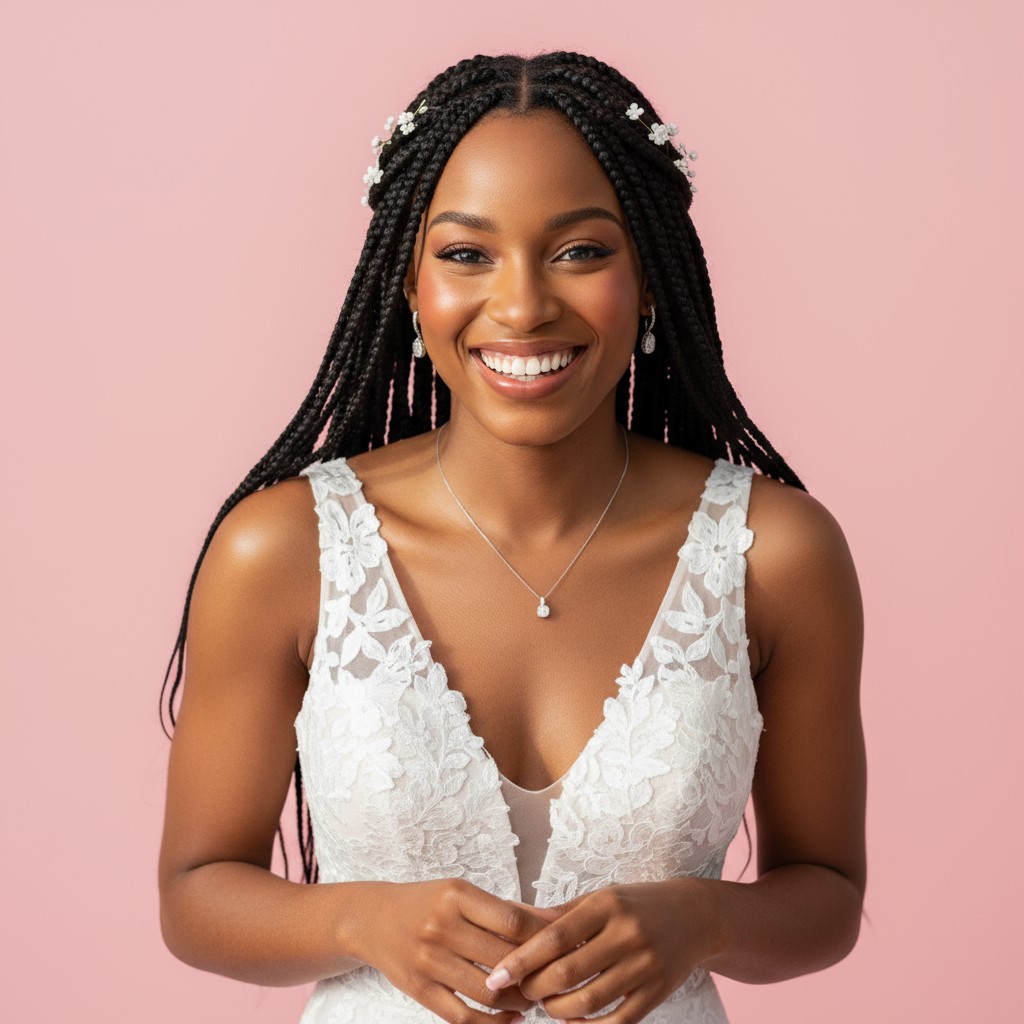
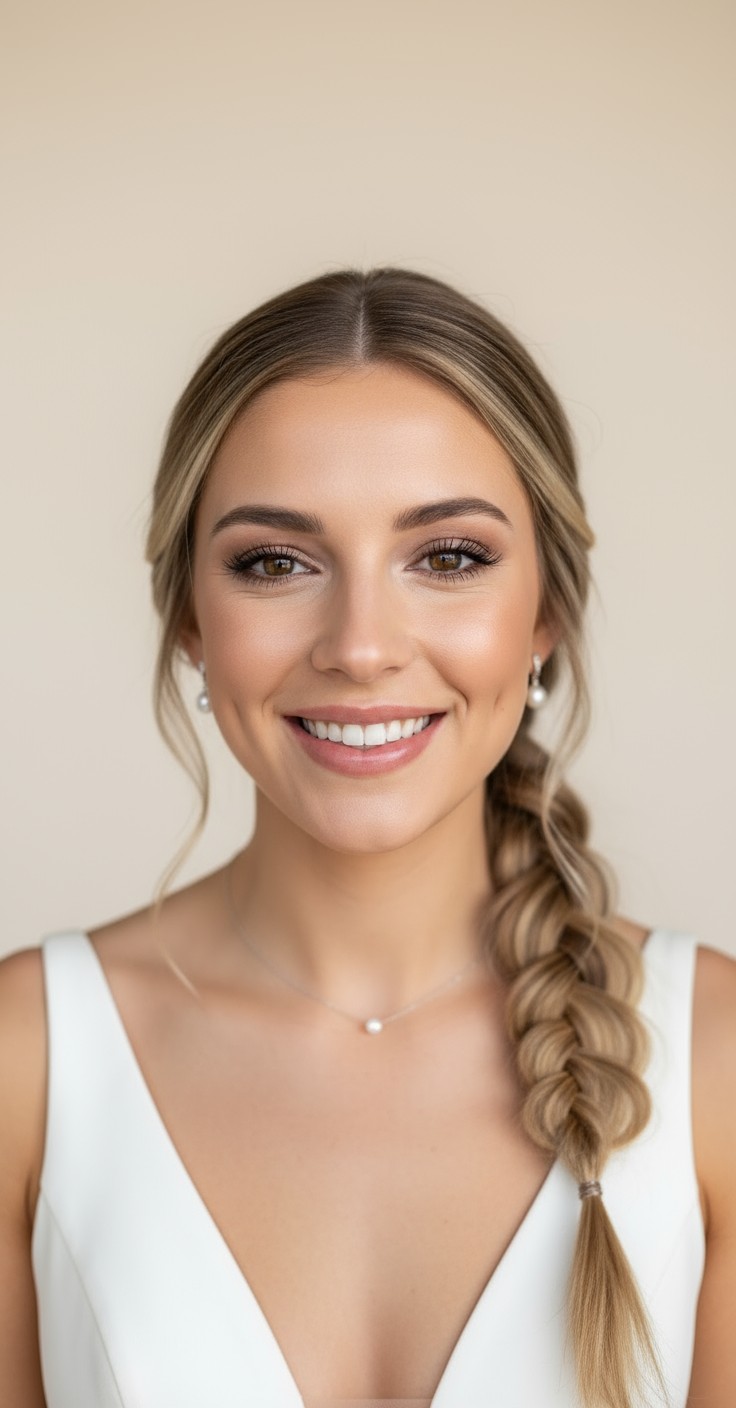
The mermaid braid gives you that ethereal, fairy-tale feeling every bride dreams about—it's romantic without being overly fussy, and it photographs beautifully from every angle. You'll feel confident knowing your hair looks intentionally gorgeous, not like you're trying too hard, and that effortless elegance translates into real wedding day calm.
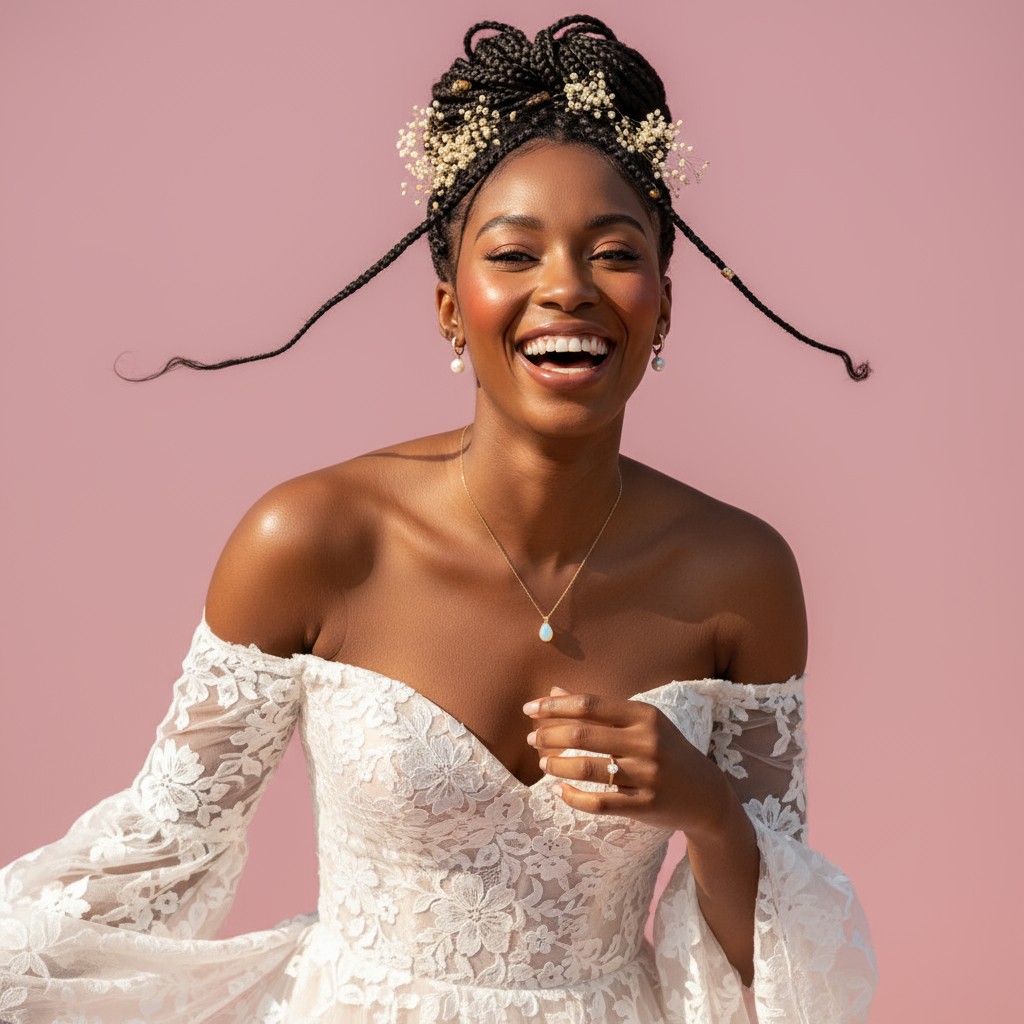
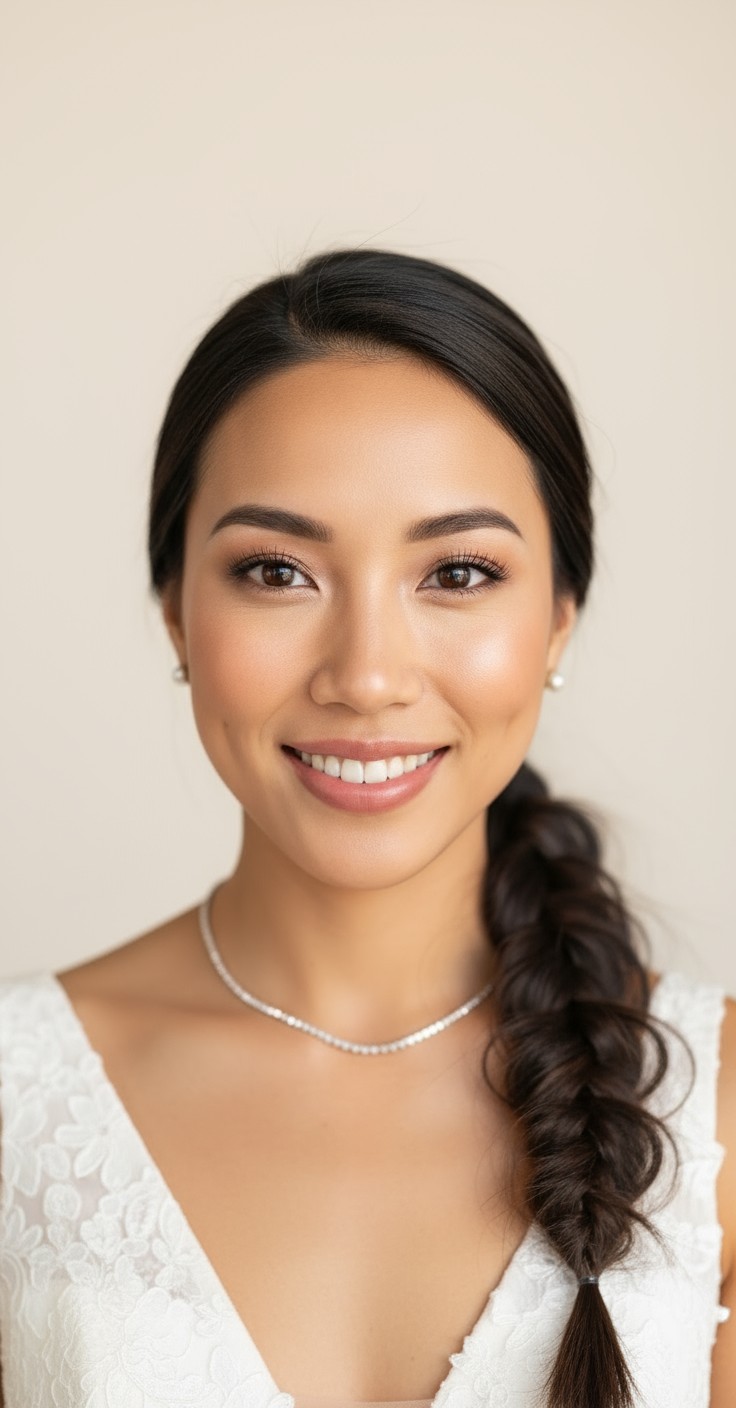
Practically speaking, this style stays put through tears, hugs, and hours of dancing, which means you can actually enjoy your day instead of worrying about flyaways. It works seamlessly with veils and won't get tangled when you remove your headpiece, plus the cascading texture holds up beautifully in outdoor settings even with a breeze.


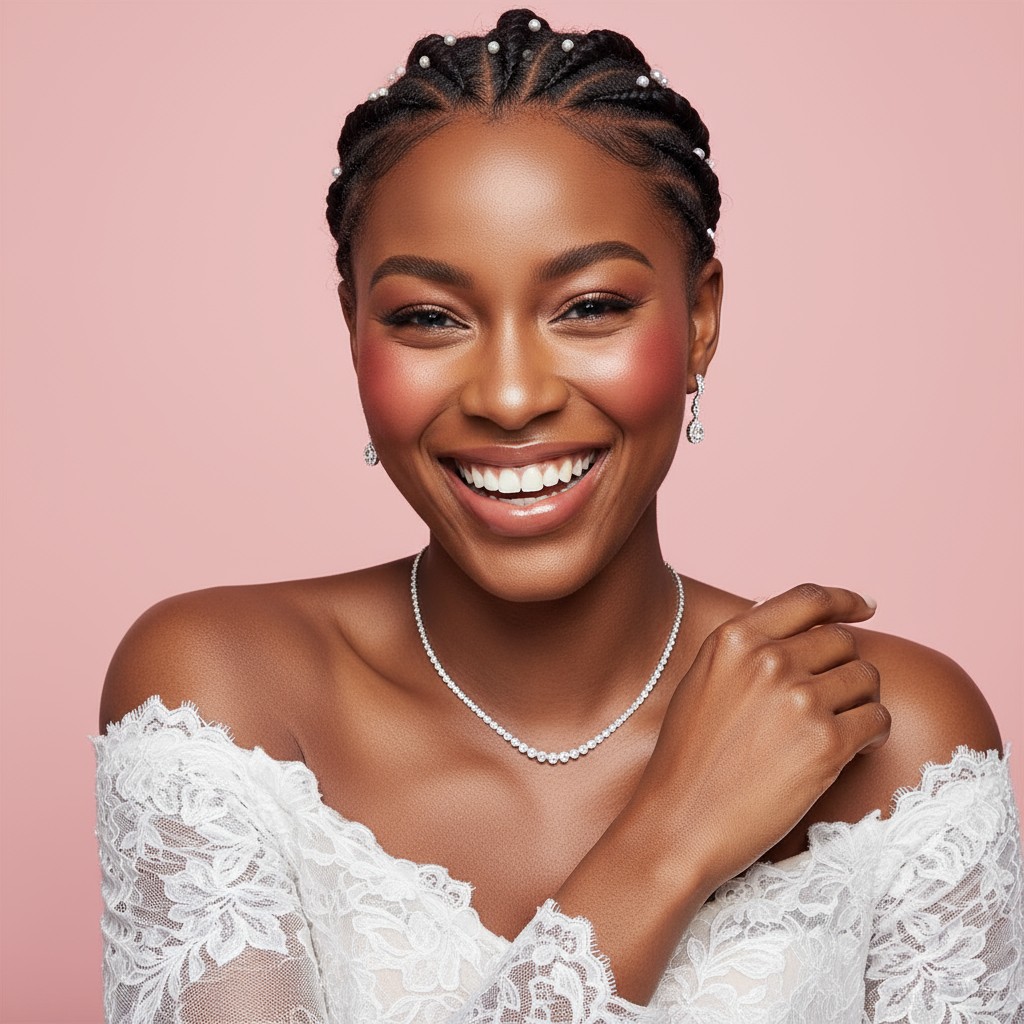
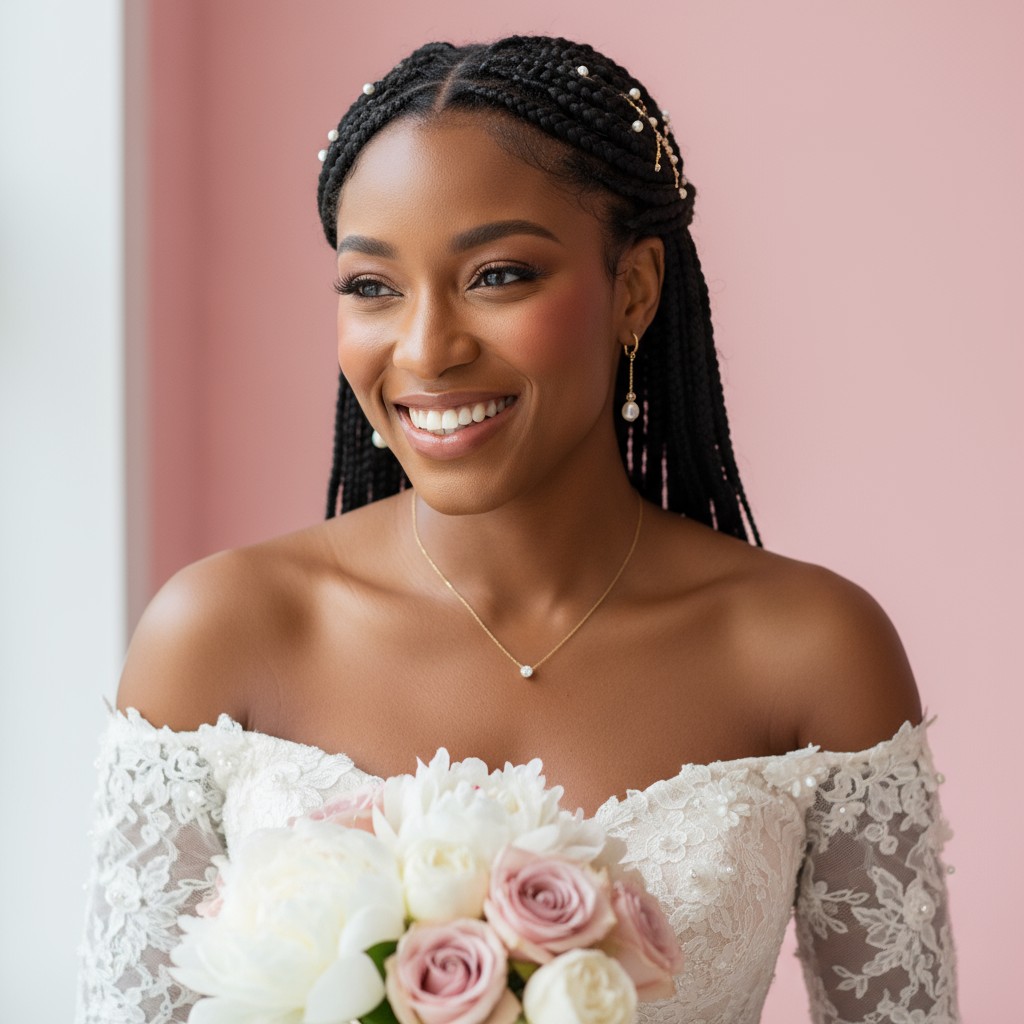
Delicate pearl hairpins scattered throughout the braid
Crystal hair vine woven along the braid's curve
Vintage gold leaf combs at the crown
Baby's breath clusters tucked into braid sections
Silk ribbon threaded through the weave
White ranunculus or garden roses tucked at intervals
Eucalyptus sprigs for texture and subtle greenery
Cathedral veil attached above the braid for dramatic flow
Chapel-length veil with lace edge positioned at mid-braid
Prep with texturizing spray on damp hair for grip and lasting hold.
Tease roots lightly before braiding to prevent flatness by reception time.
Set finished braid with flexible-hold hairspray and let cool completely before touching.
Pack mini bobby pins and clear elastics for quick touch-ups after veil removal.
Prep hair with volumizing mousse on damp strands, then blow-dry with a round brush to create body and smooth texture.
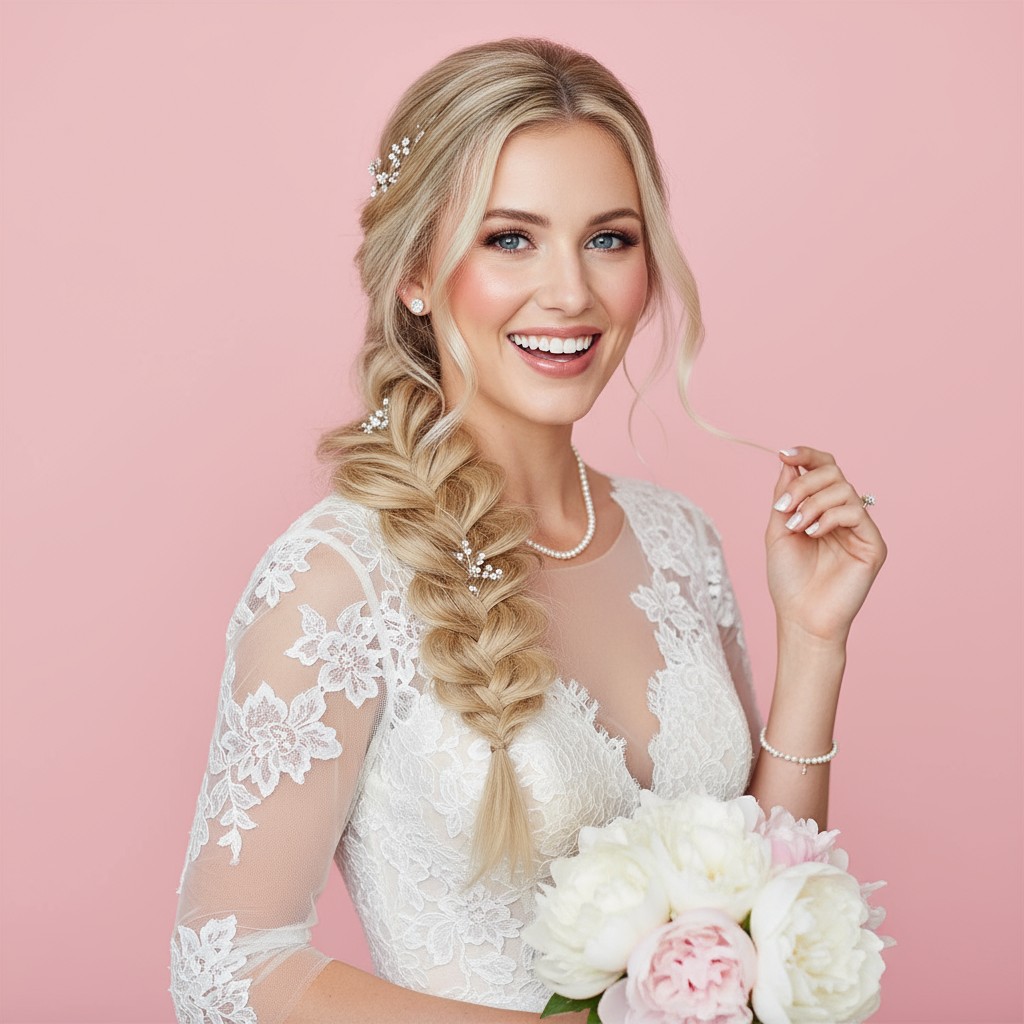
Brush hair to one side and divide into three sections at the nape, beginning a traditional three-strand braid.
Continue braiding while gradually incorporating smaller side sections to create that signature cascading, asymmetrical effect.
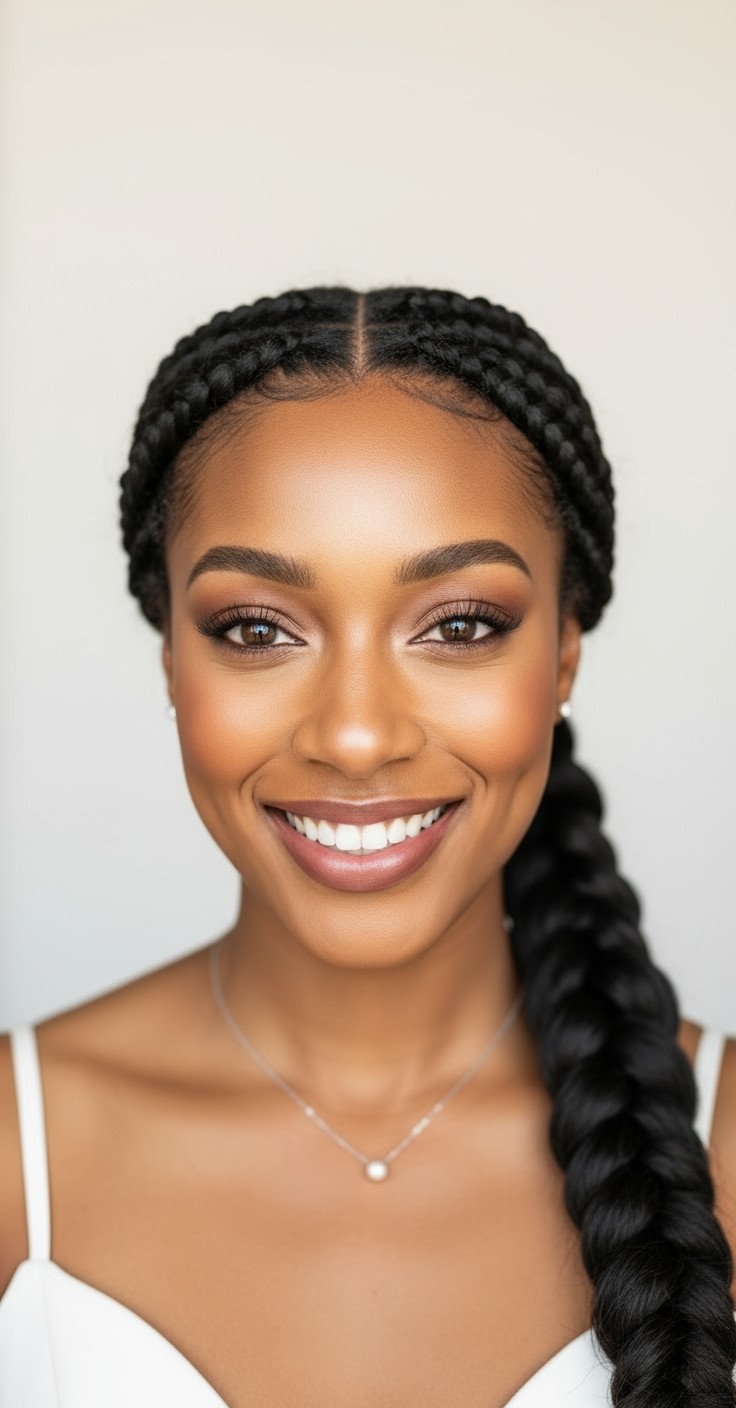
Tie off the braid with a clear elastic, then gently pancake each section by pulling edges outward for width and dimension.
Secure any loose pieces with pins, mist with flexible hairspray, and softly loosen face-framing strands for romantic, effortless beauty.
Prefer instant?
Try 500+ hairstyles in minutes without
leaving home. See exactly how you'll
look on your big day.
✨ Try Before You Commit
Show your stylist clear visual
references. No more guessing or
miscommunication.
📱 Perfect Communication
Skip endless salon consultations
and trials. Find your perfect style
risk-free.
💰 Save Time & Money
Absolutely—the pancaking technique creates volume and fullness even on fine hair. Your stylist can also add clip-in extensions for extra thickness and length if desired.
Yes, the mermaid braid is incredibly stable and actually looks even better with a bit of natural texture from humidity. Just use a strong-hold spray and anti-humidity products during prep.
Definitely—attach the veil just above where the braid begins at the crown for a stunning cascading effect. The braid won't interfere with veil removal later in the evening.
Schedule your trial 2-3 months before the wedding so you have time to adjust accessories and practice the look. Bring your veil and any hairpieces to the appointment for the full effect.