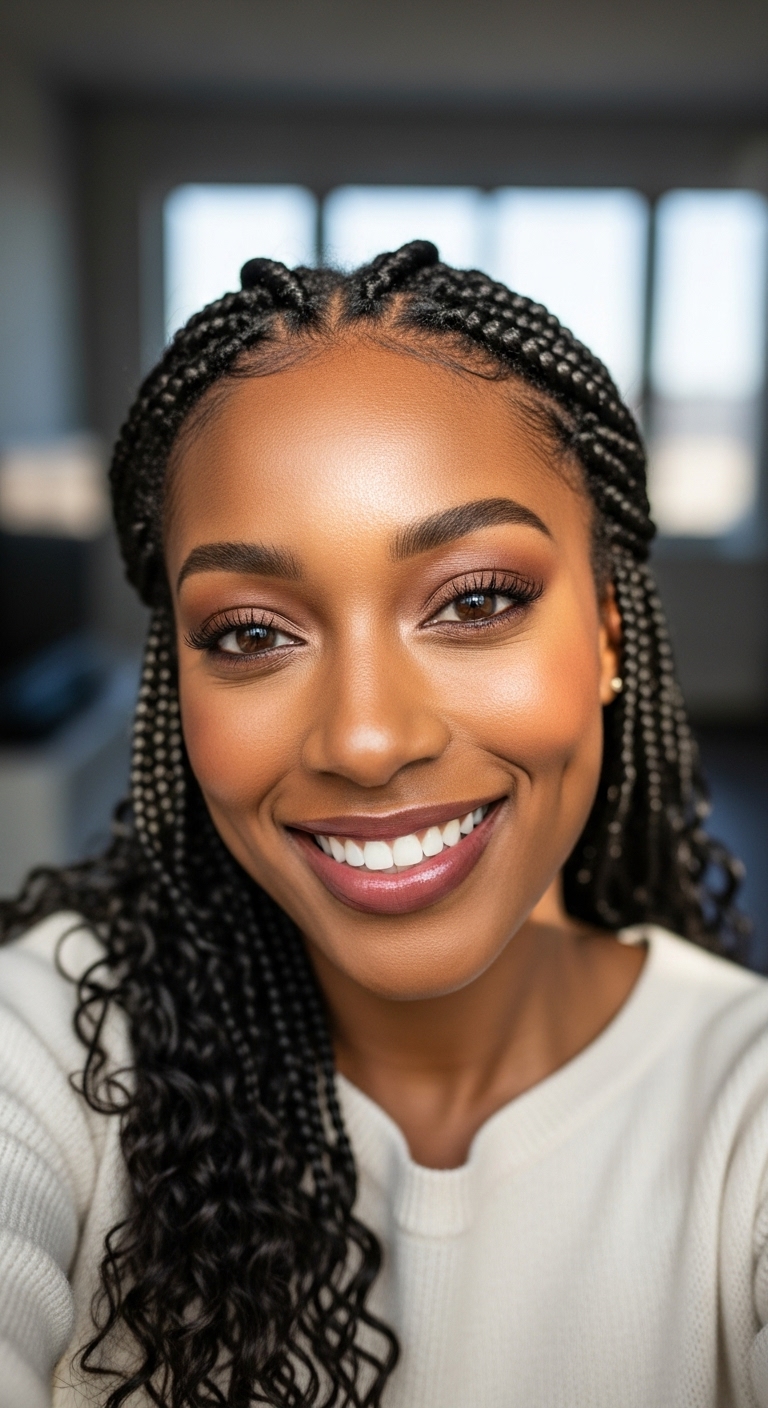
Preview this look on your face in seconds with our AI hair designer app.


Face shapes: Oval • Heart • Square

Hair length: Medium • Long • Extra Long

Hair texture: Straight • Wavy • Curly • Fine • Thick

Difficulty: Medium

Time to style: 45-60 minutes

Works with: Cathedral veil • Chapel veil • Fingertip veil • Drop veil • Pearl pins
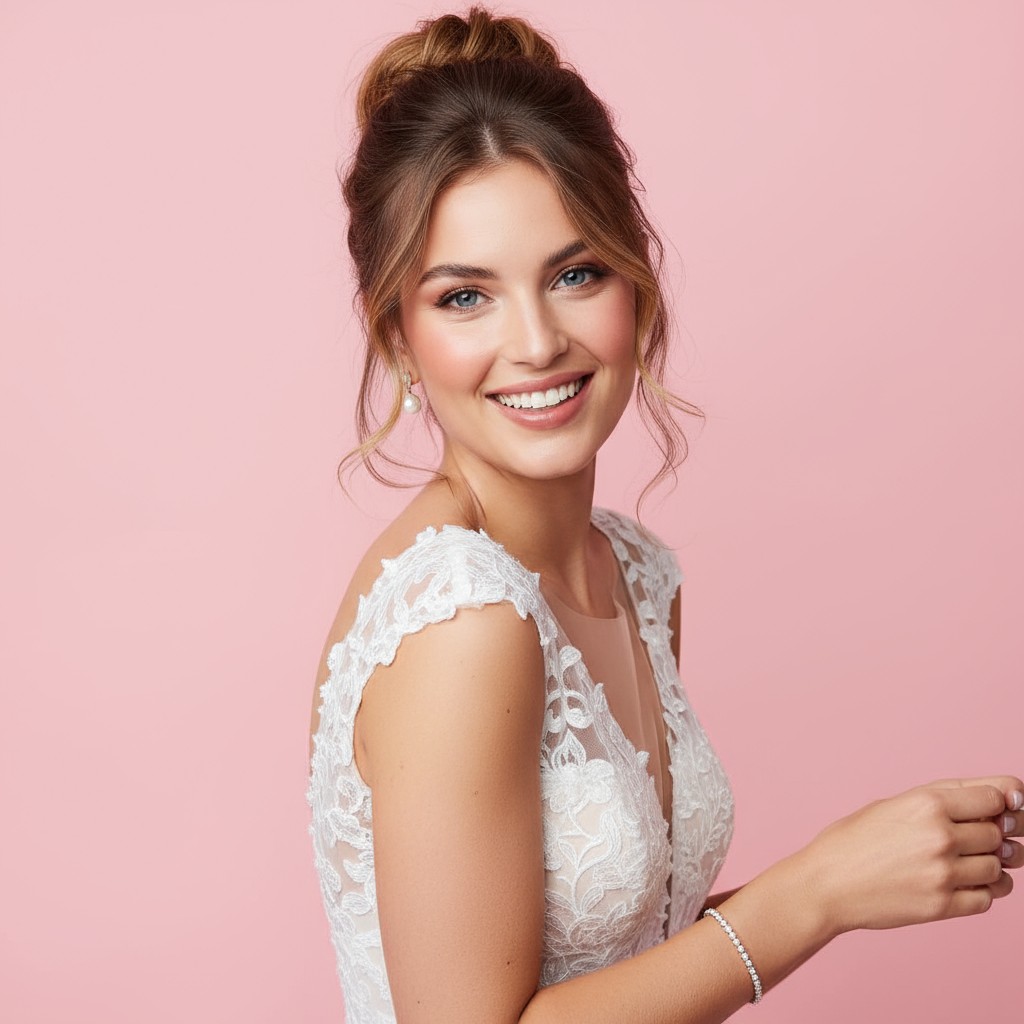
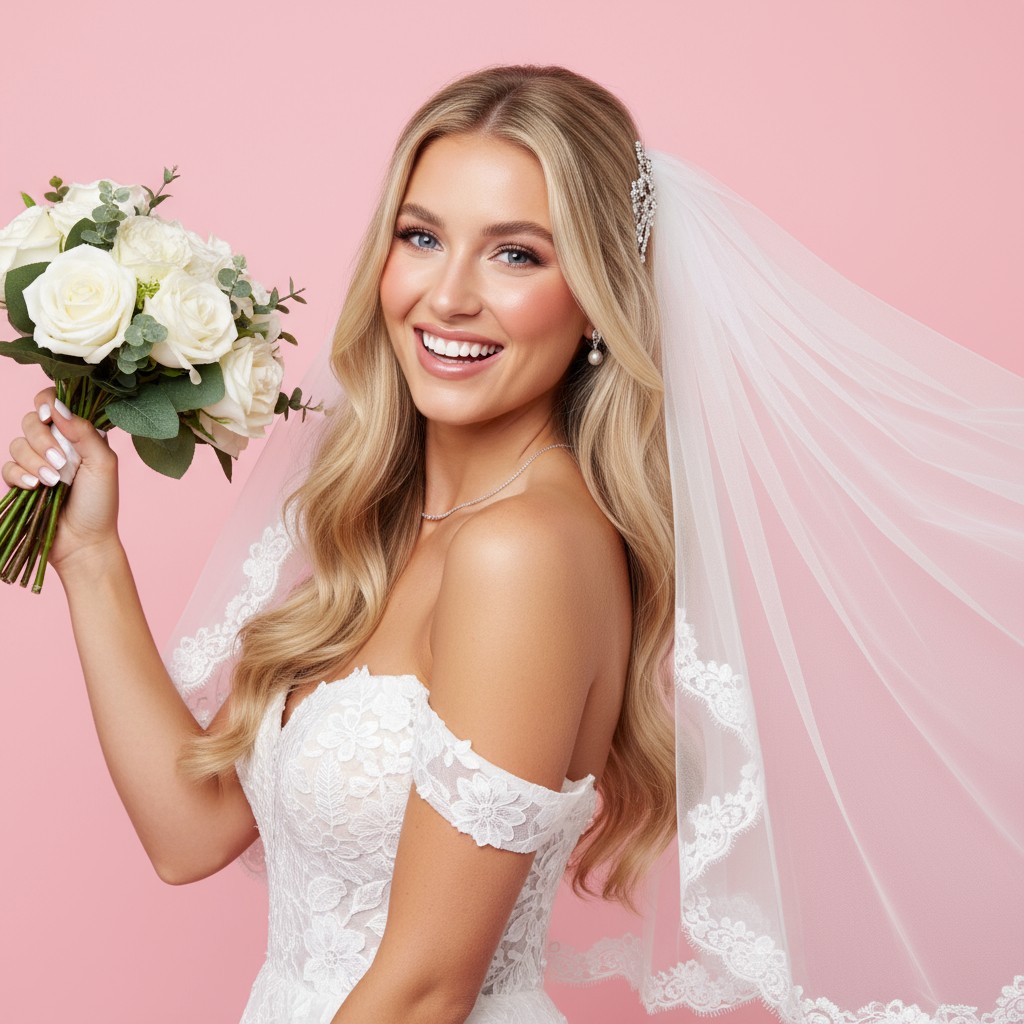
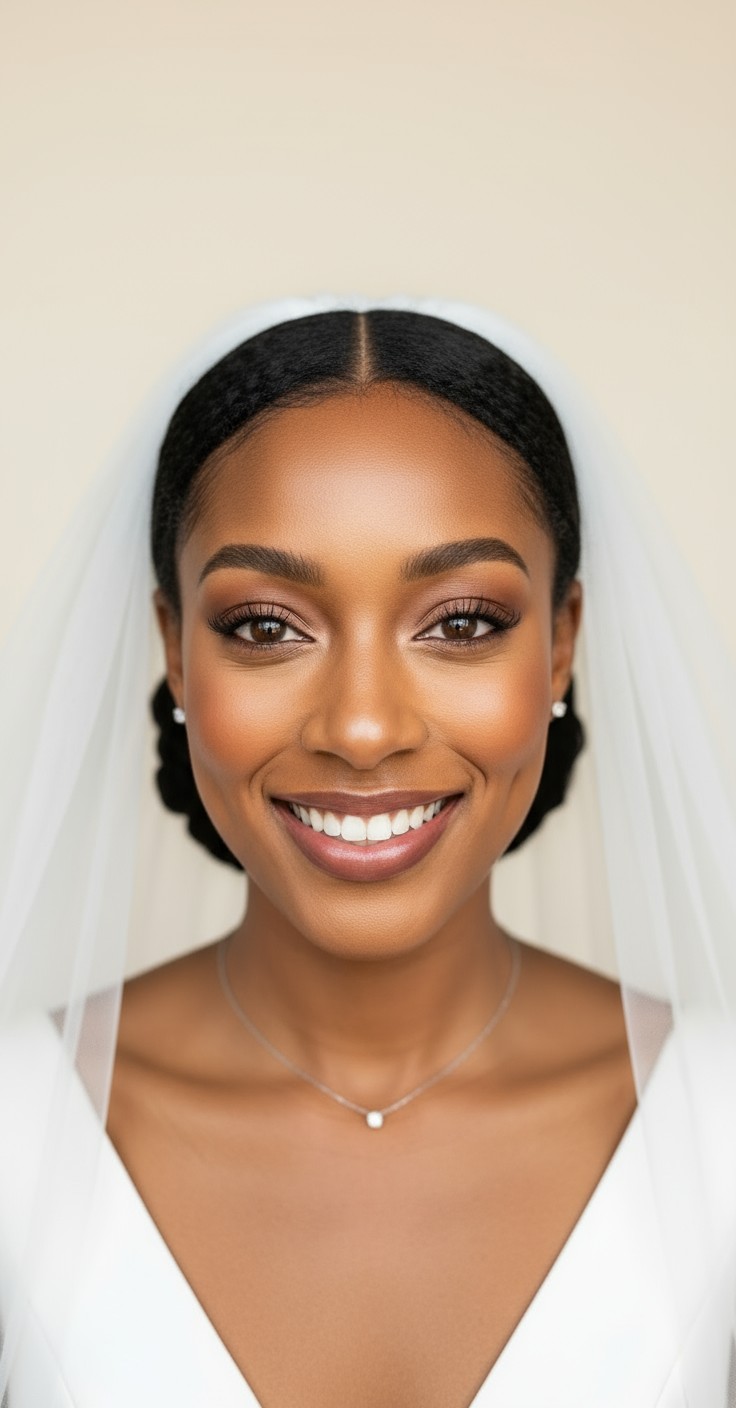
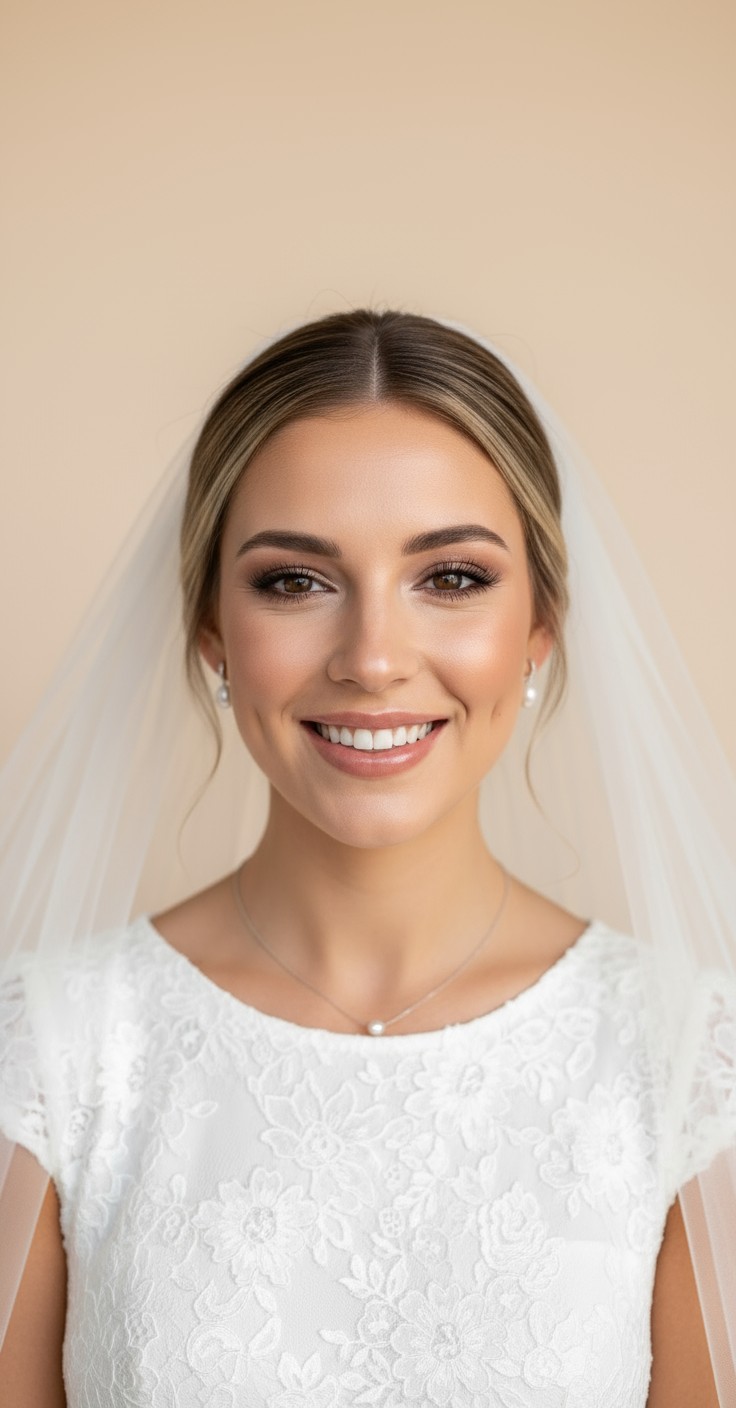
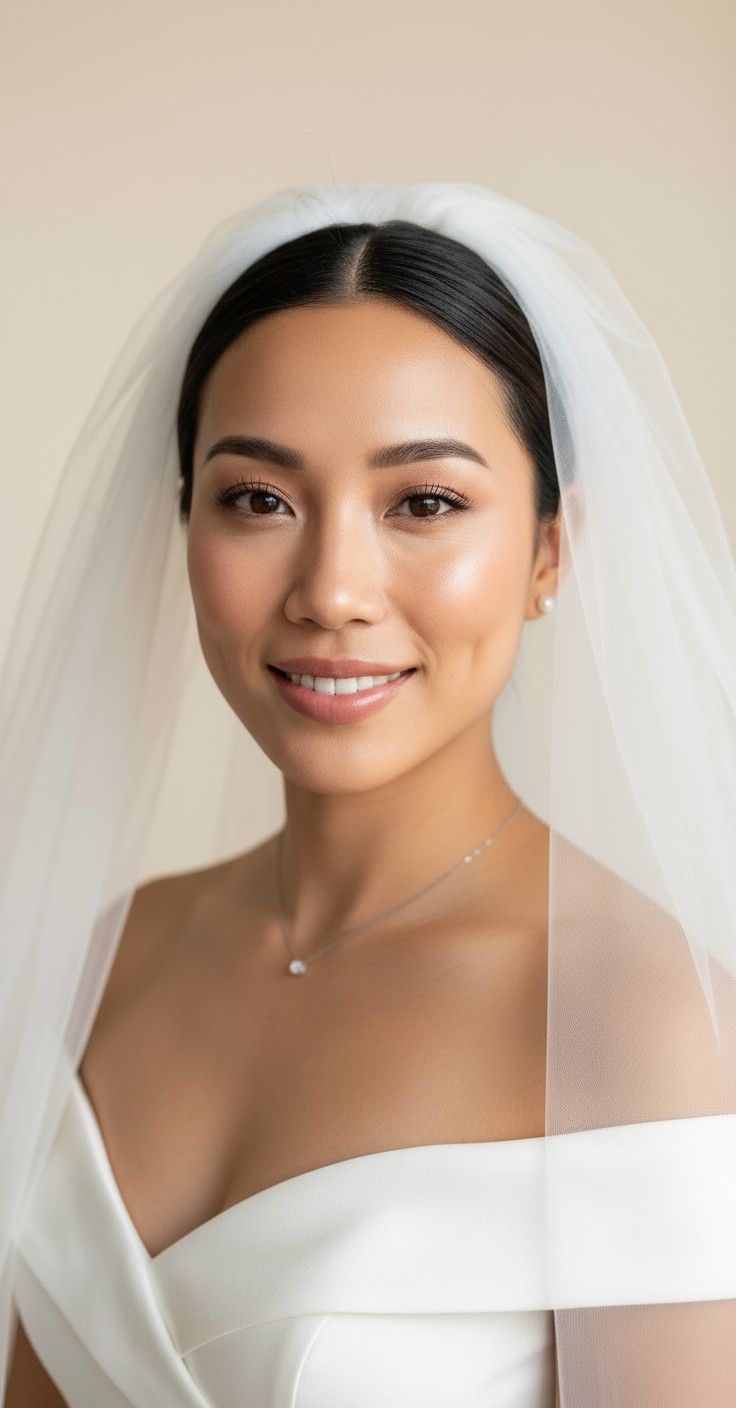
Brides choose the under bun veil placement because it creates an effortlessly sophisticated silhouette that photographs beautifully from every angle. This timeless style exudes confidence and elegance, allowing your natural beauty to shine while the veil flows gracefully down your back. You'll feel poised and polished without worrying about your hairstyle competing with your dress or accessories.
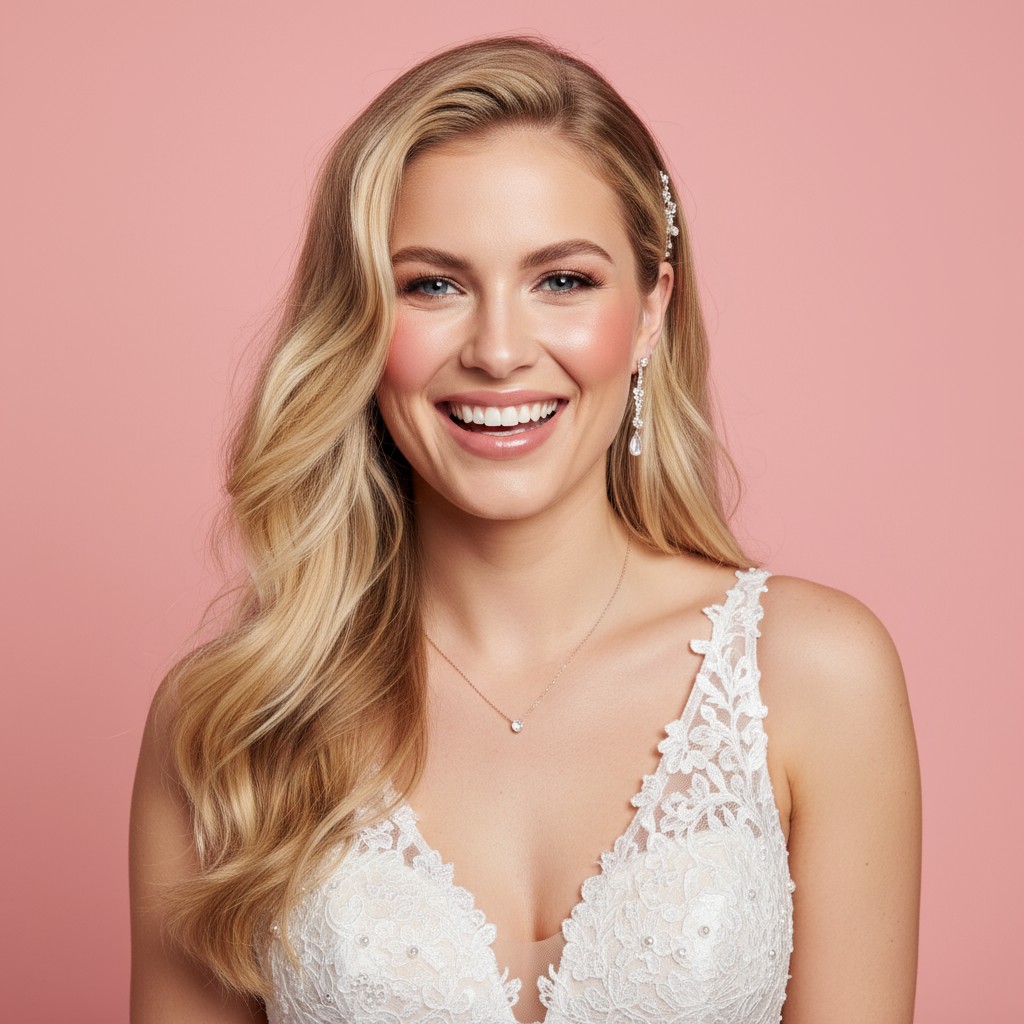
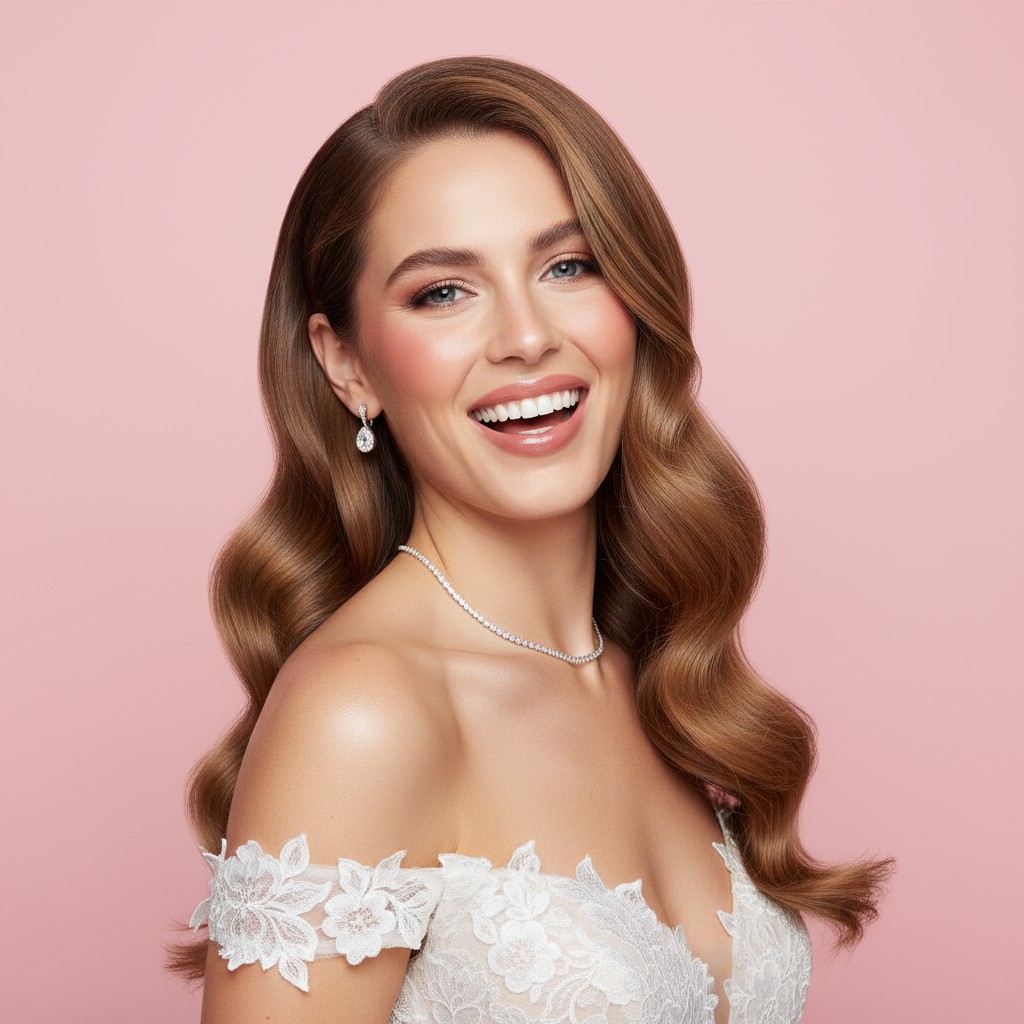
Beyond the romantic aesthetic, this style offers incredible stability throughout your big day—the veil stays securely in place through hugs, dancing, and wind. It's remarkably comfortable since the weight distributes evenly, and you won't feel tugging or headaches as the evening goes on. The under bun placement also showcases statement earrings and neckline details that might otherwise be hidden.


Delicate pearl pins scattered around the bun base
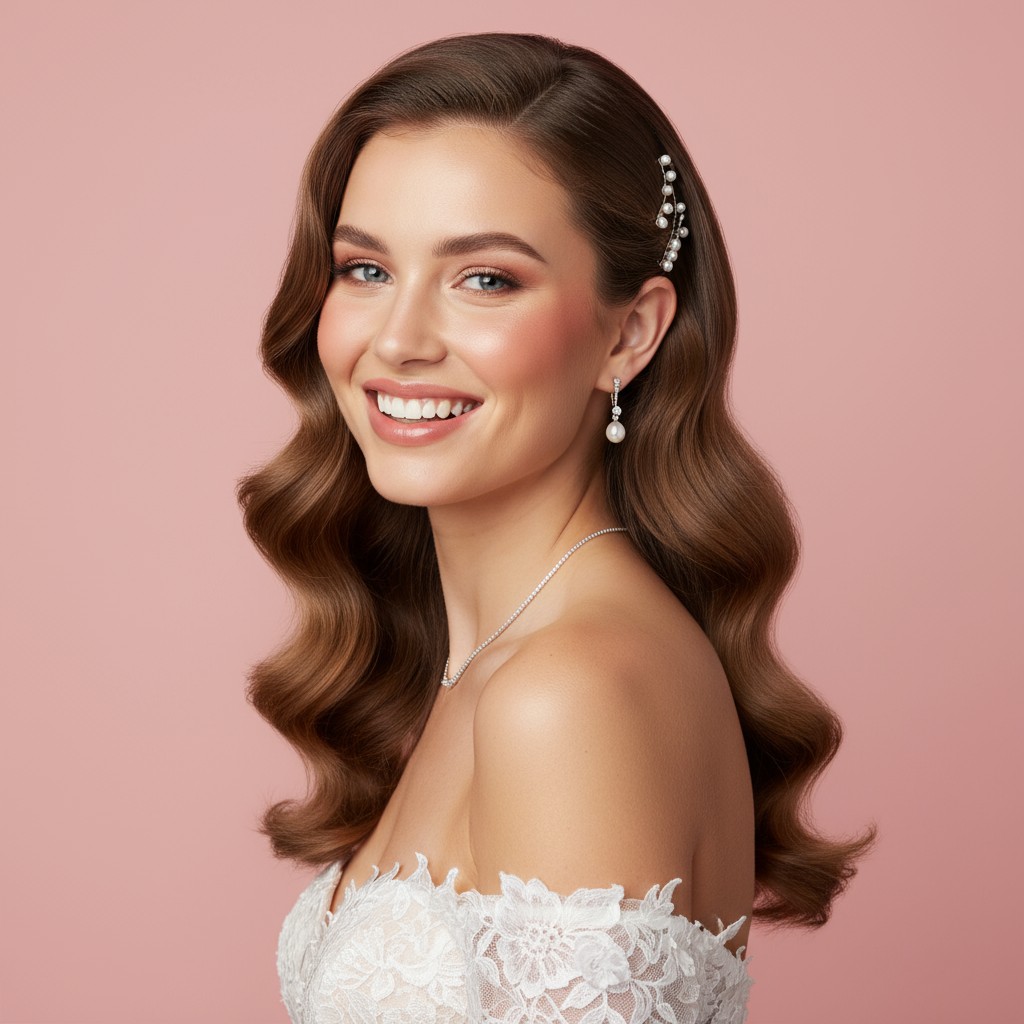
Vintage-inspired crystal comb positioned above the veil attachment
Gold or silver hairpins with floral detailing
Satin-wrapped bobby pins that match your dress color
Art deco beaded hair clips for Gatsby-style elegance
Baby's breath clusters tucked into the bun sides
Silk ribbon wrapped around the base of the bun
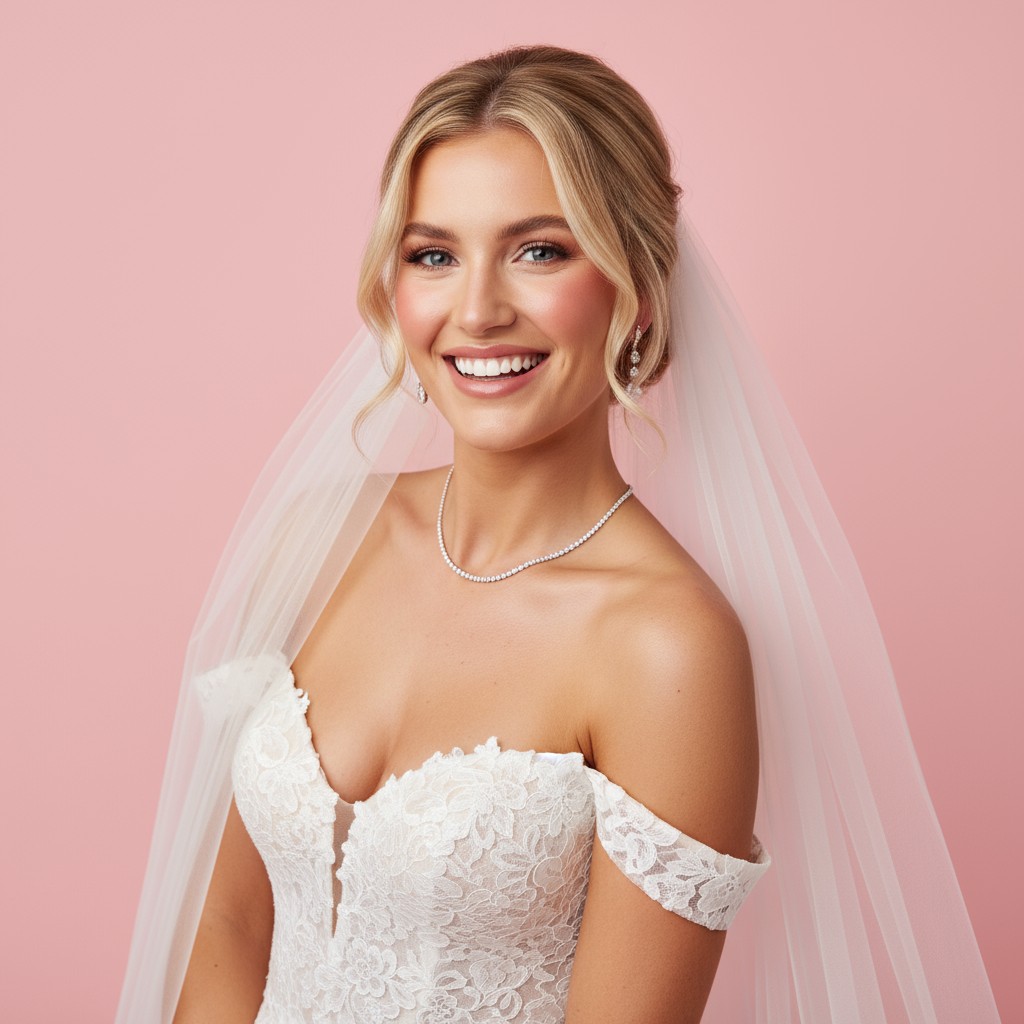
Cathedral or chapel length veils for dramatic flow
Drop veils that create cascading layers below the bun
Apply texturizing spray to damp hair for grip and volume that lasts.
Tease at the crown before forming bun to maintain height through dancing.
Secure veil with multiple pins forming an X-pattern underneath the bun.
Finish with strong-hold hairspray and gently mist veil tulle to prevent shifting.
Prep hair with volumizing mousse on damp roots, then blow-dry smooth with a round brush for polished texture.
Gather hair into a low ponytail at the nape, teasing the crown section lightly before securing with a hair elastic.
Twist the ponytail into a classic bun shape, wrapping sections around the base and pinning every few inches for security.
Position the veil comb directly underneath the finished bun, securing with criss-crossed bobby pins through the comb teeth and into the bun base.
Secure any loose pieces with pins, gently pull a few face-framing tendrils free, and mist with hairspray for romantic softness.
Prefer instant?
Try 500+ hairstyles in minutes without
leaving home. See exactly how you'll
look on your big day.
✨ Try Before You Commit
Show your stylist clear visual
references. No more guessing or
miscommunication.
📱 Perfect Communication
Skip endless salon consultations
and trials. Find your perfect style
risk-free.
💰 Save Time & Money
Absolutely! Use a donut-style bun form or add hair extensions to create fuller-looking volume. The veil placement actually helps disguise any gaps while adding visual weight and dimension.
The key is securing the bun thoroughly with multiple pins before adding the veil, and using strong-hold products at the base. The veil weight should rest on the pins, not pull on the bun itself.
Yes! Have your stylist create the bun structure independently, then attach the veil with its own set of pins. You can slide them out smoothly and the bun will stay intact for dancing.
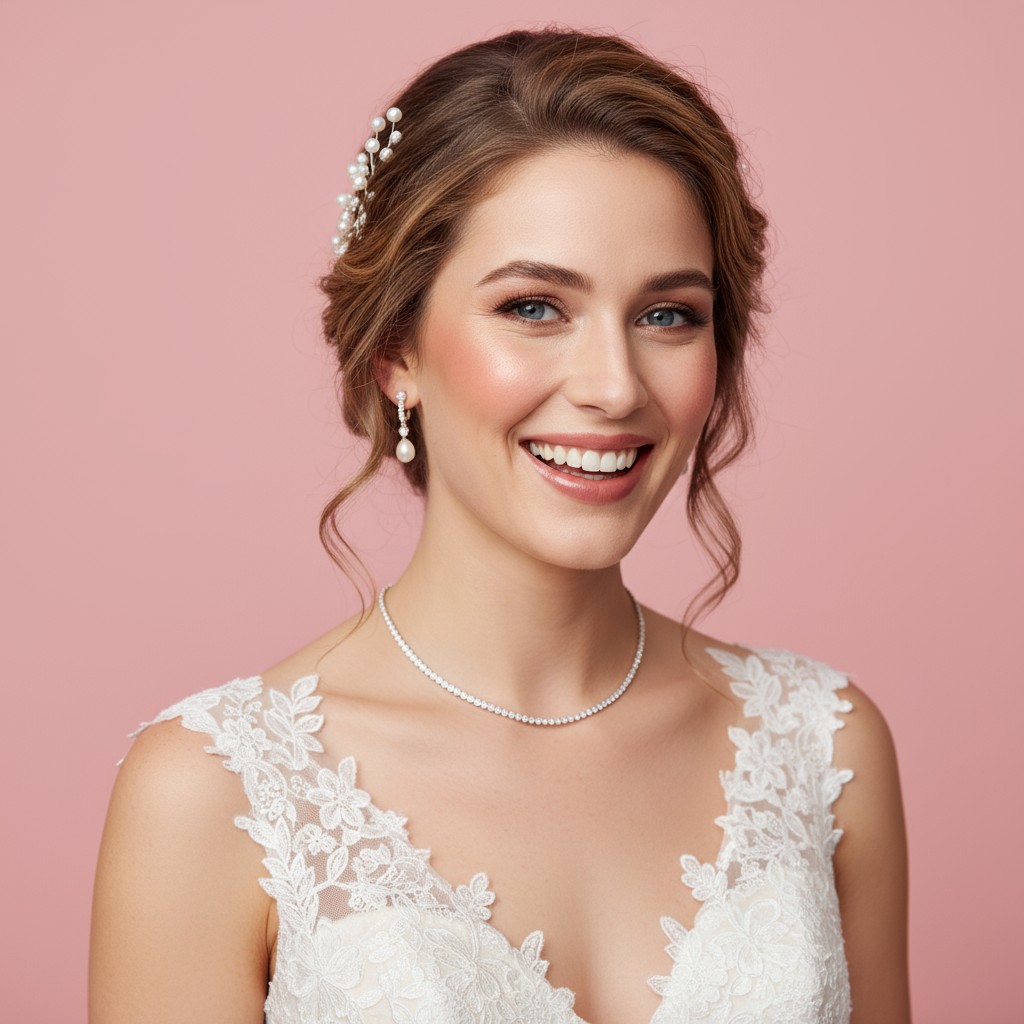
It's perfect for those necklines! The under bun veil draws the eye to your shoulders and collarbones, creating an elegant frame that shows off strapless and off-shoulder details beautifully.