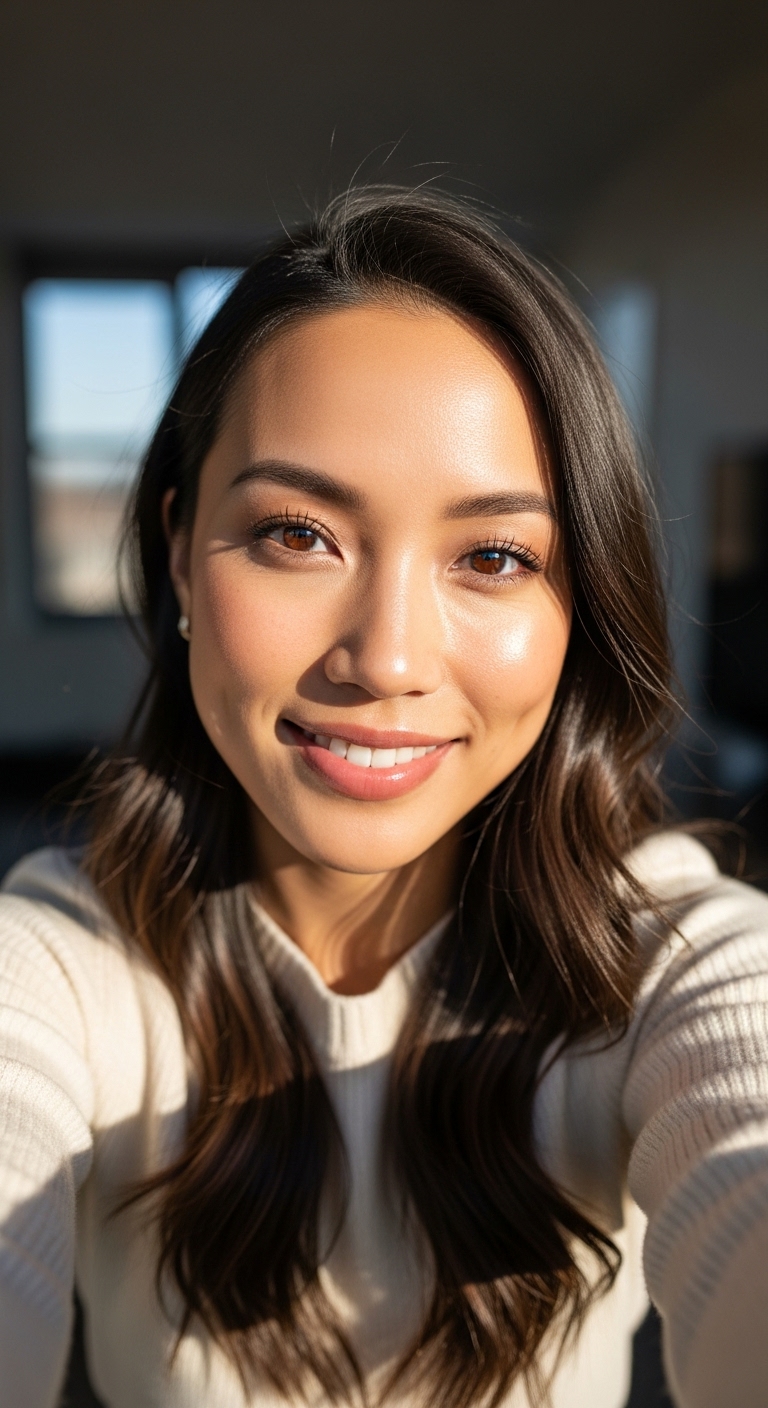
Preview this look on your face in seconds with our AI hair designer app.


Face shapes: Oval • Heart • Square

Hair length: Medium • Long • Extra Long

Hair texture: Straight • Wavy • Curly • Fine • Thick

Difficulty: Medium

Time to style: 45-60 minutes

Works with: Cathedral veil • Fingertip veil • Blusher veil • Drop veil • Juliet cap veil
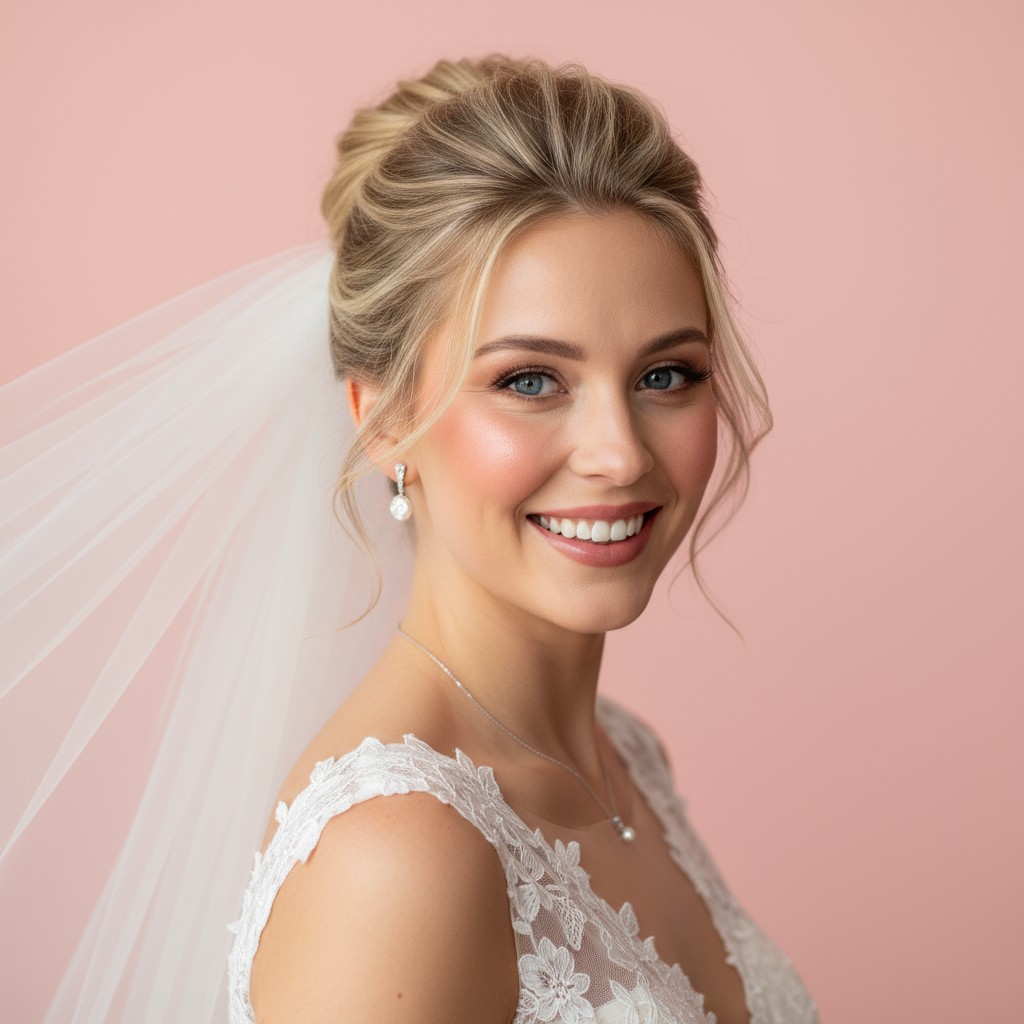
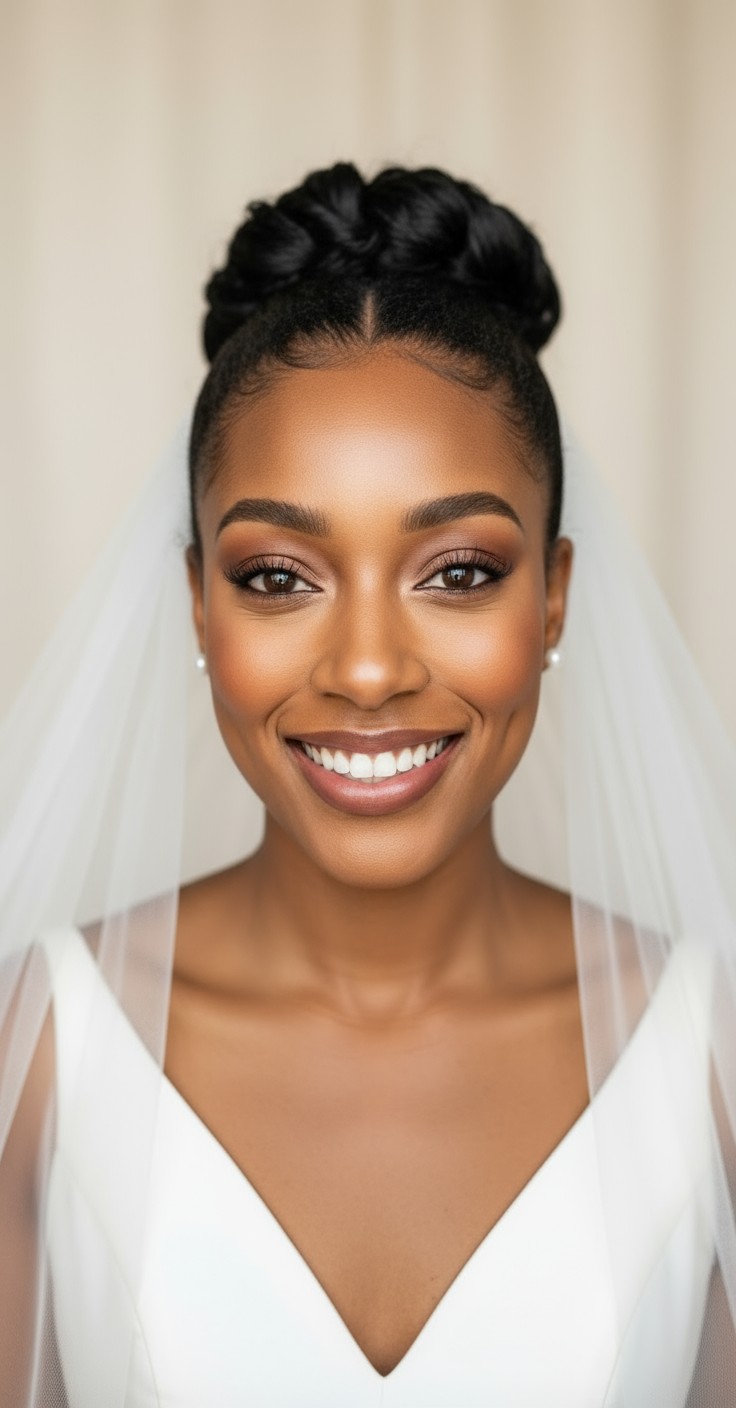
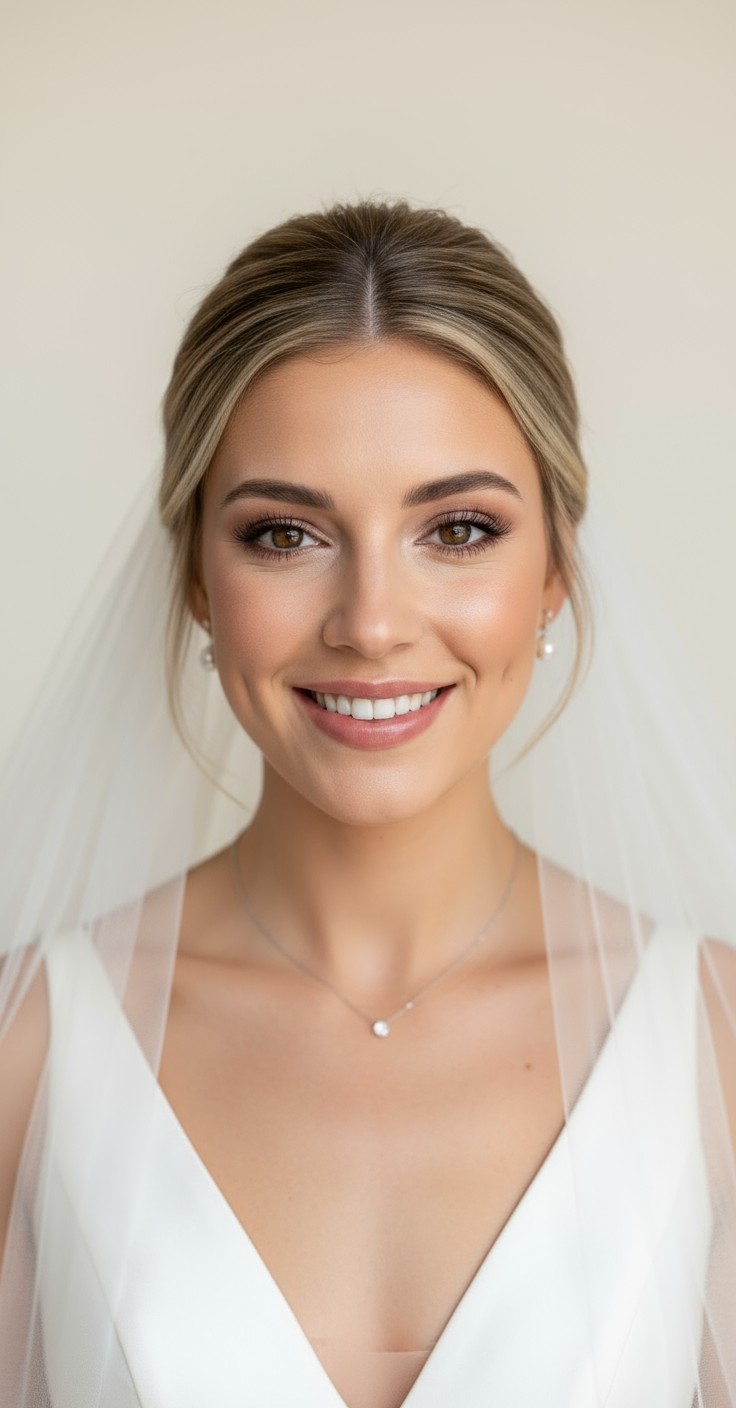
The updo veil pairing creates that timeless, elegant bridal moment you've been dreaming about since you said yes. There's something incredibly romantic about the way a veil drapes over a beautifully crafted updo—it frames your face, highlights your neckline, and gives you that confident, put-together feeling that carries you through every moment of your day. This classic combination photographs beautifully from every angle, ensuring your wedding album captures the grace and sophistication you envision.
Beyond the stunning aesthetics, updos paired with veils offer serious practical advantages that matter when you're celebrating for hours. Your hair stays secure through emotional ceremonies, outdoor photo sessions, and reception dancing—no constant touch-ups needed. The updo creates the perfect anchor point for veil placement, preventing slipping or pulling, while keeping hair off your neck for comfort in any weather or venue temperature.

Pearl-encrusted hair pins scattered throughout the updo
Vintage-inspired crystal comb positioned at the base
Delicate gold leaf vine woven through twists
Art deco beaded headband across the crown
Mother-of-pearl barrette as a focal point
White spray roses or stephanotis tucked into the bun
Silk ribbon wrapped around the base of the updo
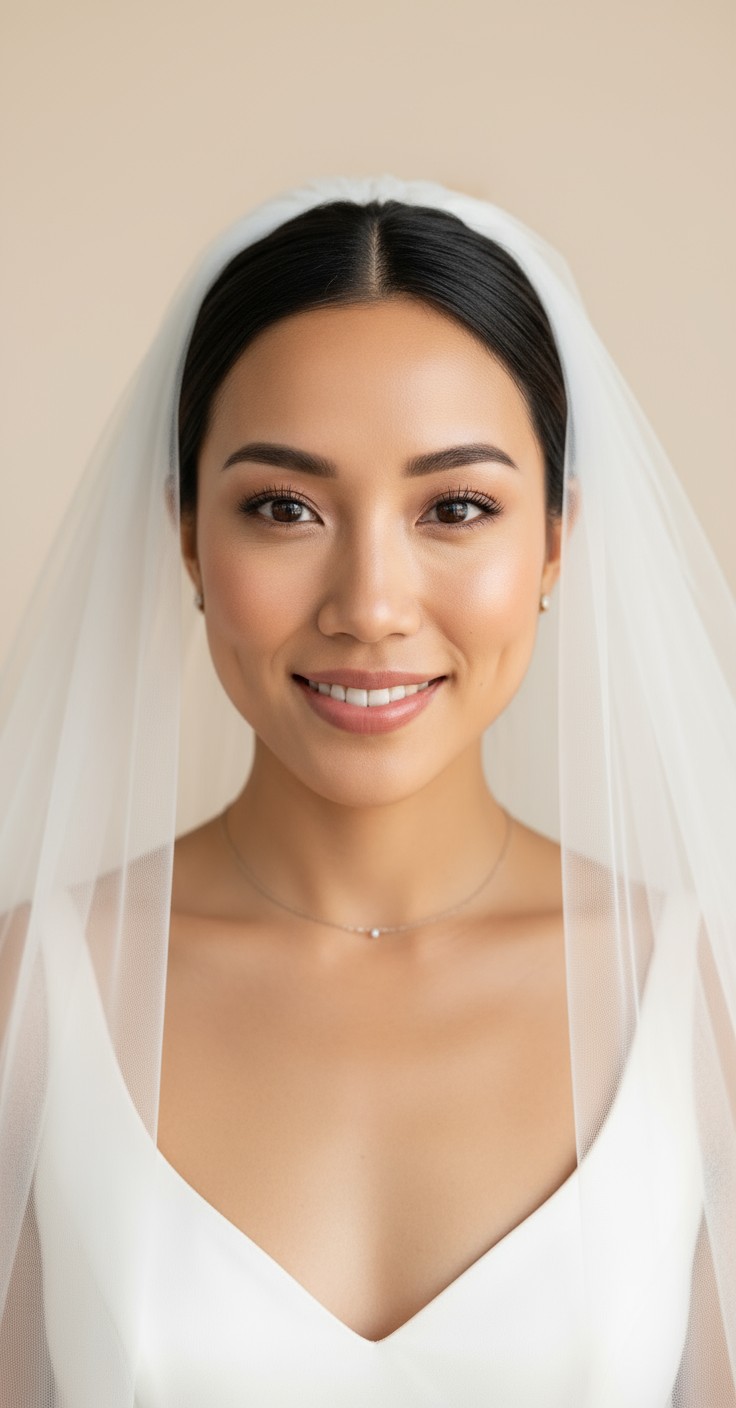
Cathedral veil for dramatic, formal ceremonies
Fingertip veil for versatile, classic elegance
Wash hair the day before to ensure texture and grip for pins.
Use strong-hold hairspray and bobby pins that match your hair color exactly.
Place veil comb slightly below crown to distribute weight evenly all day.
Schedule hair trial with your actual veil to test placement and comfort.
Prep hair with texturizing spray on second-day hair and blow-dry with a round brush for smooth volume at the roots.
Gather hair into a low ponytail at the nape, leaving out face-framing pieces, and secure with a clear elastic.
Twist the ponytail into a classic bun or rolled chignon, tucking ends under and pinning every few inches for security.
Position the veil comb just above or below the bun depending on style preference, angling it slightly downward for stability.
Gently loosen a few sections around the bun for romantic texture, mist with strong-hold spray, and tuck face-framing pieces behind ears.
Prefer instant?

Try 500+ hairstyles in minutes without
leaving home. See exactly how you'll
look on your big day.
✨ Try Before You Commit
Show your stylist clear visual
references. No more guessing or
miscommunication.
📱 Perfect Communication
Skip endless salon consultations
and trials. Find your perfect style
risk-free.
💰 Save Time & Money
Absolutely! Use clip-in extensions or a hair donut to add fullness to the bun, and tease roots gently before styling. The veil itself adds visual volume and draws attention to the overall silhouette rather than hair density.
Position the veil comb just above the bun for a classic, elevated look, or directly below for a softer, more bohemian feel. Your face shape and veil length will help determine which placement flatters you most—try both during your hair trial.
Yes, if your stylist secures the updo independently from the veil placement. Make sure the bun is pinned thoroughly on its own so the veil comb can slide out cleanly without disturbing the style.
Ask your stylist to avoid pulling hair too taut at the hairline, and choose a veil length appropriate for all-day wear—fingertip veils are lighter than cathedral styles. Position the veil comb to distribute weight across several bobby pins rather than one pressure point.