Preview this look on your face in seconds with our AI hair designer app.


Face shapes: Oval • Heart • Square

Hair length: Medium • Long • Extra Long

Hair texture: Straight • Wavy • Curly • Fine • Thick

Difficulty: Medium

Time to style: 45-60 minutes

Works with: Cathedral veil • Mantilla veil • Birdcage veil • Fingertip veil • Hair combs
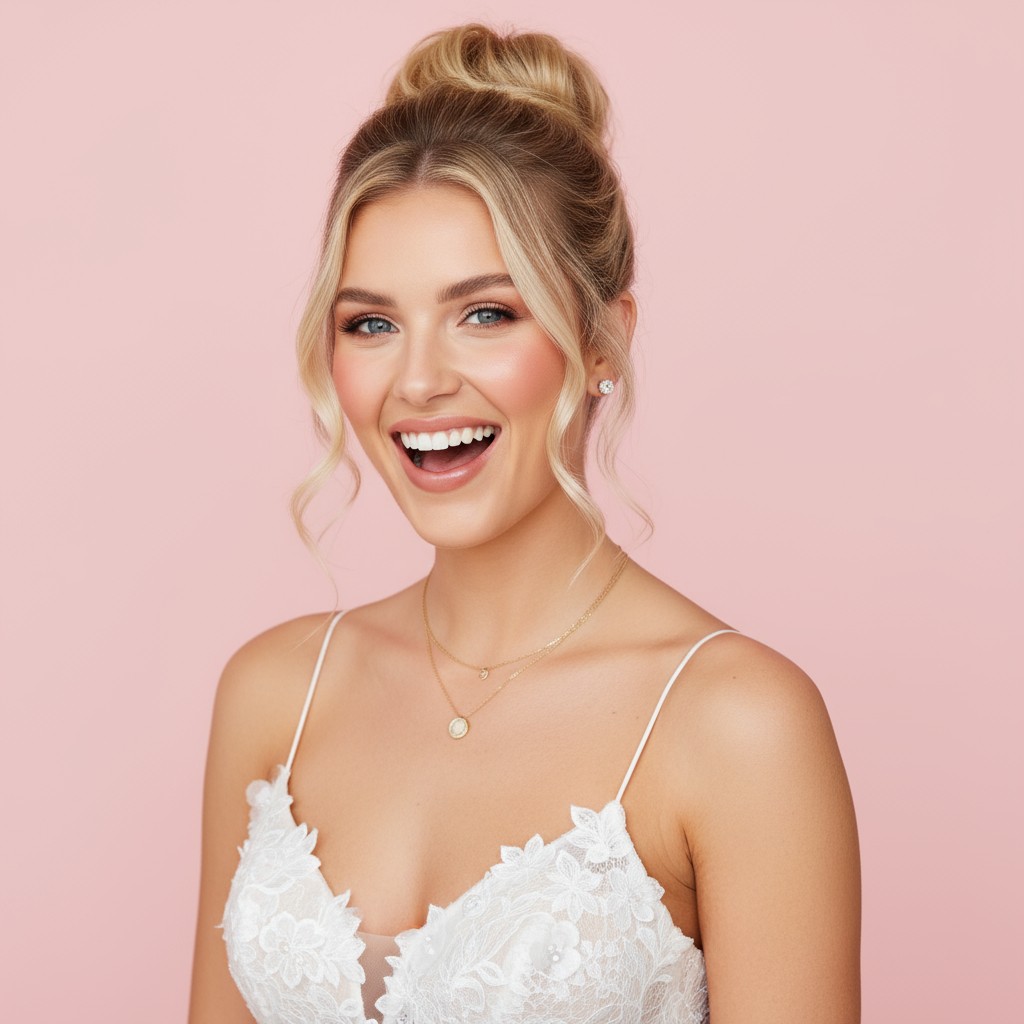
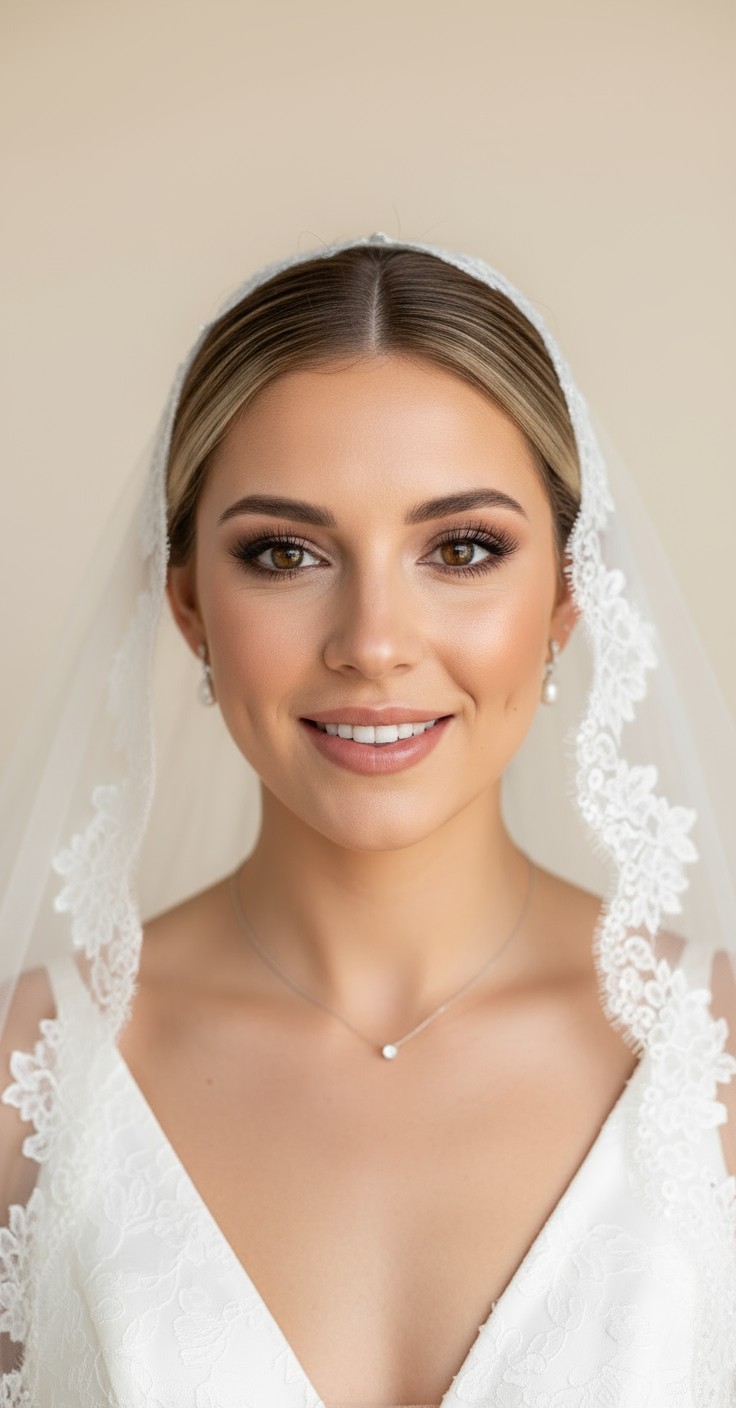
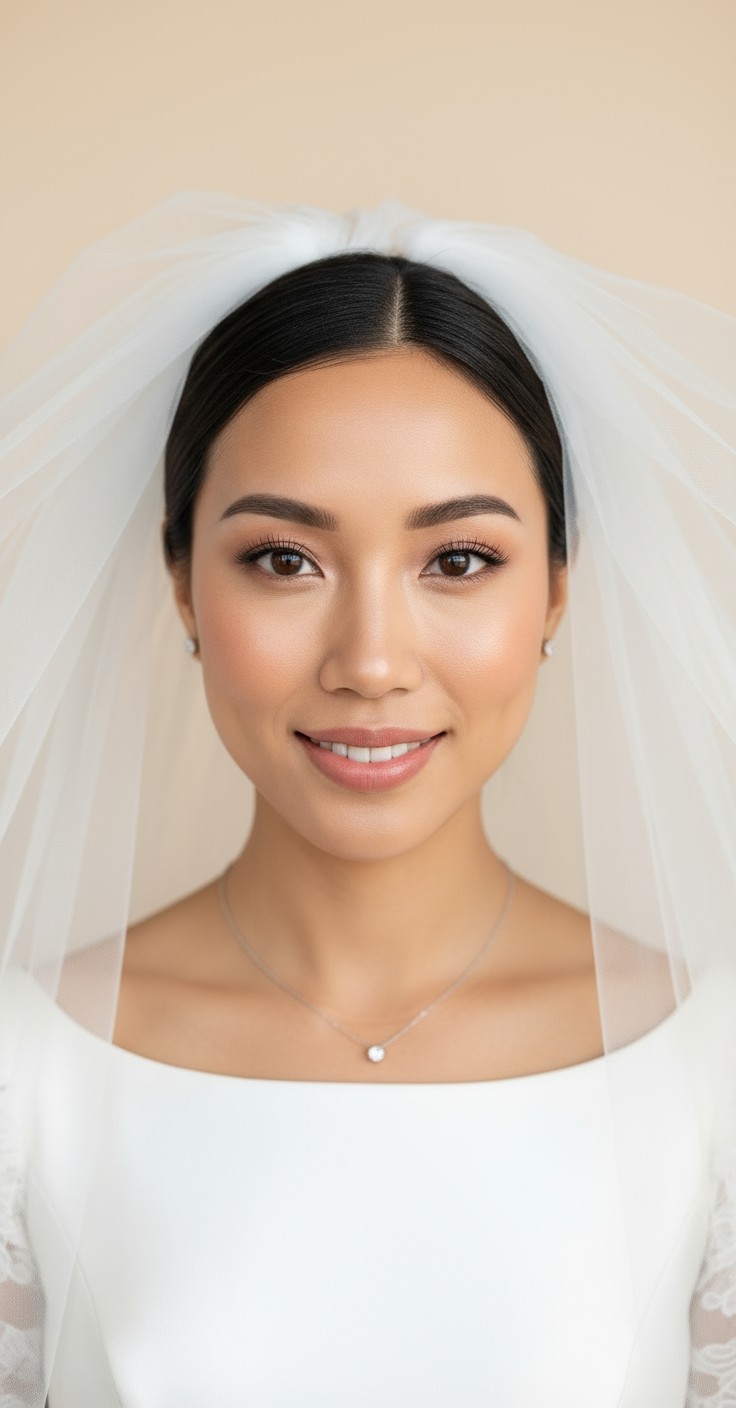
There's something undeniably romantic about an updo crowned with a veil—it's the bridal silhouette that never goes out of style. This look gives you that regal, confident feeling as you walk down the aisle, knowing your hair is beautifully framed and your veil placement is absolutely flawless. It's timeless elegance that photographs stunningly from every angle.
Beyond the beauty factor, this style is incredibly practical for all-day wear. Your updo stays secure through hours of celebration, from ceremony to reception dancing, while the veil-on-top placement ensures it won't slip or pull uncomfortably. It works seamlessly with strapless gowns, high necklines, and backless dresses, and holds up beautifully in any weather—no wind worries here.


Pearl-studded hair pins for classic elegance
Crystal hair comb placed at veil base
Vintage-inspired gold leaf clips
Delicate headband worn under veil
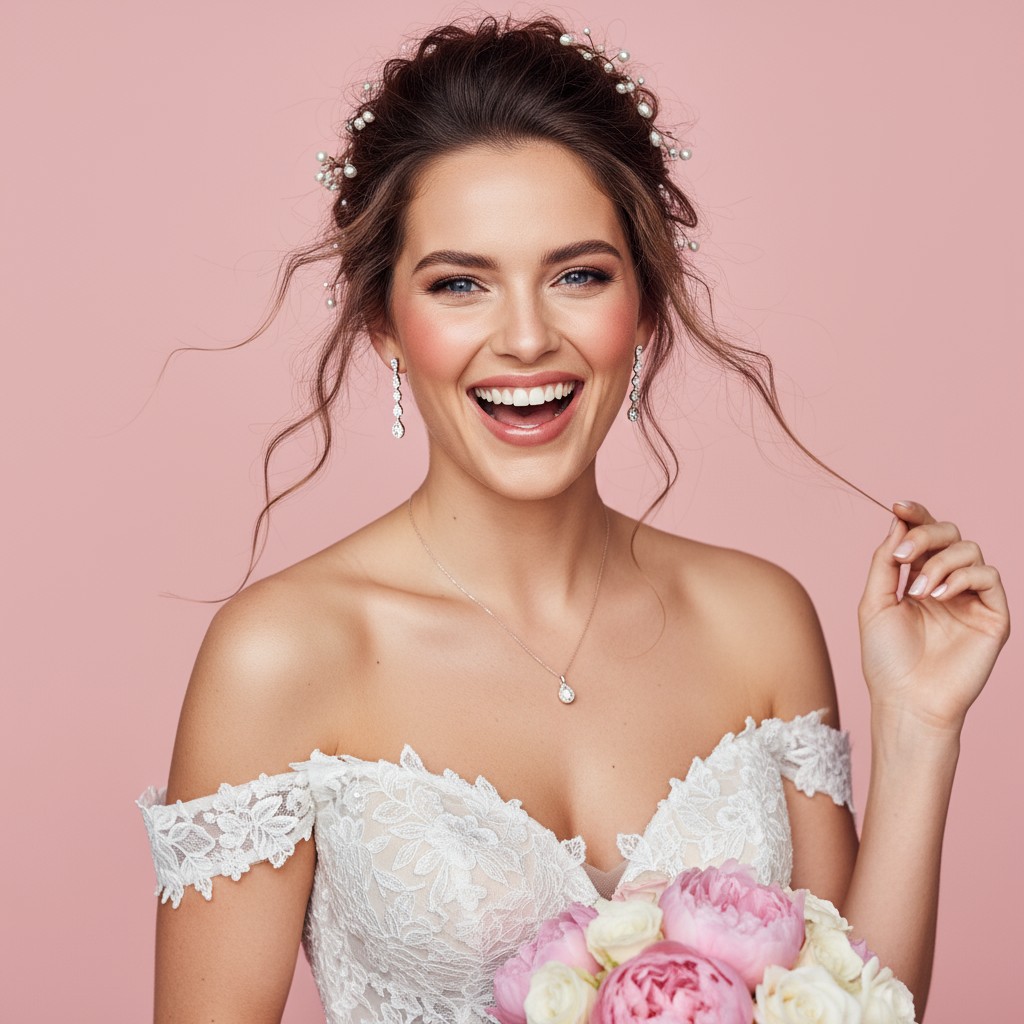
Scattered baby's breath pins
White roses or ranunculus tucked at bun base
Silk ribbon woven through updo
Cathedral veil for dramatic church ceremonies
Mantilla veil for romantic lace detail
Prep with volumizing mousse on damp hair for lasting height and texture.
Tease roots before pinning to create grip and prevent flatness throughout day.
Use U-shaped pins instead of bobby pins for stronger hold under veil weight.
Set with flexible-hold hairspray to maintain shape while allowing natural movement.
Prep hair with volumizing mousse and blow-dry smooth, then curl ends with a large-barrel iron for texture.
Tease crown and mid-lengths gently for grip, then smooth the surface layer with a brush.
Gather hair at desired height (low, mid, or high nape) and twist or roll into a bun shape.
Pin updo firmly with U-pins, then attach veil comb directly above or into the bun base.
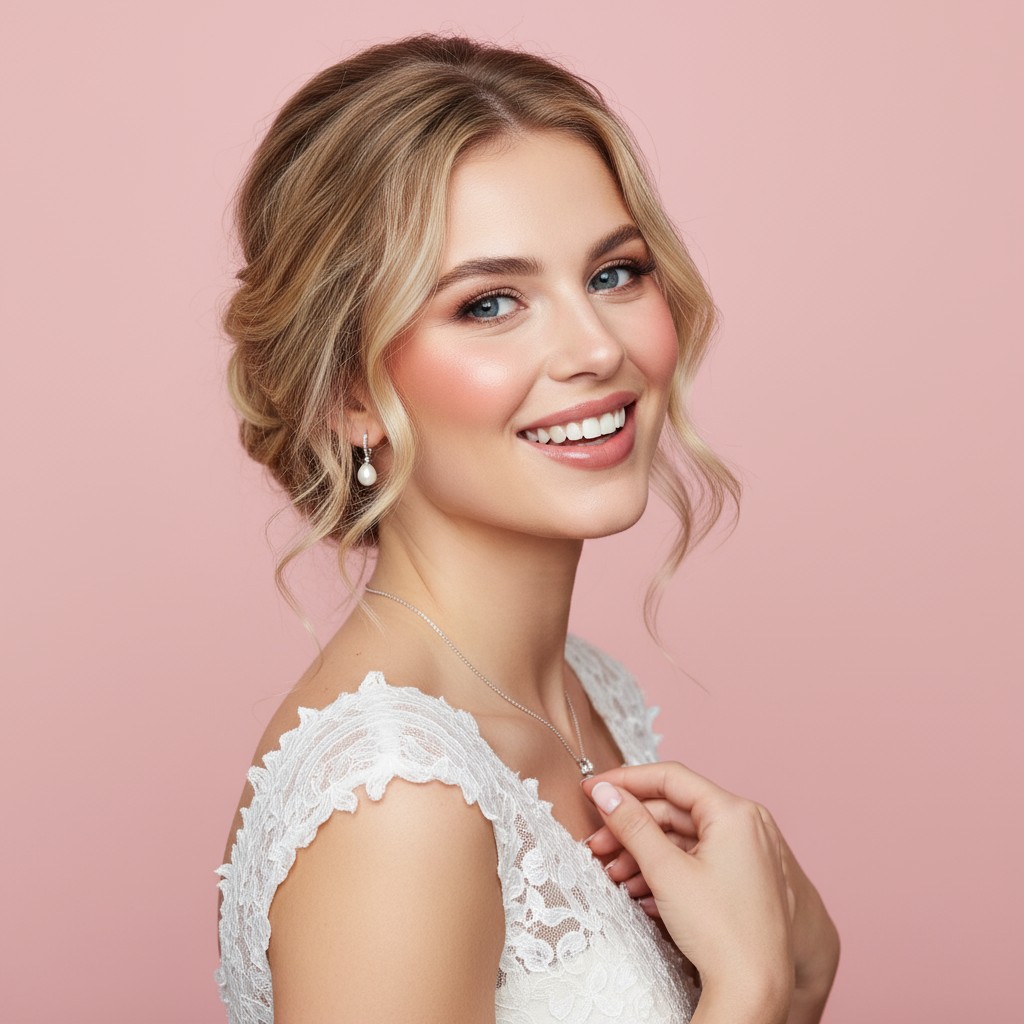
Gently pull a few face-framing pieces loose, mist with hairspray, and admire your timeless bridal look.
Prefer instant?
Try 500+ hairstyles in minutes without
leaving home. See exactly how you'll
look on your big day.
✨ Try Before You Commit
Show your stylist clear visual
references. No more guessing or
miscommunication.
📱 Perfect Communication
Skip endless salon consultations
and trials. Find your perfect style
risk-free.
💰 Save Time & Money
Absolutely! Teasing the roots and using texturizing products create the illusion of fuller, thicker hair. Extensions can also be seamlessly blended in for extra volume and length.
Secure your veil comb directly into the updo base using extra bobby pins in an X-pattern. This anchors the veil firmly and prevents any slipping throughout the day.
Yes! A low bun actually works beautifully with veil-on-top placement—just position the comb slightly above the bun. This creates an elegant, elongated silhouette that flatters all face shapes.
Plan for your stylist to finish 1-2 hours before the ceremony starts. This gives your style time to set properly and allows for any last-minute touch-ups or adjustments.