Preview this look on your face in seconds with our AI hair designer app.


Face shapes: Oval • Heart • Round

Hair length: Medium • Long • Extra Long

Hair texture: Straight • Wavy • Curly • Fine • Thick

Difficulty: Medium

Time to style: 45-60 minutes

Works with: Cathedral veil • Chapel veil • Fingertip veil • Fresh flowers • Delicate hair pins
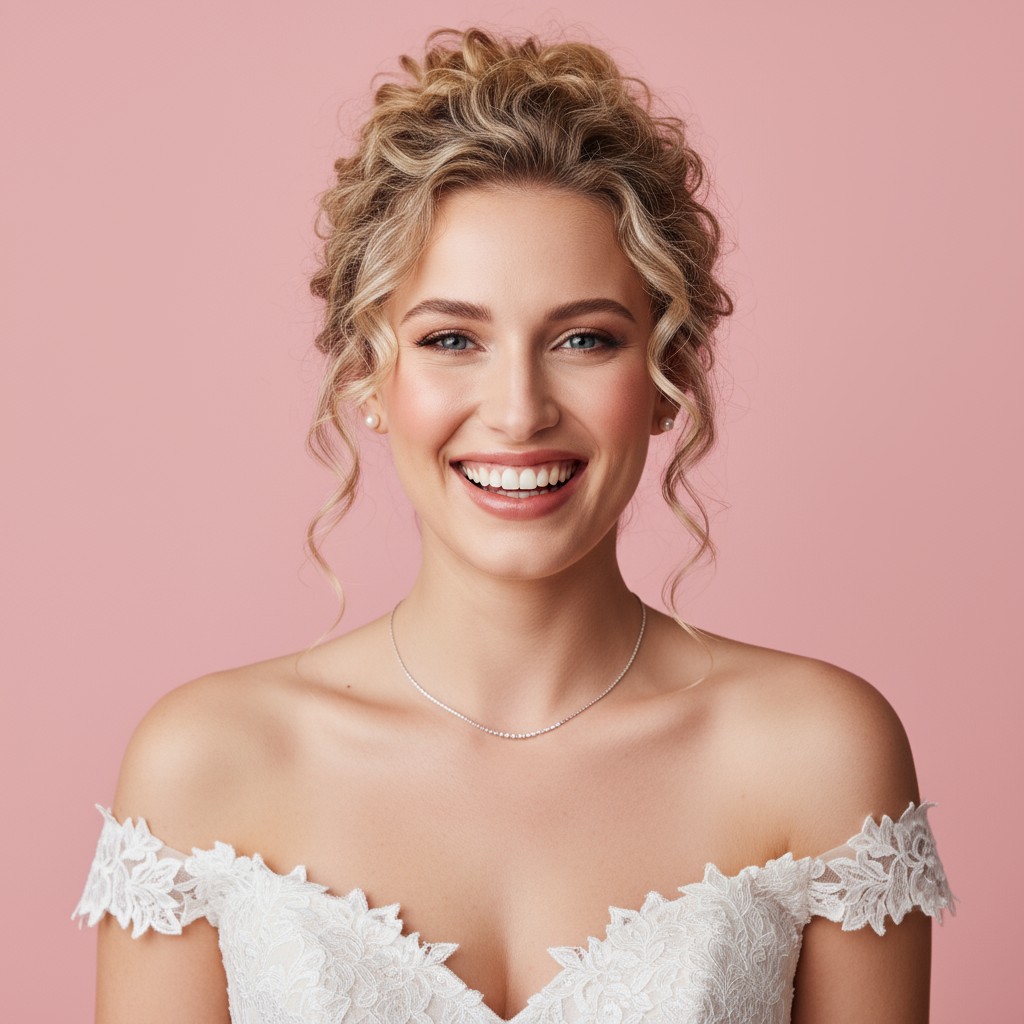
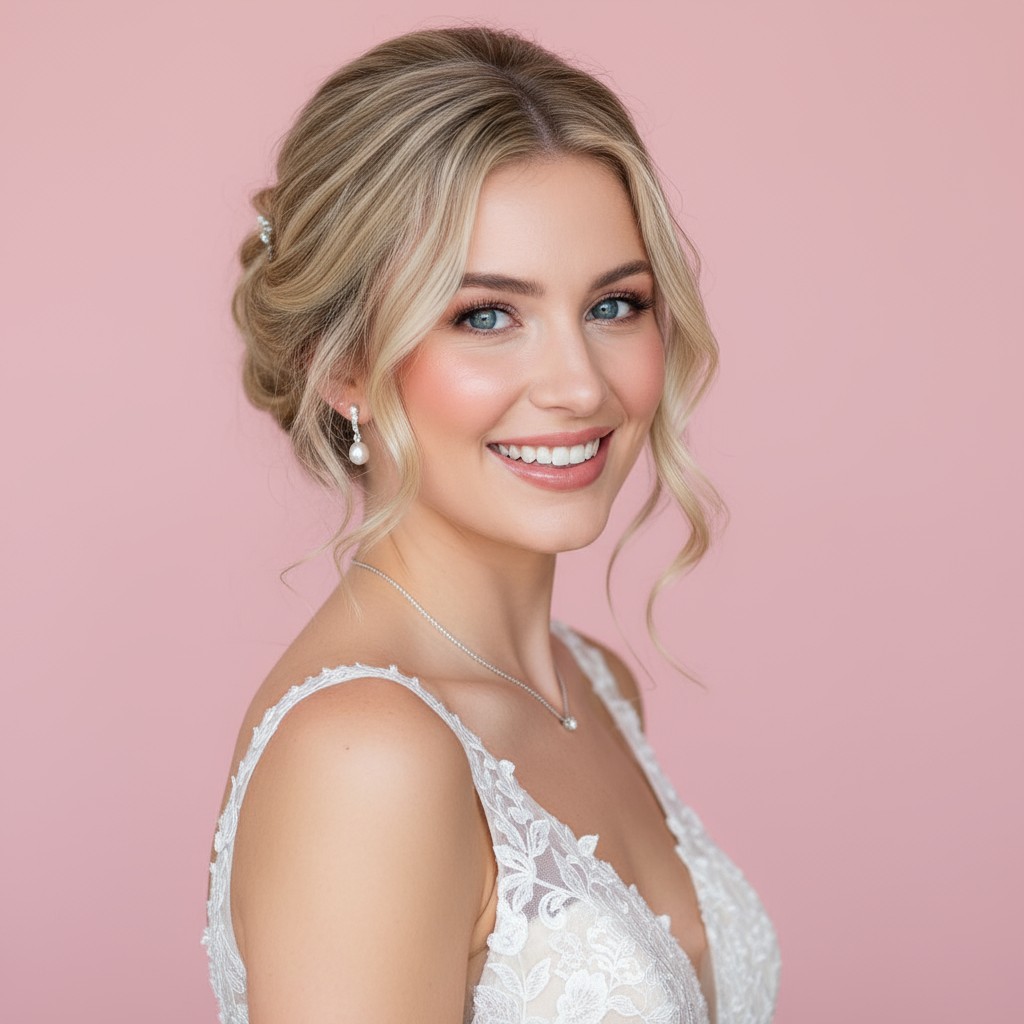
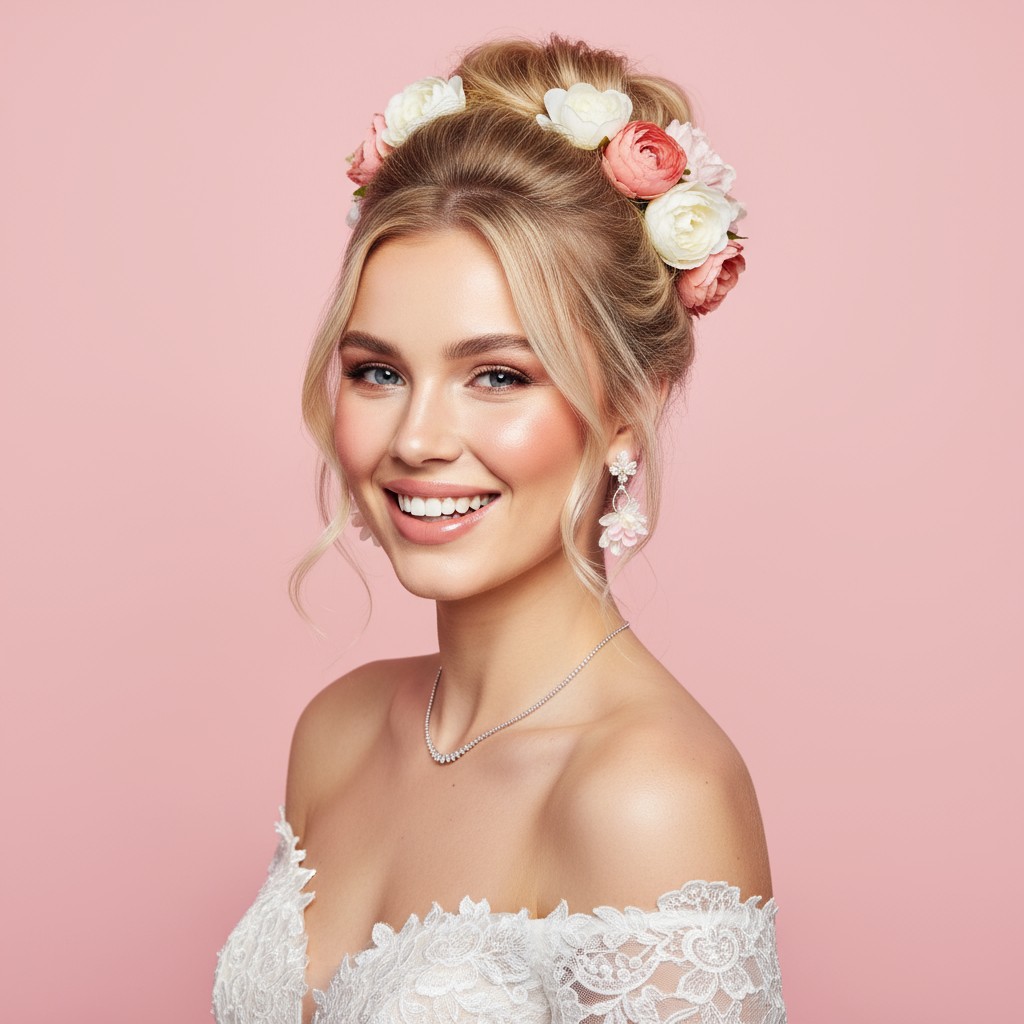
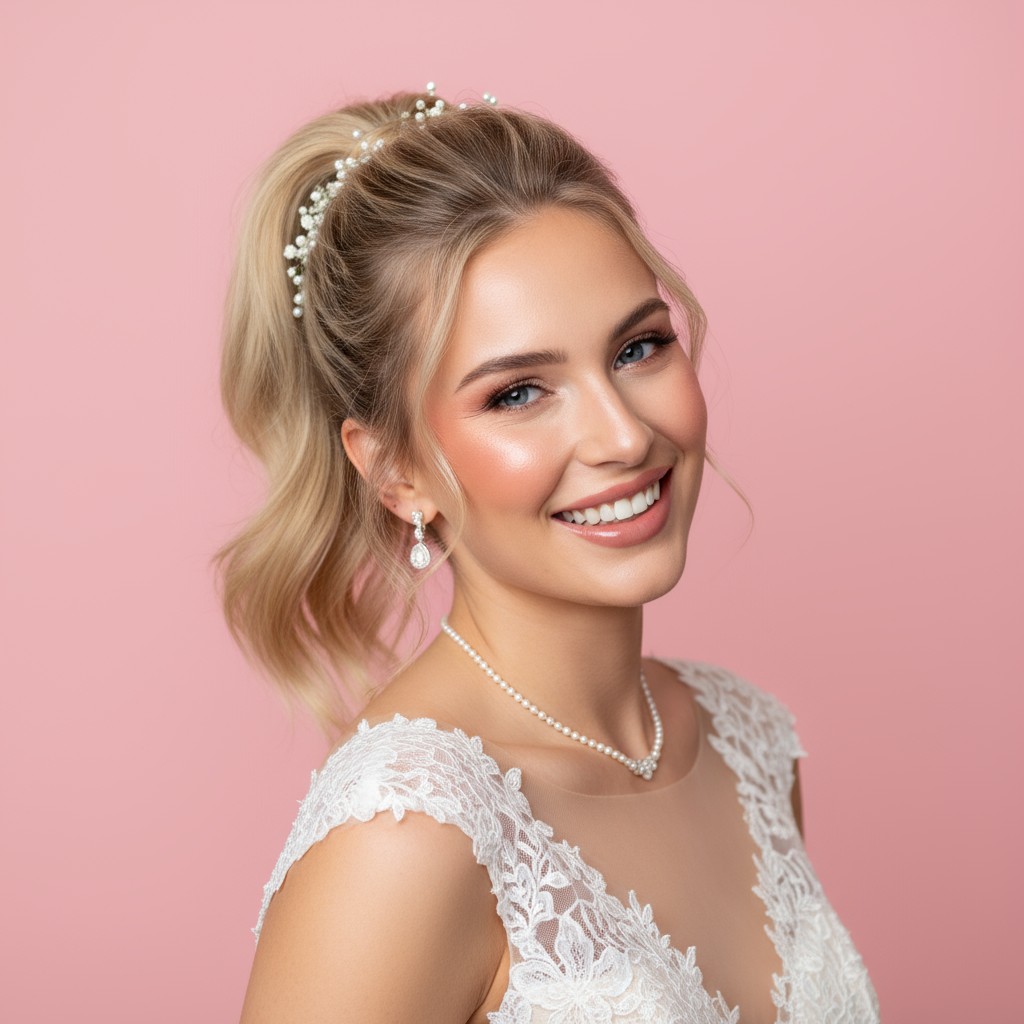
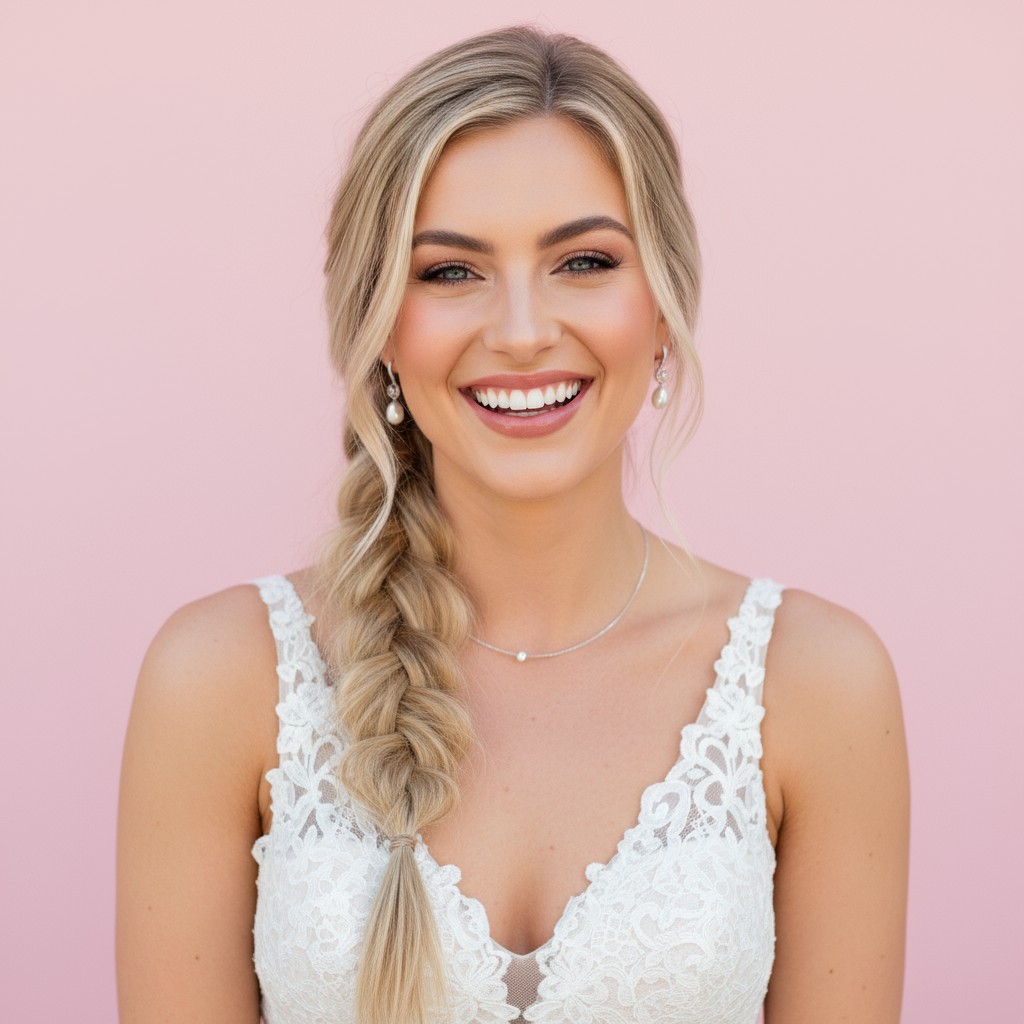
The waterfall braid captures that effortless romance every bride dreams of—it's elegant without feeling too formal, and photographs beautifully from every angle. This cascading style frames your face with soft, interwoven strands that create movement and dimension, giving you that confident, radiant glow as you walk down the aisle. It strikes the perfect balance between intricate artistry and natural beauty, making you feel like the most authentic version of yourself.
Beyond its stunning appearance, the waterfall braid is surprisingly practical for your big day. The woven structure holds securely through hours of celebration, from ceremony tears to reception dancing, while still allowing your hair to flow freely. It works seamlessly with veils of any length, won't pull or create headaches, and holds up beautifully in outdoor settings even with a breeze—meaning one less thing to worry about while you're soaking in every precious moment.


Delicate pearl pins scattered throughout the braid
Vintage crystal hair combs at the crown
Thin gold or silver wire hair vine woven through
Small rhinestone bobby pins for subtle sparkle
Silk ribbon threaded through the waterfall sections
Baby's breath clusters tucked into braid sections
Small garden roses or spray roses in ivory or blush
Cathedral or chapel veil placed below the braid for dramatic length
Fingertip veil positioned at the crown to showcase the braid detail
Start with second-day hair or use dry shampoo for better grip.
Apply texturizing spray before braiding to prevent slipping throughout the day.
Use clear elastic mini-bands within braid sections for invisible reinforcement.
Finish with flexible-hold hairspray to maintain shape while keeping natural movement.
Prep hair with texturizing spray on dry, brushed hair to create grip and workable texture.
Start a regular three-strand braid at the temple, then drop the bottom strand and pick up a new section from the top after each cross-over.
Continue the waterfall pattern around the back of the head, maintaining even tension and consistently dropping strands to create the cascading effect.
Secure the braid end with a clear elastic behind the opposite ear, then pin discreetly under loose hair.
Gently pancake the braid for volume, softly curl the dropped strands for romantic texture, and set with light hairspray.
Prefer instant?
Try 500+ hairstyles in minutes without
leaving home. See exactly how you'll
look on your big day.
✨ Try Before You Commit
Show your stylist clear visual
references. No more guessing or
miscommunication.
📱 Perfect Communication
Skip endless salon consultations
and trials. Find your perfect style
risk-free.
💰 Save Time & Money
Absolutely! The waterfall braid actually creates the illusion of fuller, thicker hair by adding dimension and texture. Gently pulling apart the braid sections (pancaking) will give you even more volume and a softer, more romantic look.
Yes, when properly secured with bobby pins and hairspray, a waterfall braid is surprisingly durable. The interwoven structure naturally locks in place, and your stylist can add invisible reinforcements to ensure it lasts from ceremony through your last dance.
Definitely! The waterfall braid pairs beautifully with veils—simply position the veil beneath the braid at the crown or lower back. This placement showcases the intricate braid detail while allowing your veil to flow naturally.
Schedule your waterfall braid trial 2-3 months before your wedding. This gives you time to adjust the placement, test accessories, practice with your veil, and ensure you're completely confident with the look.