Preview this look on your face in seconds with our AI hair designer app.


Face shapes: Oval • Heart • Square

Hair length: Medium • Long • Extra Long

Hair texture: Straight • Wavy • Curly • Fine • Thick

Difficulty: Medium

Time to style: 35-50 minutes

Works with: Cathedral veil • Fingertip veil • Pearl pins • Fresh flowers • Vintage combs
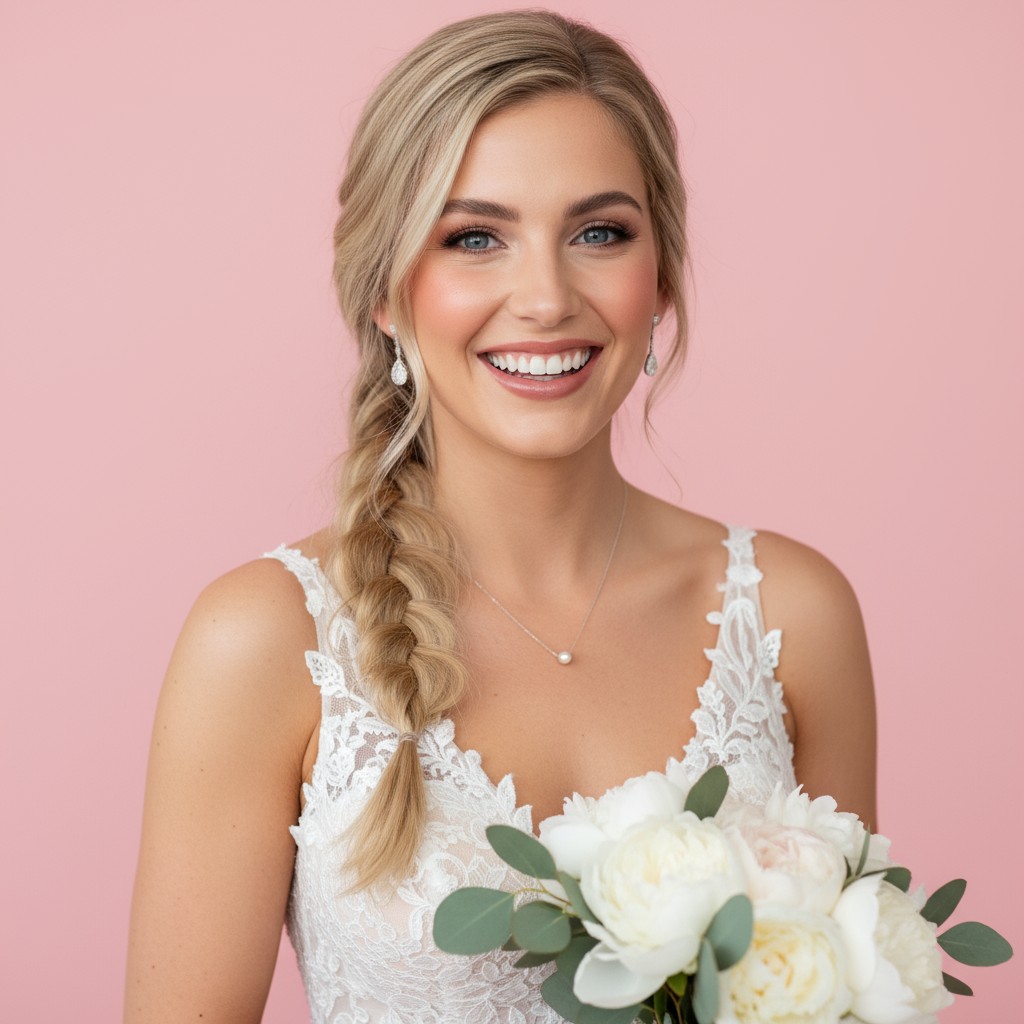
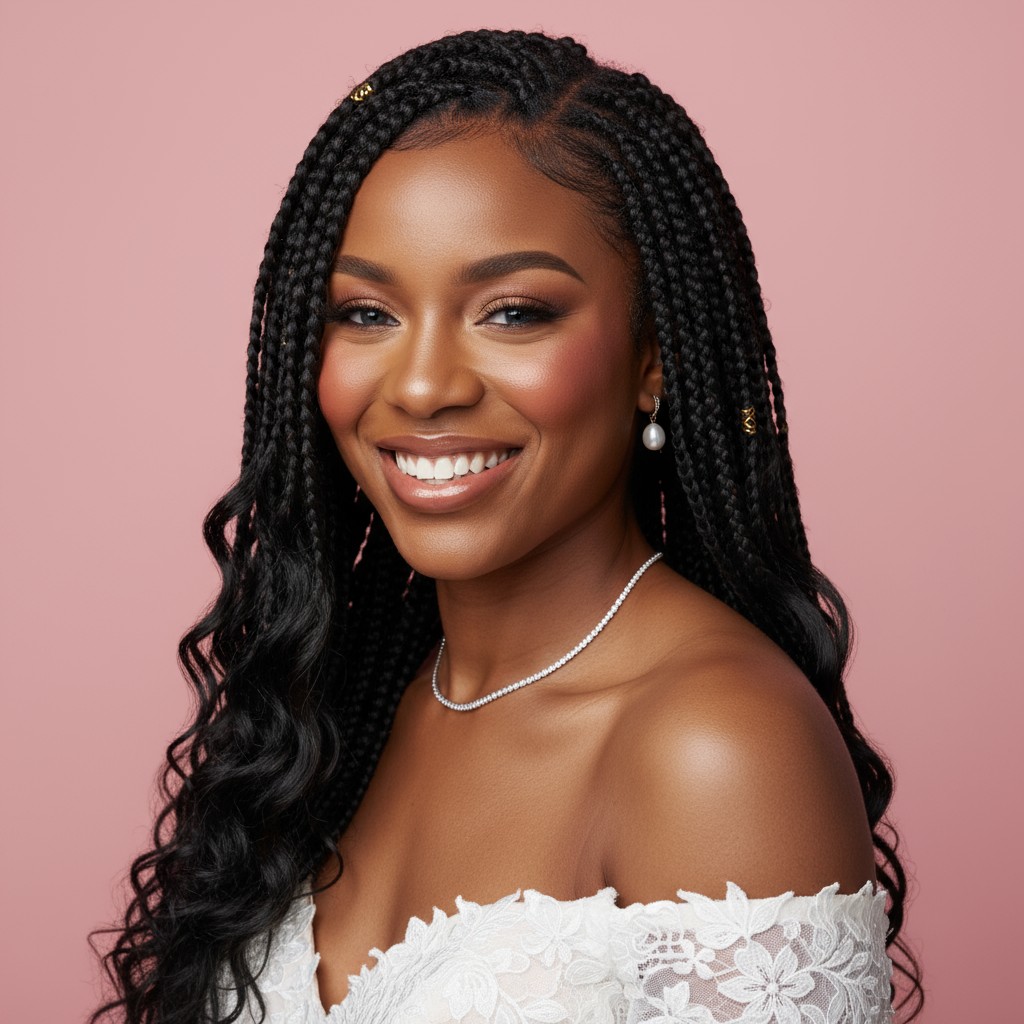
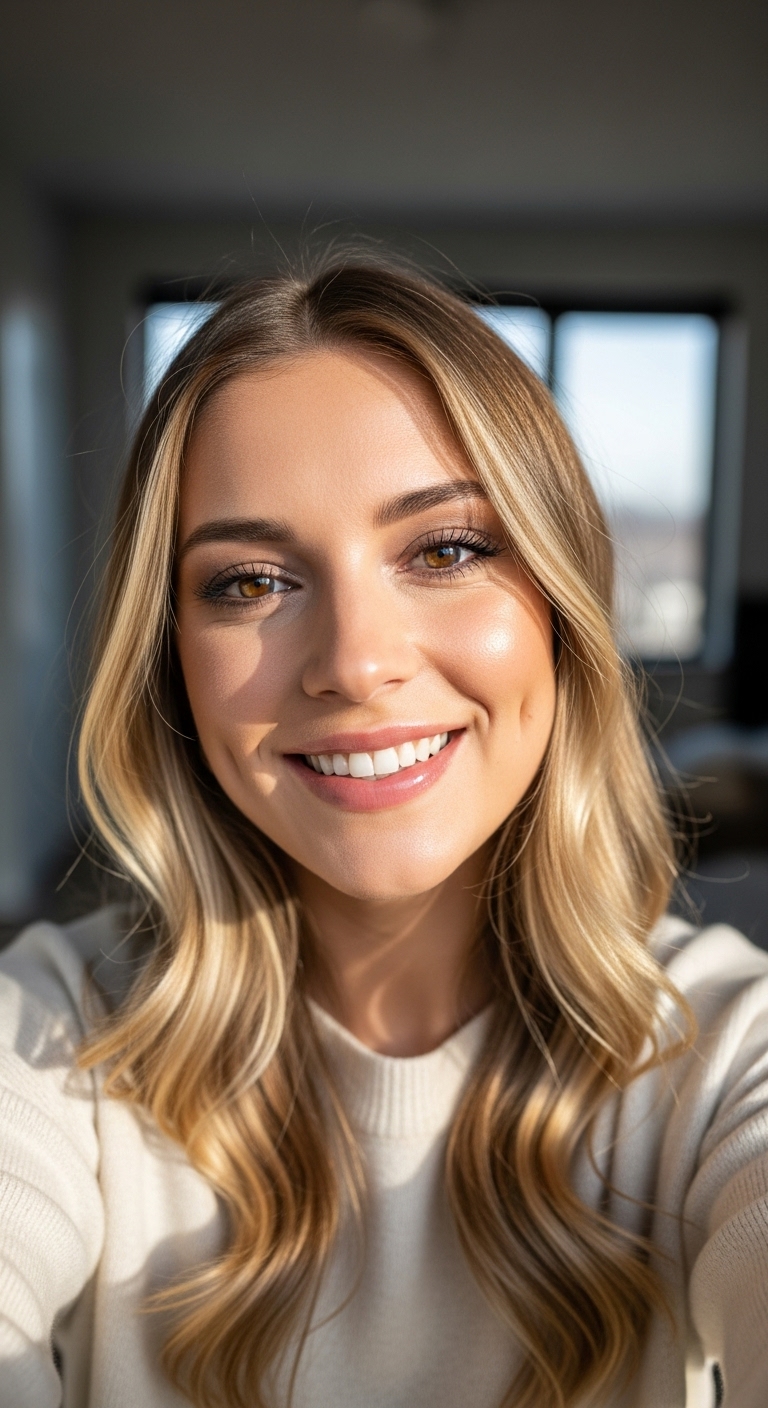
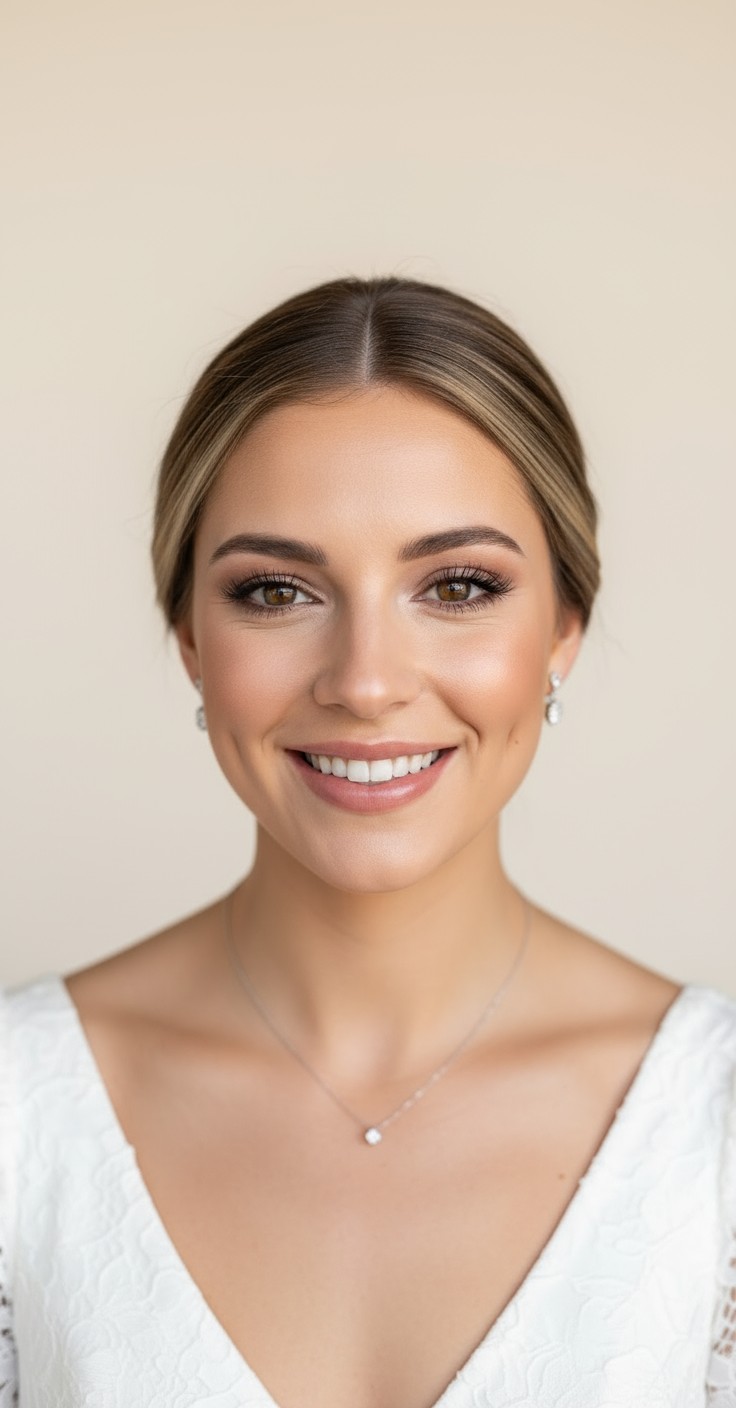
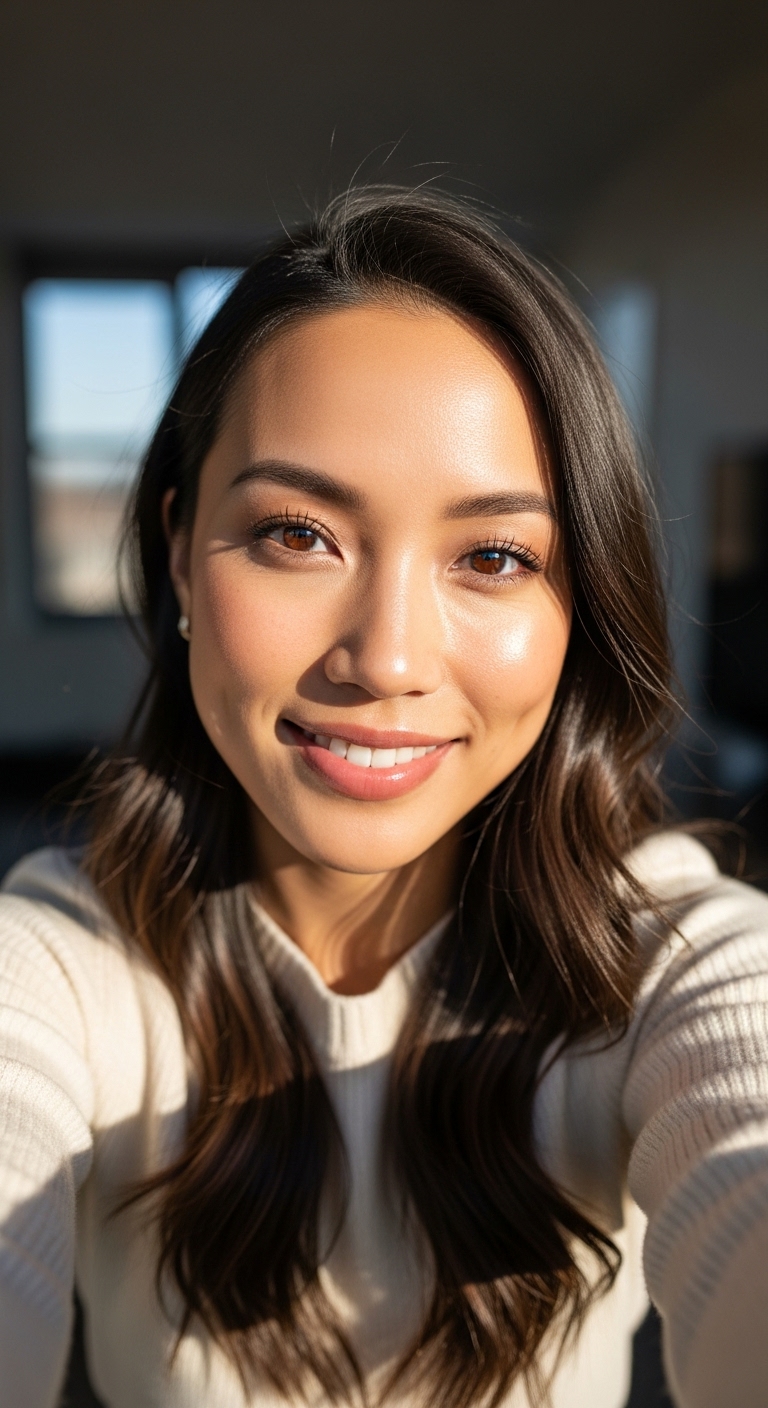
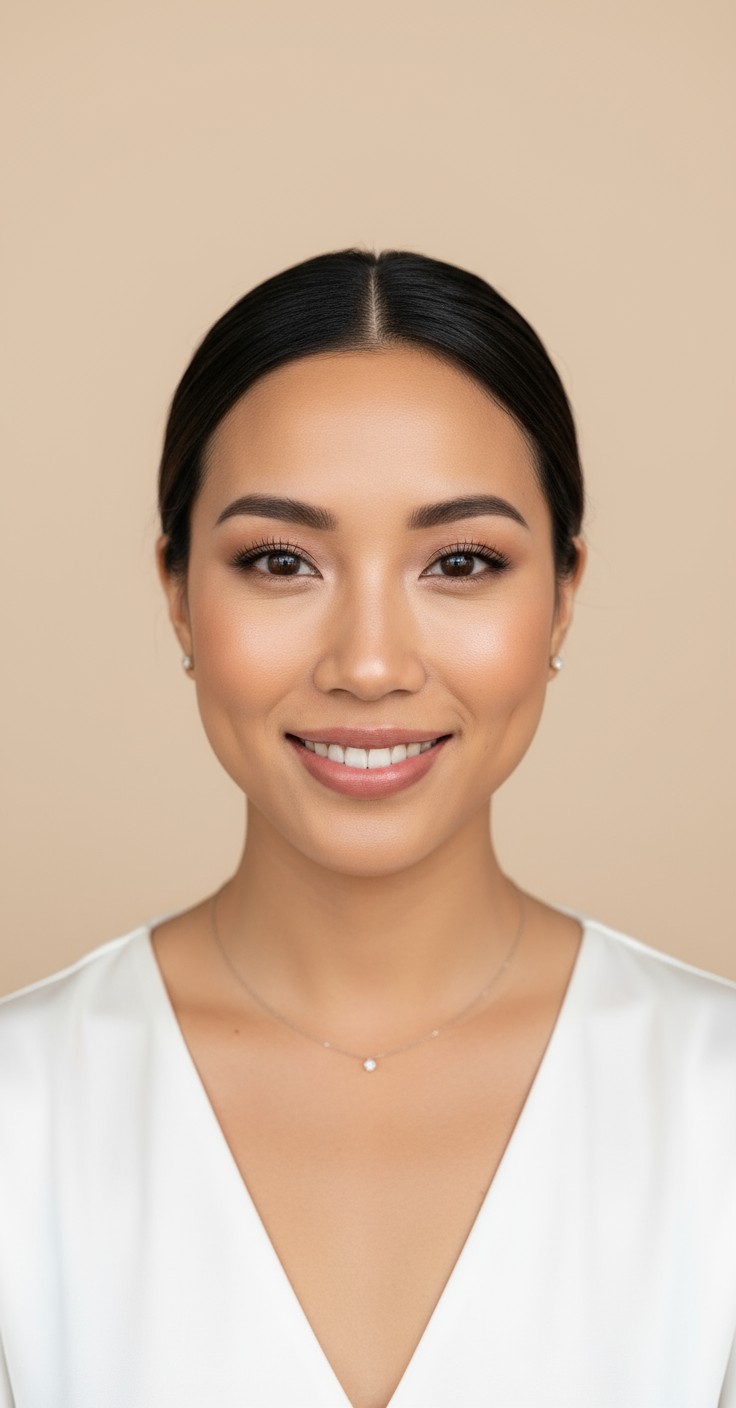
The wedding low bun updo gives brides that effortlessly elegant feeling—the kind of timeless confidence that shows in every photo and carries you through your entire day. It frames your face beautifully while keeping all focus on your eyes, smile, and that radiant bridal glow, making you feel like the most polished version of yourself without trying too hard.
Beyond the beauty, this style is incredibly practical for a long wedding day. It stays secure through tears, hugs, dancing, and even unexpected weather, while sitting perfectly under any veil style. The low placement means no headaches from heavy pins, and it won't interfere with your dress neckline or jewelry—just pure, comfortable elegance from ceremony to last dance.


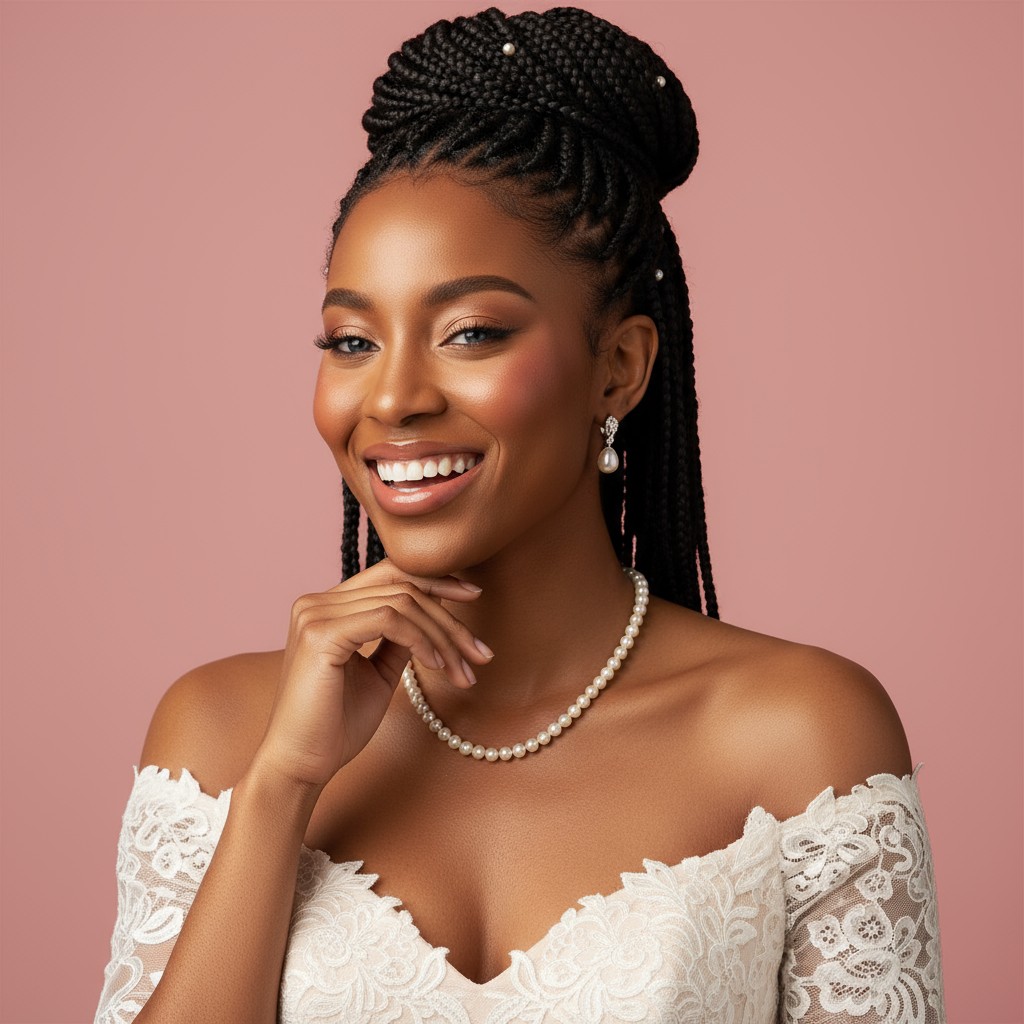
Delicate pearl hairpins scattered throughout the bun
Vintage-inspired gold or silver leaf combs at the base
Crystal-embellished bobby pins for subtle sparkle
Silk ribbon wrapped around the bun for romantic texture
Art deco headpiece positioned above the bun
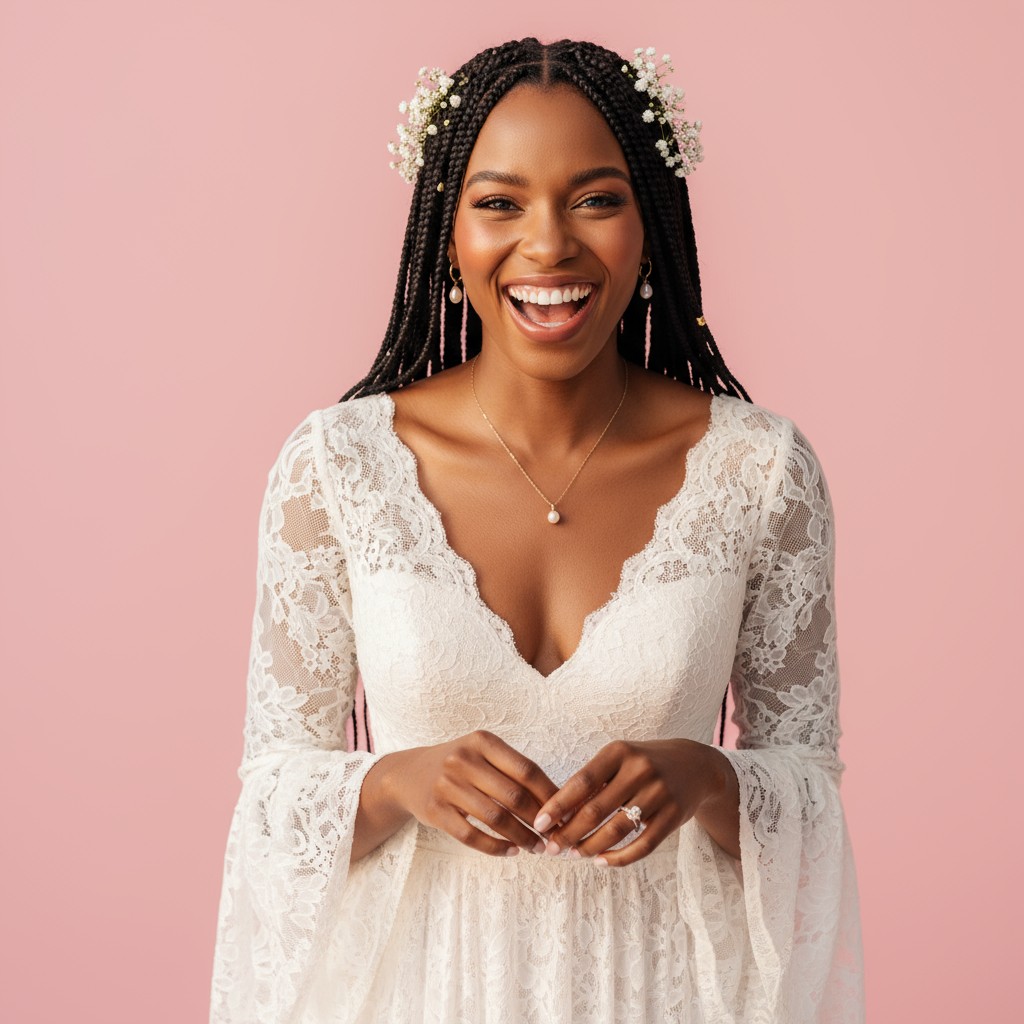
White spray roses or baby's breath tucked into bun folds
Eucalyptus sprigs or olive branches for organic elegance
Cathedral or chapel veil positioned above the bun
Fingertip veil with blusher attached at crown
Wash hair the day before—second-day texture holds pins better.
Use strong-hold hairspray in layers while building, not just at end.
Secure bun with crossed bobby pins for grip that lasts through dancing.
Pack a mini hairspray and extra pins for quick touchups between events.
Prep hair with volumizing mousse on damp hair, then blow-dry smooth with a round brush for polished texture.
Curl sections with a large-barrel iron away from the face, then brush through gently for soft, romantic waves.
Gather hair into a low ponytail at the nape, leaving face-framing pieces out, and secure with elastic.
Twist ponytail loosely, wrap around the base in a circular motion, and tuck ends under to create a rounded bun shape.
Secure with crossed bobby pins throughout, gently pull sections to loosen for romantic softness, then mist with hairspray and tuck in face-framing pieces.
Prefer instant?
Try 500+ hairstyles in minutes without
leaving home. See exactly how you'll
look on your big day.
✨ Try Before You Commit
Show your stylist clear visual
references. No more guessing or
miscommunication.
📱 Perfect Communication
Skip endless salon consultations
and trials. Find your perfect style
risk-free.
💰 Save Time & Money
Absolutely! Use a texturizing spray before styling and consider adding clip-in extensions at the ponytail base for extra fullness. Teasing the hair gently before forming the bun also creates beautiful volume that photographs gorgeously.
Yes, and it can actually be very flattering! Position the bun slightly off-center or to the side rather than dead-center at the nape, which creates a lengthening effect and draws the eye diagonally.
Attach the veil above the bun at the crown area using a sturdy comb, not directly into the bun itself. This distributes the weight properly and keeps both the veil and bun secure all day.
Definitely—low buns are one of the most weather-resistant bridal styles. The low, secure placement protects against wind, and the structured shape holds up beautifully in humidity when properly prepped with strong-hold products.