Preview this look on your face in seconds with our AI hair designer app.


Face shapes: Oval • Heart • Square

Hair length: Medium • Long • Extra Long

Hair texture: Straight • Wavy • Curly • Thick

Difficulty: Medium

Time to style: 45-60 minutes

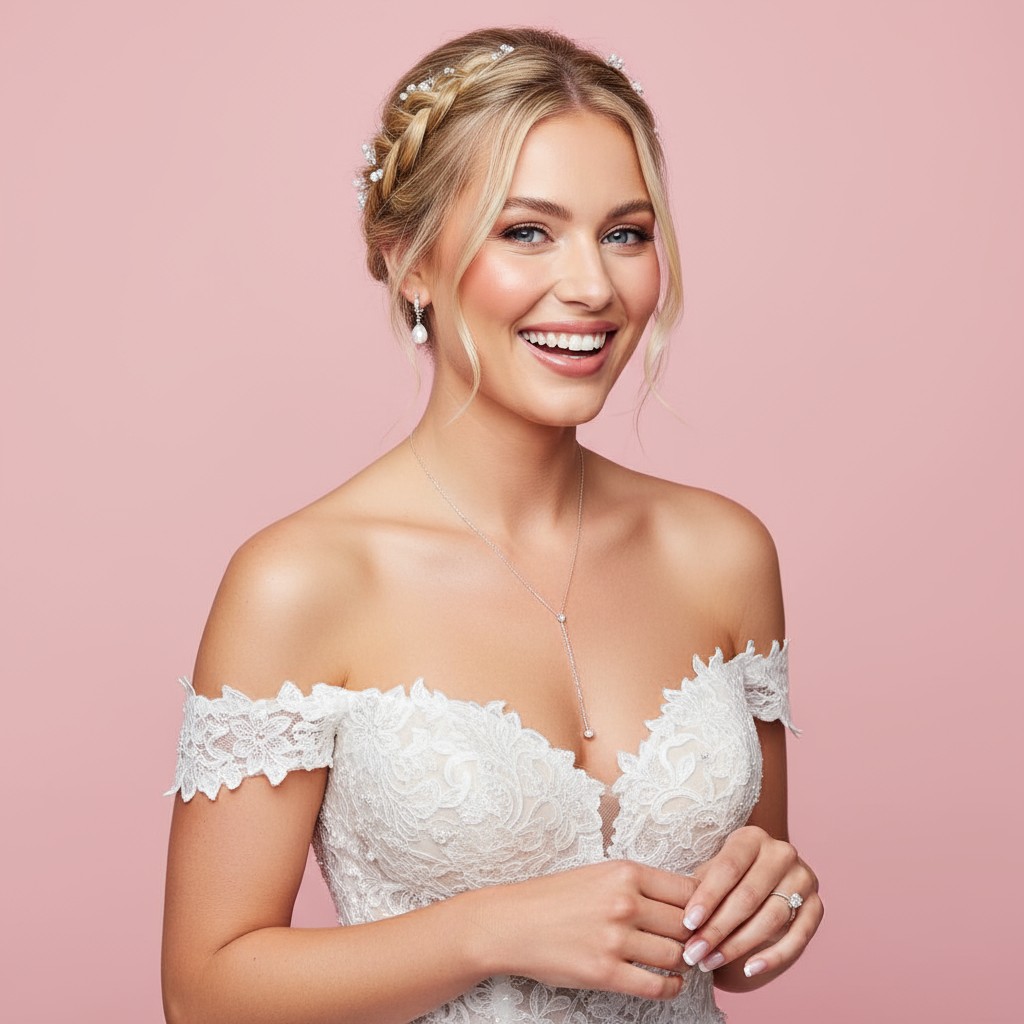
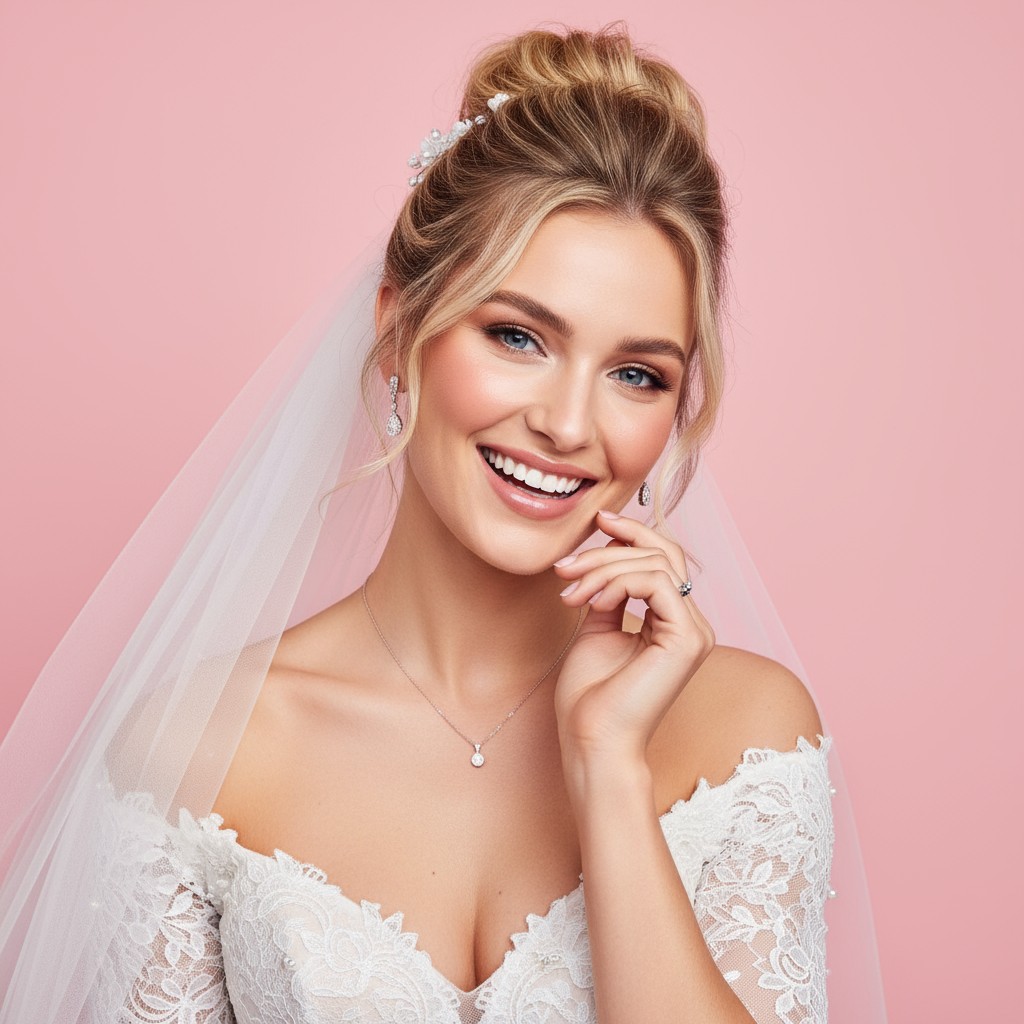
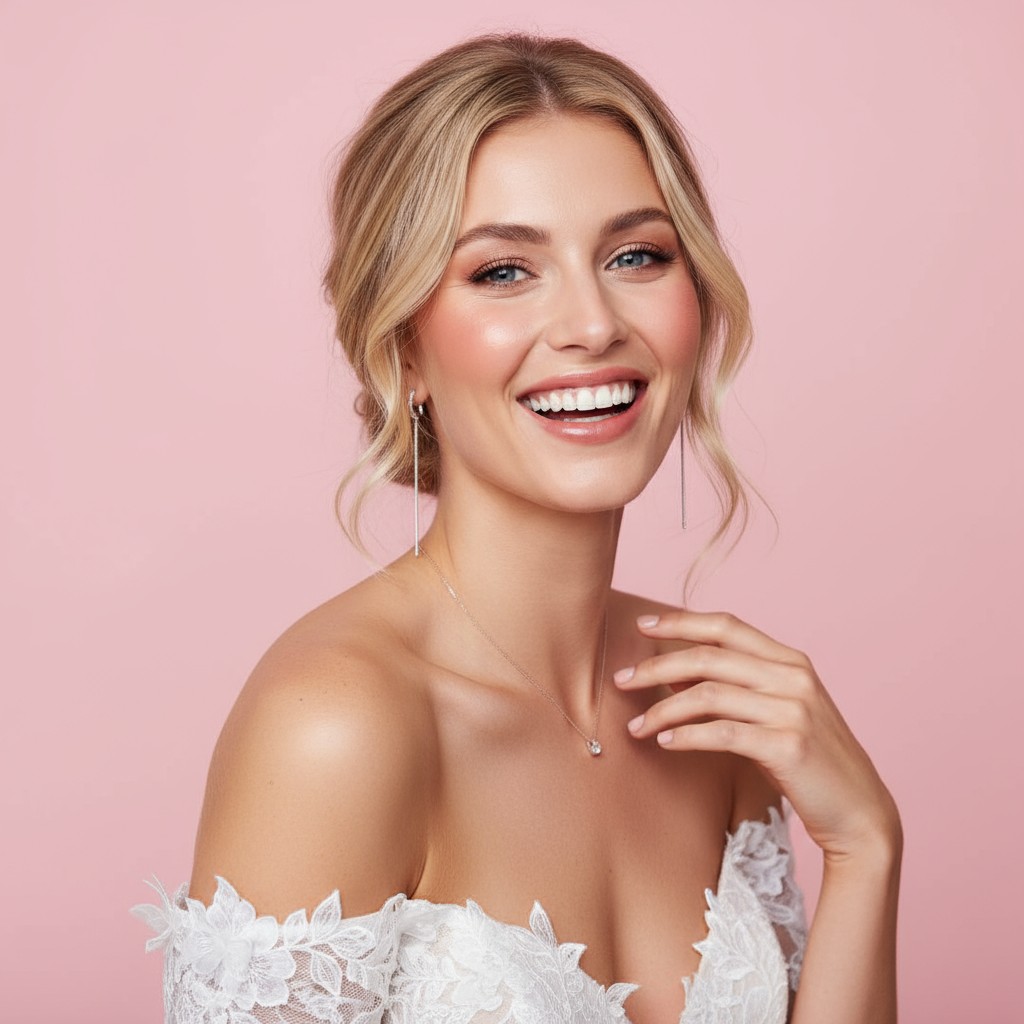
Works with: Cathedral veil • Birdcage veil • Pearl pins • Statement earrings • Tiara or crown
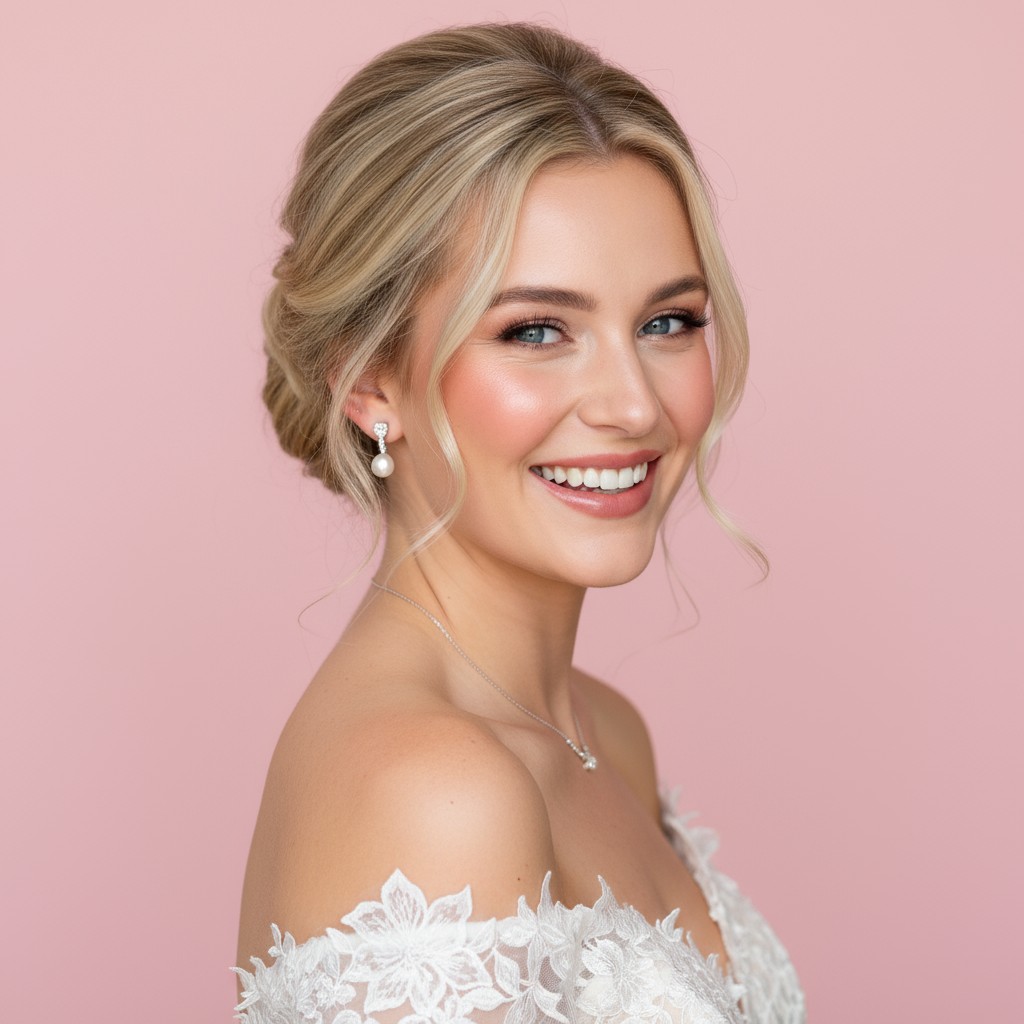
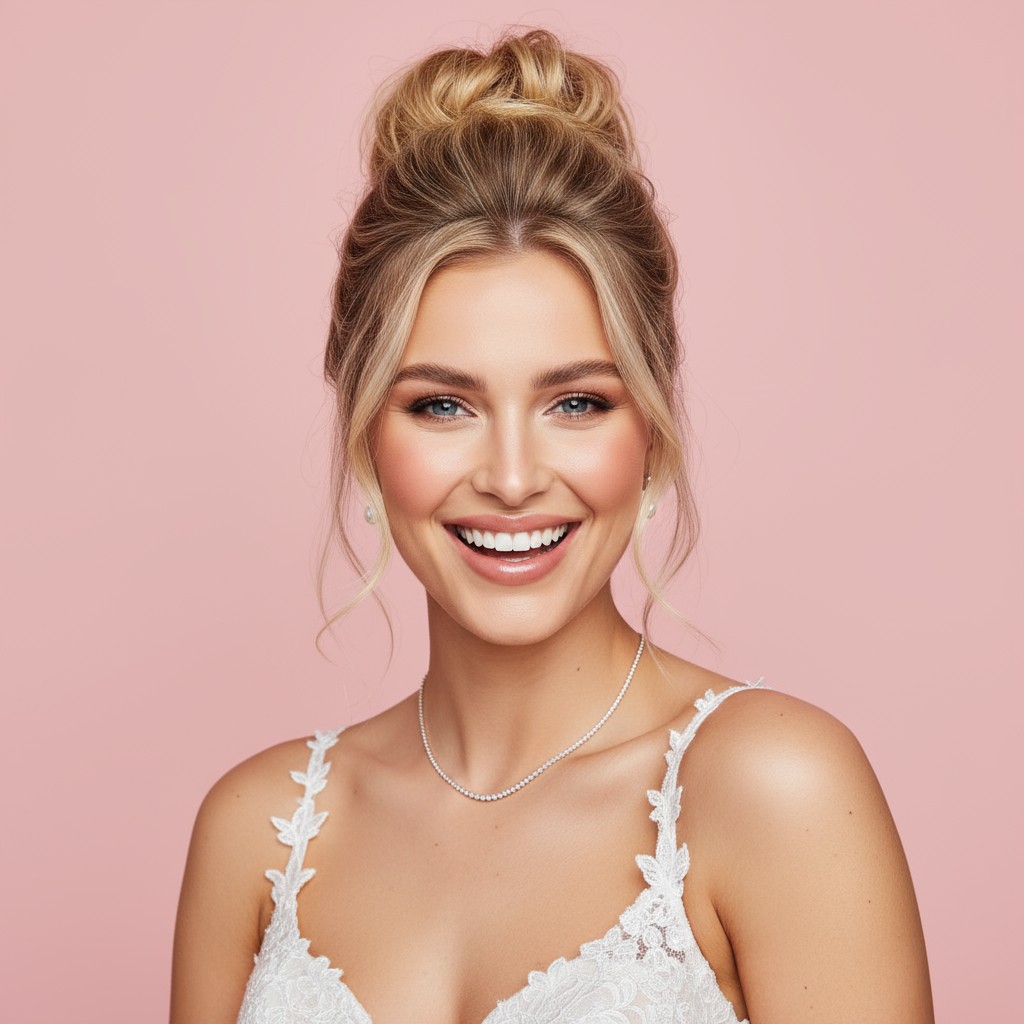
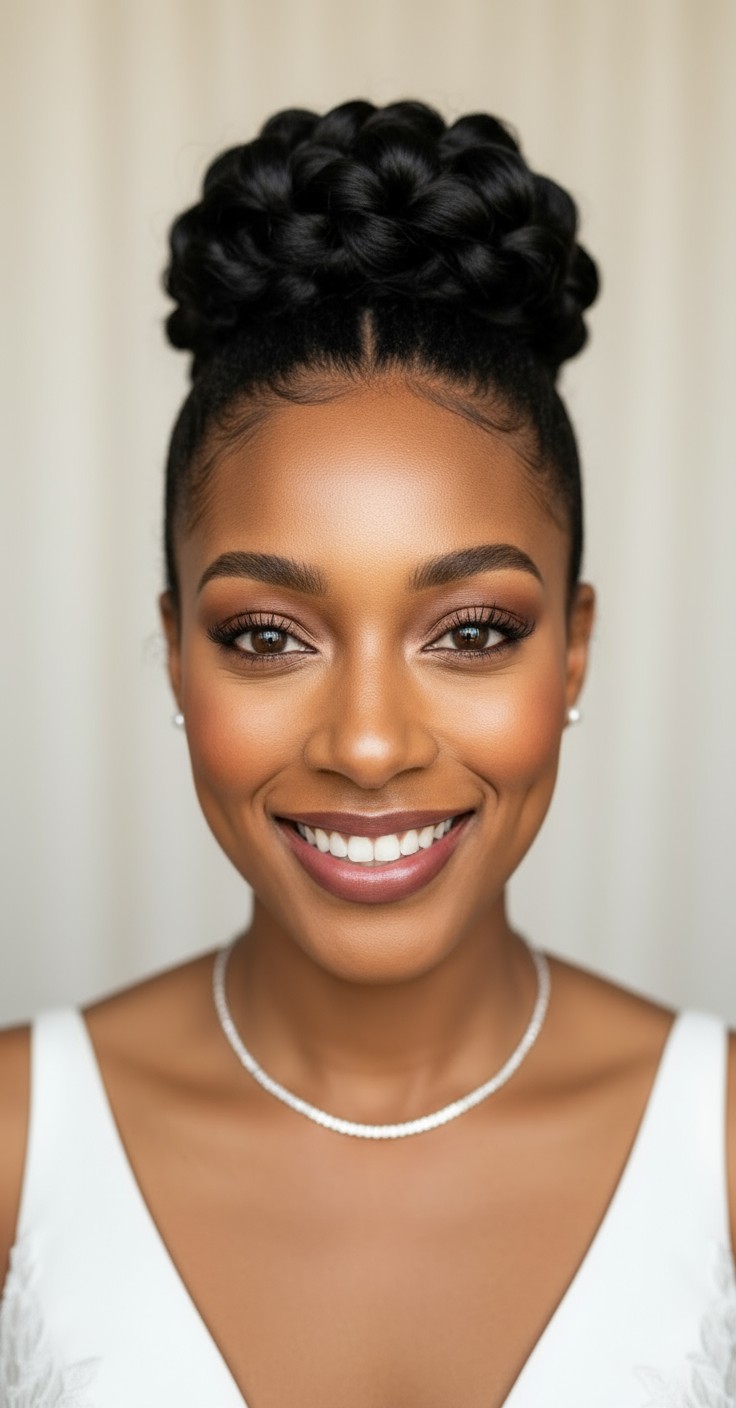
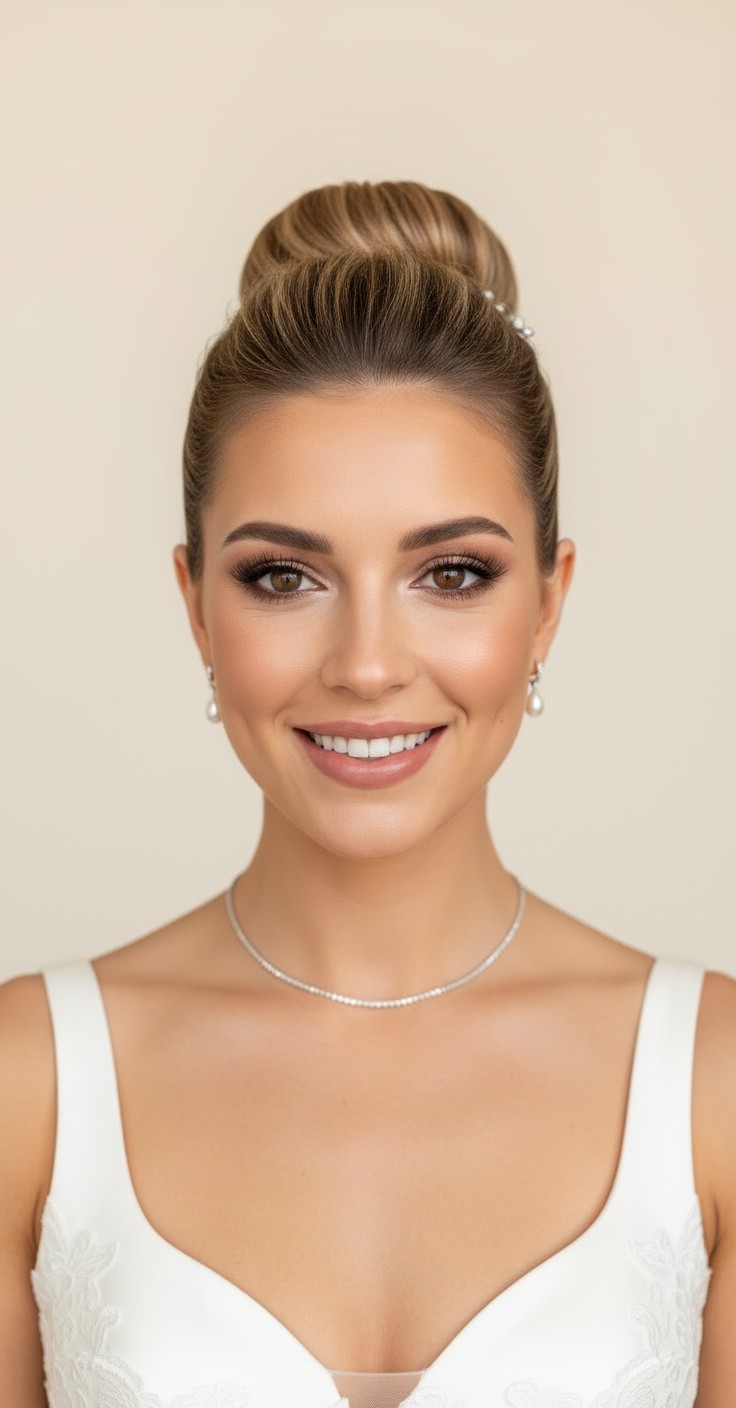
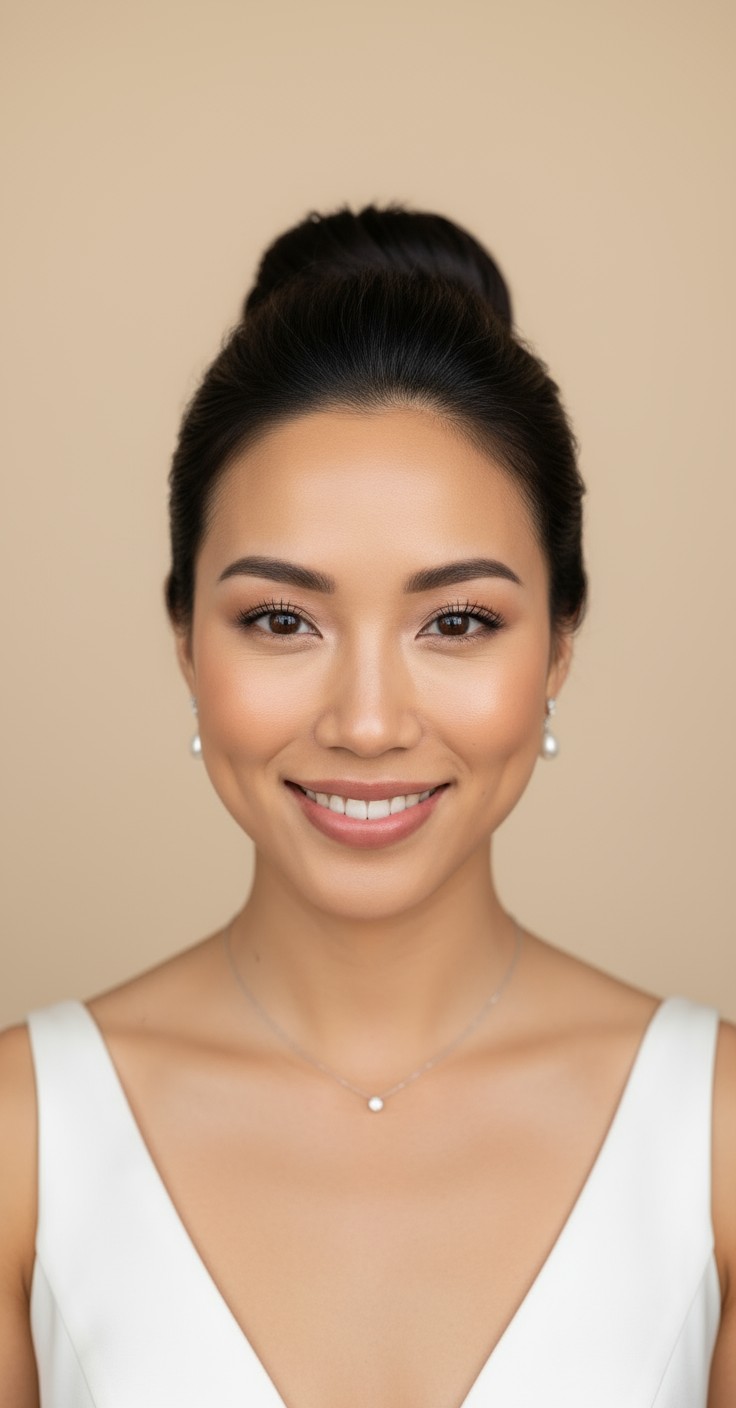
The wedding updo high bun gives brides that regal, sophisticated feeling the moment they see themselves in the mirror. It's the kind of style that makes you stand taller, feel more elegant, and know that every angle will photograph beautifully. There's something timelessly romantic about this elevated look that works whether your wedding is black-tie formal or garden chic.
Beyond the confidence boost, this style is incredibly practical for your big day. It keeps hair off your neck and shoulders during emotional moments, dancing, and summer heat, while providing a stable base for veils that won't slip or pull. The high placement means your hairstyle stays visible in photos even with a dramatic veil, and it won't lose its shape through hugs, wind, or hours of celebration.


Pearl-studded hairpins scattered throughout the bun
Vintage-inspired jeweled comb at the base
Delicate crystal hair vine wrapped around the bun
Art deco headband positioned just below the bun
Gold or silver bobby pins arranged in decorative pattern
Small white roses or ranunculus tucked into the bun's base
Silk ribbon wrapped elegantly around the bun structure
Cathedral or chapel length veil attached below the bun
Birdcage veil positioned in front for vintage glamour
Wash hair the day before so it has grip and texture.
Use strong-hold hairspray after each section is pinned in place.
Secure with both bobby pins and U-pins for maximum stability.
Pack a small emergency kit with pins and spray for touch-ups.
Prep hair with volumizing mousse on damp hair, then blow-dry with a round brush to create smooth texture and body.
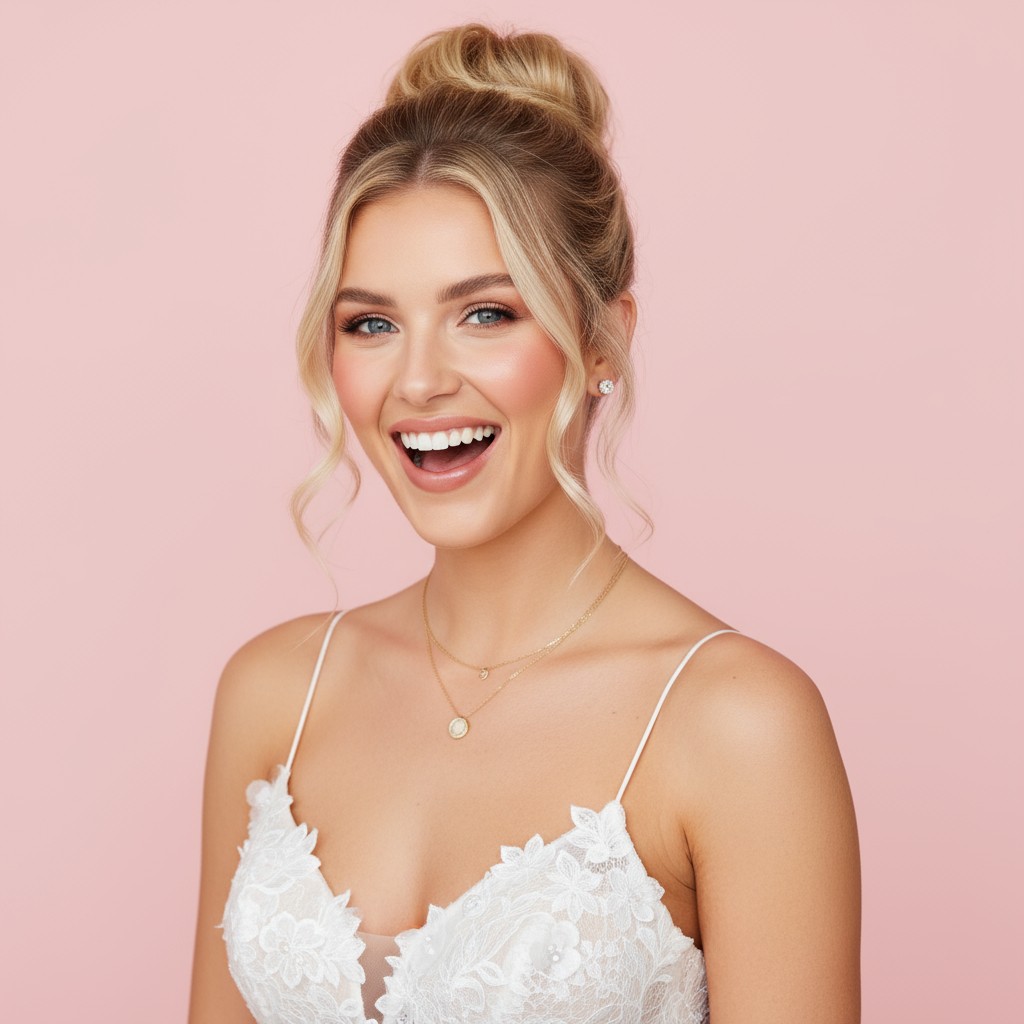
Brush hair into a high ponytail at the crown, teasing the roots first for lift, then secure with a strong elastic.
Twist or wrap the ponytail around its base to form a bun shape, using a donut form if needed for extra volume.
Secure the bun with U-pins first for structure, then add bobby pins around the perimeter to catch any loose pieces.
Mist with strong-hold hairspray, gently pull a few face-framing pieces loose if desired, and add your veil or accessories for the final reveal.
Prefer instant?
Try 500+ hairstyles in minutes without
leaving home. See exactly how you'll
look on your big day.
✨ Try Before You Commit
Show your stylist clear visual
references. No more guessing or
miscommunication.
📱 Perfect Communication
Skip endless salon consultations
and trials. Find your perfect style
risk-free.
💰 Save Time & Money
Absolutely! Use a bun donut or padding insert to create fullness, and tease your hair at the roots before styling. The structure gives fine hair the volume it needs to look luxurious and full.
Don't pull the initial ponytail too tight—secure it firmly but comfortably. Use more pins rather than elastic tension to hold the style, and position the bun where it feels naturally balanced on your head.
Yes, it's actually one of the best pairings! Attach the veil just below the bun so the height showcases the veil beautifully and keeps it secure throughout the ceremony.
When properly secured with both U-pins and bobby pins, plus strong-hold products, a high bun is one of the most stable wedding styles. It's ideal for active celebrations and holds up beautifully in humidity or wind.