Preview this look on your face in seconds with our AI hair designer app.


Face shapes: Oval • Heart • Diamond

Hair length: Medium • Long • Extra Long

Hair texture: Straight • Wavy • Curly • Thick

Difficulty: Medium

Time to style: 45-60 minutes

Works with: Cathedral veil • Drop veil • Floral crown • Hair vines • Pearl pins
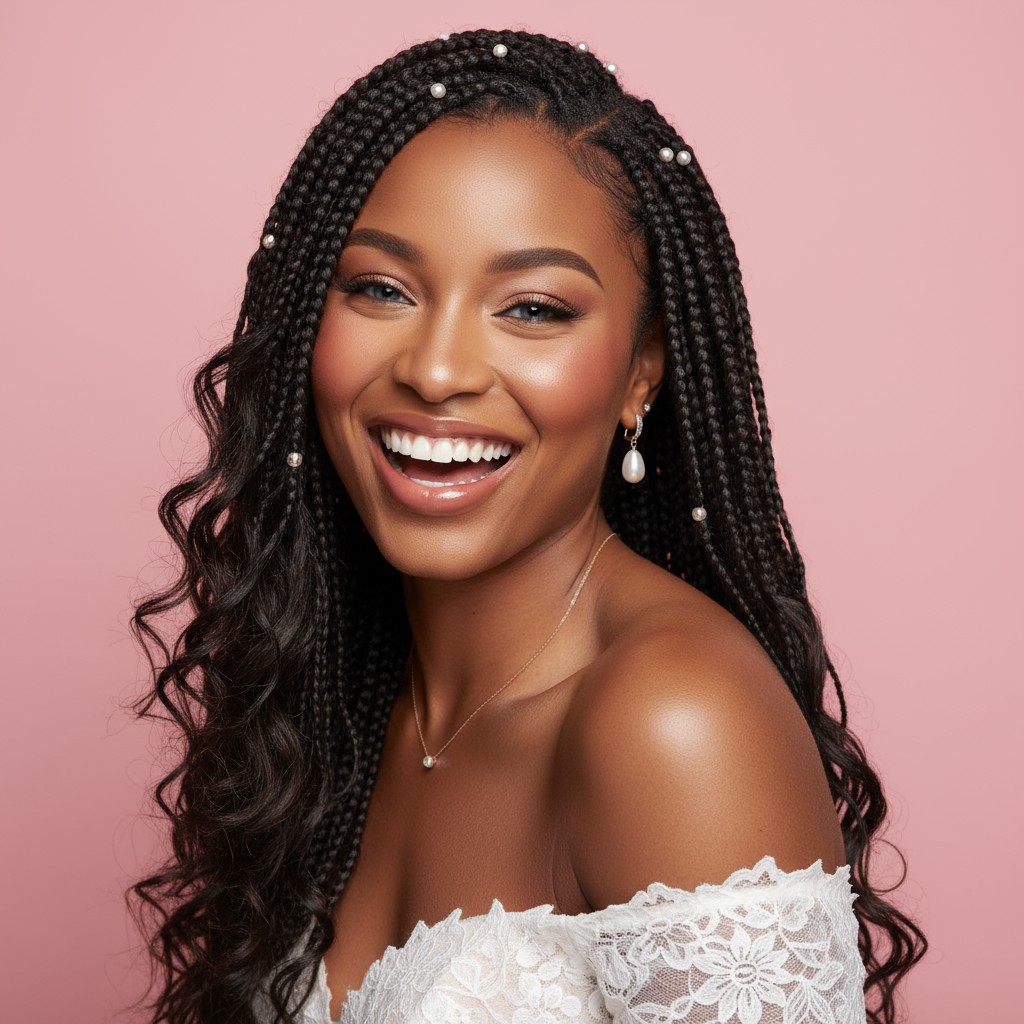
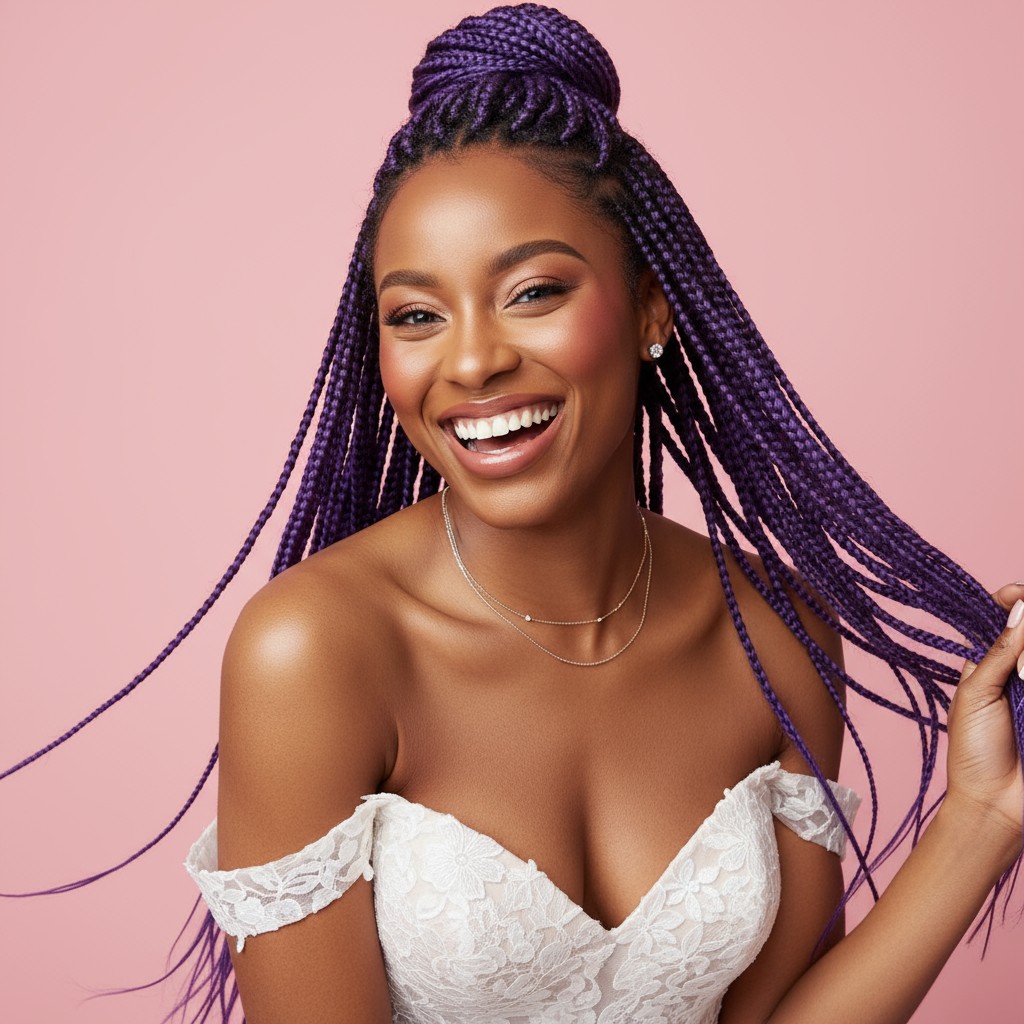
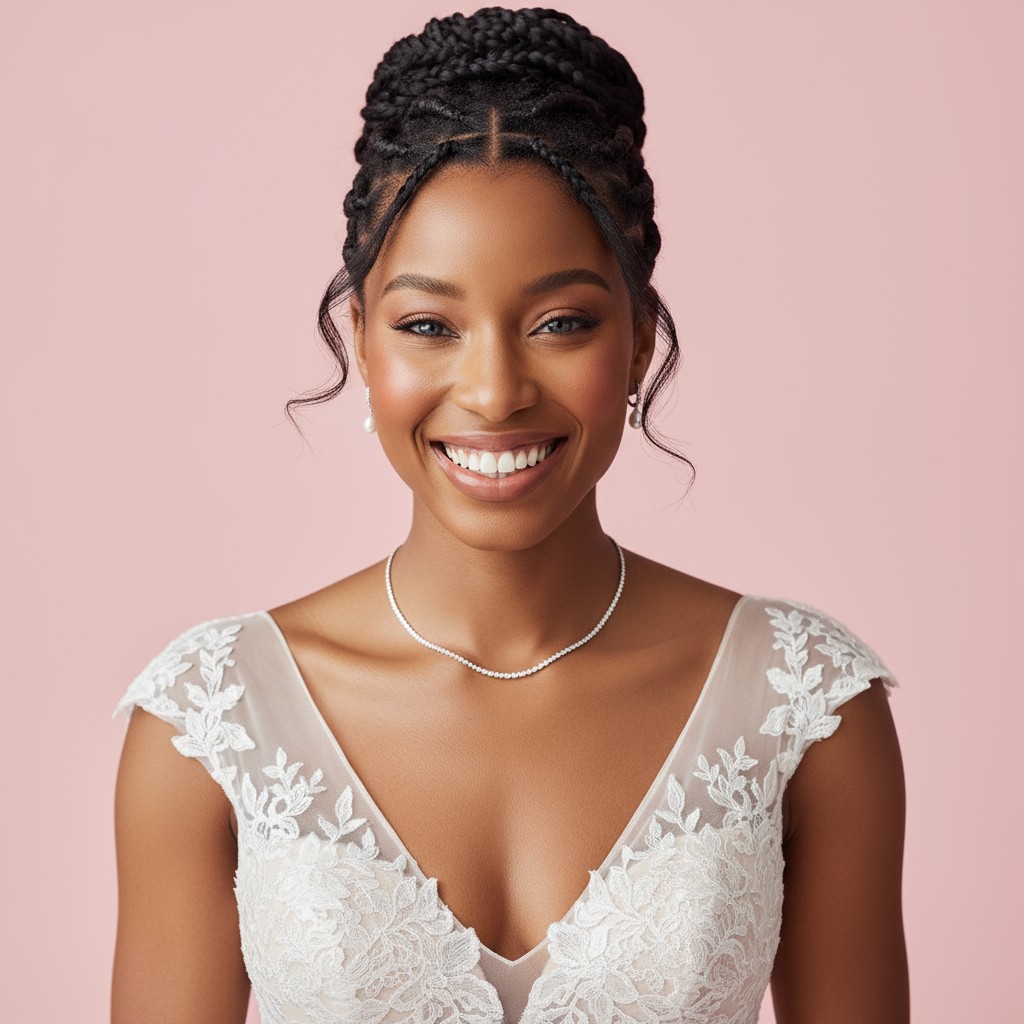
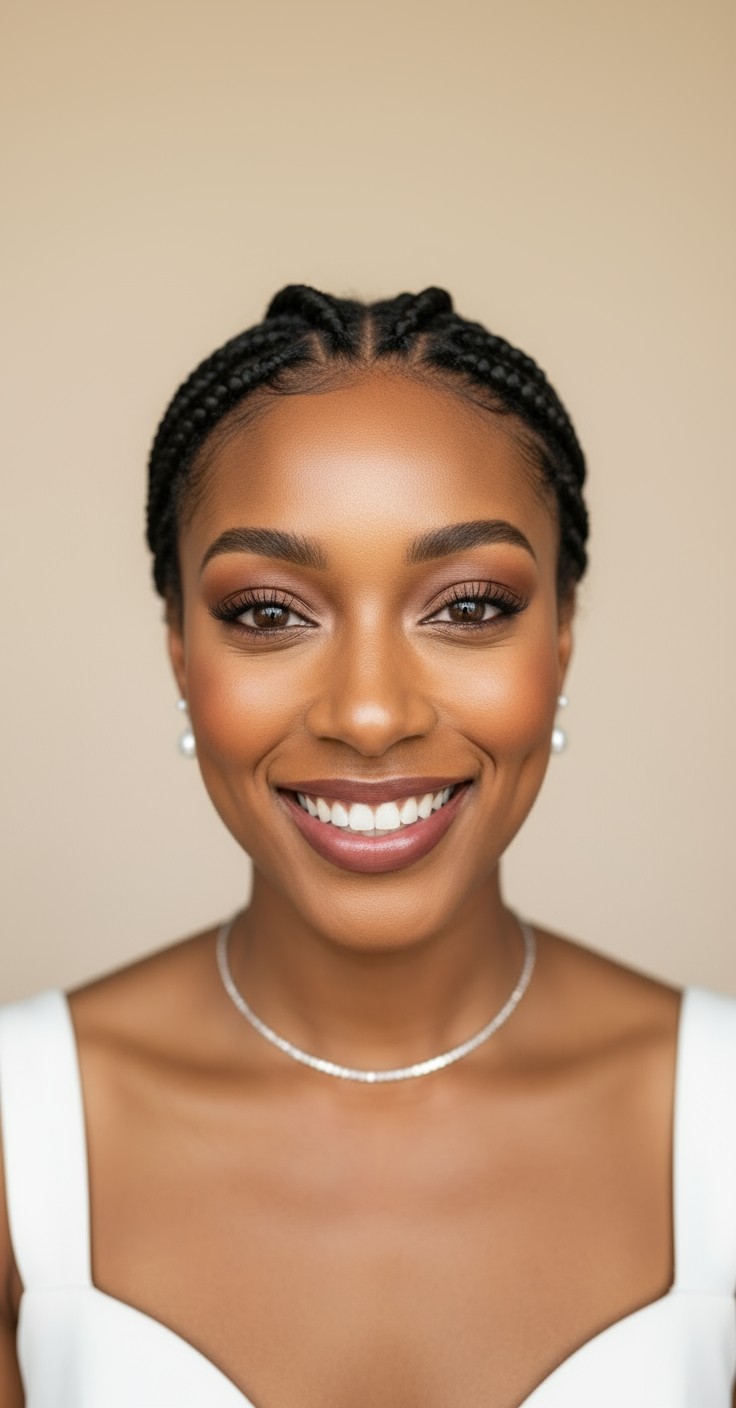
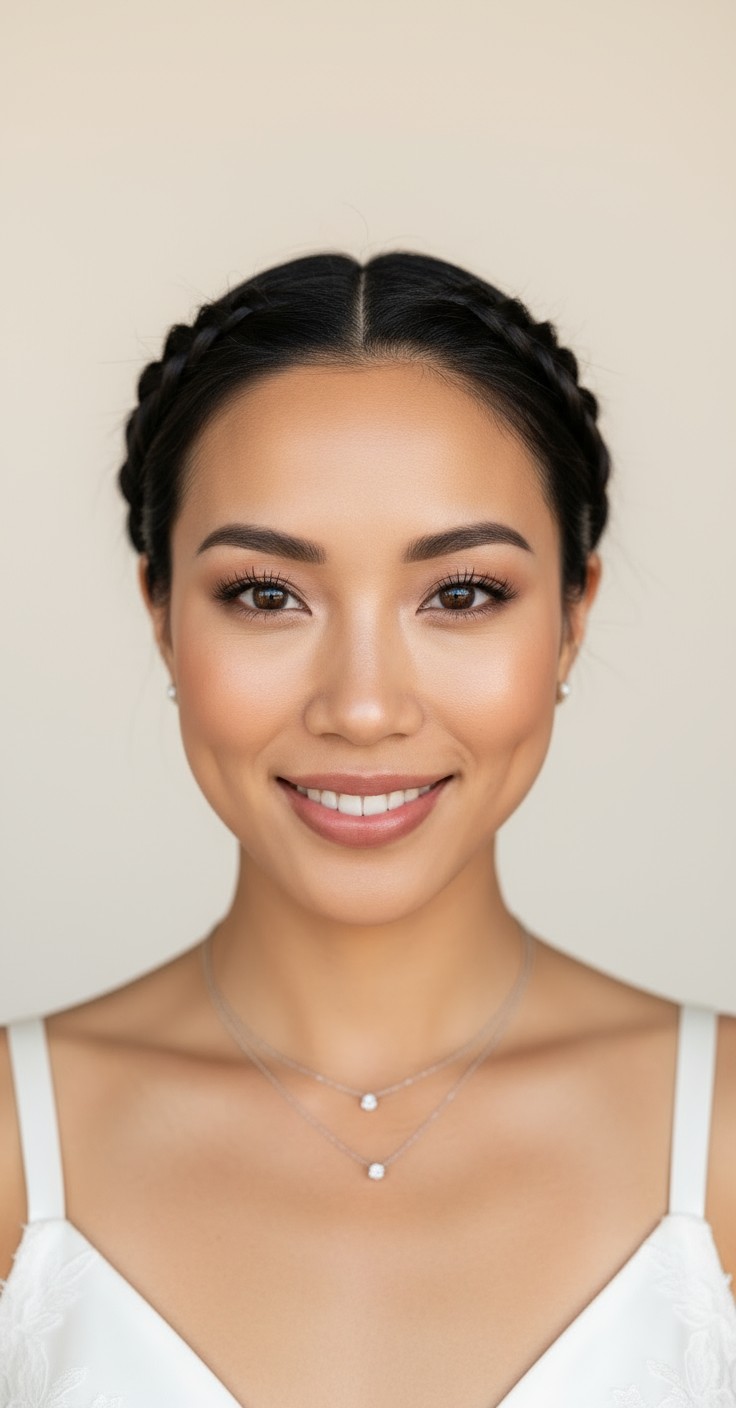
Zig zag braids bring an unexpected artistry to your bridal look that feels both romantic and refreshingly modern. The intricate woven pattern catches light beautifully in photos and creates dimensional texture that makes you feel like the most elegant version of yourself. It's a style that whispers confidence—you'll walk down the aisle knowing your hair is as unique as your love story.
Beyond the beauty, zig zag braids are incredibly practical for all-day wear. The interlocking technique keeps everything secure through tears, hugs, dancing, and even unpredictable weather. They work seamlessly with veils and won't pull or tug throughout the day, so you can focus on celebrating instead of worrying about touch-ups.

Delicate pearl pins scattered throughout the braid
Vintage gold hair vine woven along the pattern
Crystal-studded bobby pins at anchor points
Thin metallic ribbon threaded through sections
Small clustered rhinestone clips
Baby's breath tucked into braid intersections
Ivory silk ribbon woven through the zig zag pattern
Cathedral veil positioned below the braid for drama
Fingertip drop veil anchored at the crown
Start with second-day hair for better grip and texture hold.
Apply texturizing spray before braiding to prevent slipping throughout the day.
Secure each zig zag intersection with clear elastic mini bands invisibly.
Finish with flexible-hold hairspray to maintain shape without stiffness.
Prep hair with volumizing mousse on damp hair, then blow dry with a round brush for smoothness and body.
Create a zig zag part from forehead to crown using a tail comb, then divide hair into angular sections following the pattern.
Start Dutch braiding from the front section, incorporating hair only from the zig zag parted areas to maintain the geometric design.
Follow the zig zag path down the head, switching braid direction at each angle to create the signature back-and-forth texture.
Secure ends with a clear elastic, tuck under and pin, then gently pancake the braids for romantic dimensional softness.
Prefer instant?

Try 500+ hairstyles in minutes without
leaving home. See exactly how you'll
look on your big day.
✨ Try Before You Commit
Show your stylist clear visual
references. No more guessing or
miscommunication.
📱 Perfect Communication
Skip endless salon consultations
and trials. Find your perfect style
risk-free.
💰 Save Time & Money
Absolutely! The braiding technique actually creates the illusion of thicker, fuller hair by adding texture and dimension. Your stylist can gently pull and loosen sections to maximize volume.
Try it at least 2-3 months before your big day during your hair trial. This gives you time to perfect the pattern and decide on accessories that complement the intricate design.
It's not recommended, as the pattern needs precision and fresh styling for a polished bridal look. Plan for the full styling time on your wedding morning for the best results.
Yes! The interlocking braid technique is very secure and weather-resistant. Use anti-humidity products during prep and a strong-hold finishing spray for extra protection.